
Veeam Availability Suite 9.5 Update 4 was released on Jan 22th.
This article shows how to update Veeam Backup & Replication to Version 9.5 Update 4.
Preparation
- Download the Full ISO of Veeam Availability Suite 9.5 Update 4 from www.veeam.com
- Confirm that you are running version 9.0 Update 2 (9.0.0.1715) or later.
- Mount the ISO to your Backup & Replication Server.
- Stop, disable or wait for completion of all running jobs.
- If you are running Veeam Backup Enterprise Manager, upgrade it first – https://blog.ganser.com/update-veeam-backup-enterprise-manager-to-9-5-update-4/
Update Backup & Replication Server
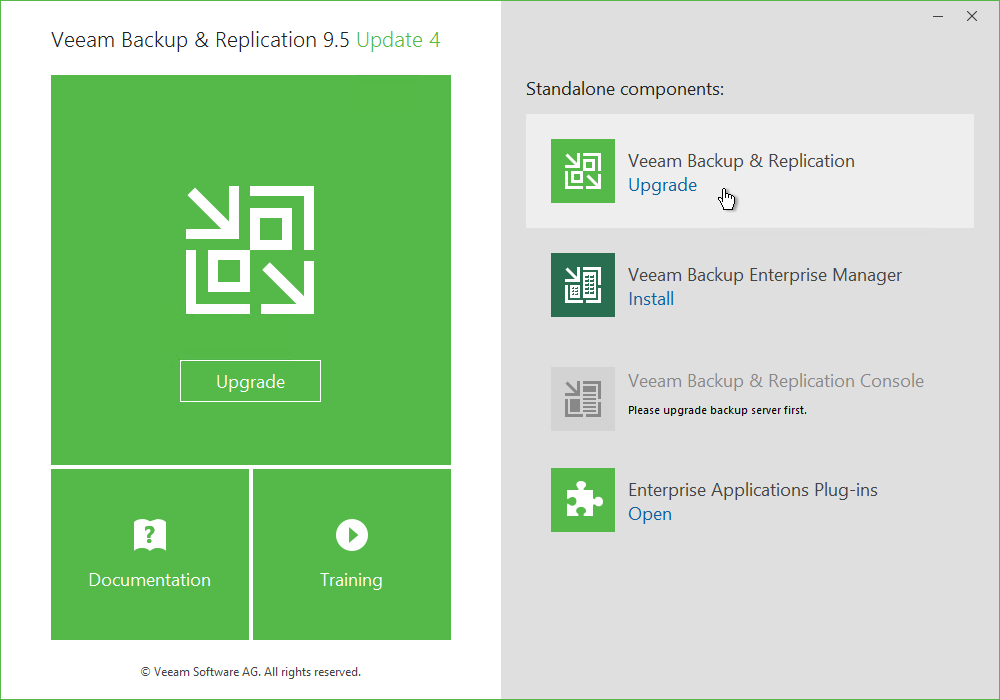
- Execute Setup.exe from the mounted ISO
- Select Veeam Veeam Backup & Replication Upgrade
- If your Backup Server is still running jobs (like SQL Transaction LOG Backup), you will get this message. Wait for completion, stop or disable the running jobs and click on retry.

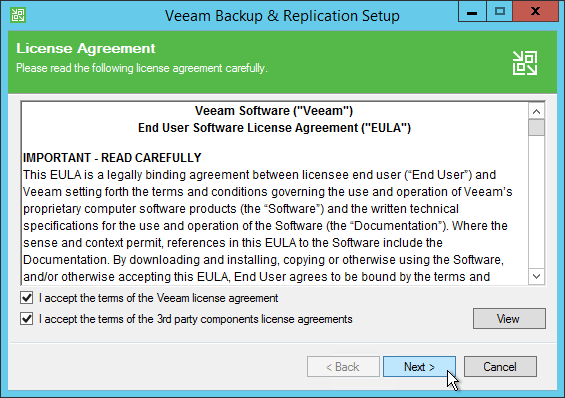
- Accept license agreement and click Next.
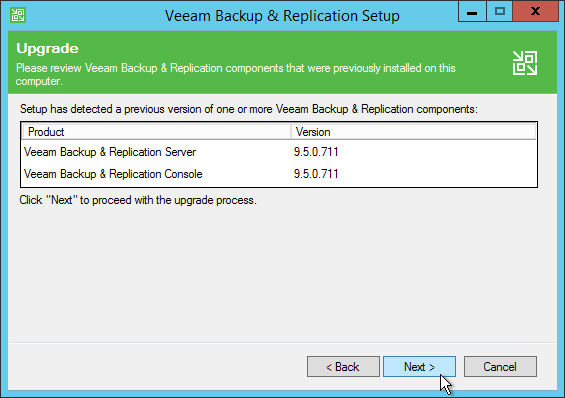
- The Setup will list the installed version which will get upgraded.
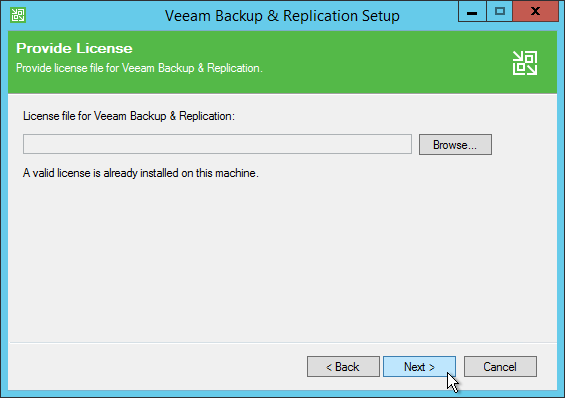
- You can provide a new license. In a “normal” update your installed license should be valid.
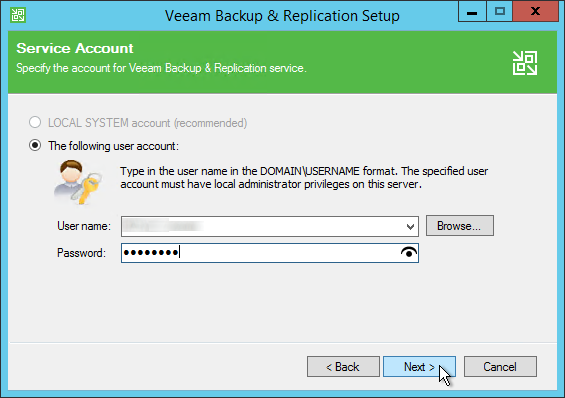
- Setup needs the credential of the service account.
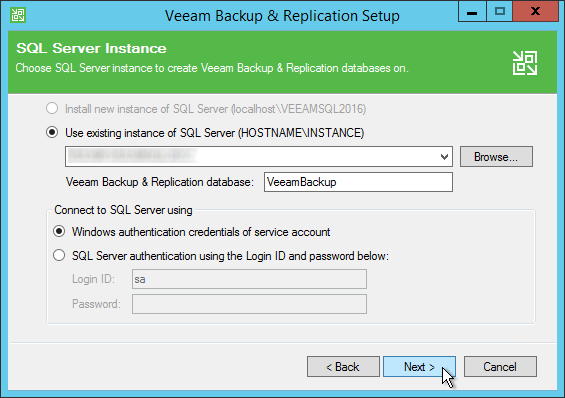
- The previous used SQL instance should be shown. If SQL Server authentication is used, you have to enter the Login ID and password of the SQL User.
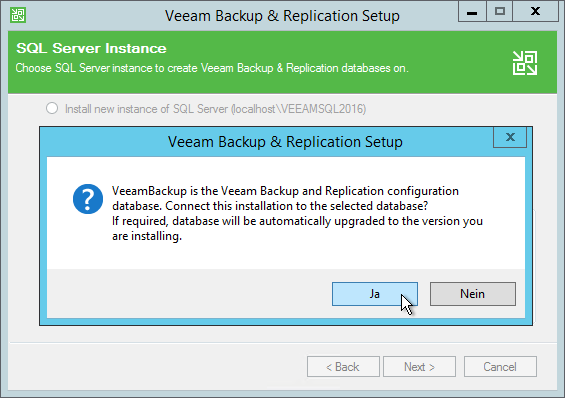
- Confirm the database and the automatic upgrade.
- Veeam Backup & Replication uses components on remote servers (like Repository Server or VM Proxy Server). These components could be updated manually or automatically after installing the Upgrade. I show the manually update below in this article.

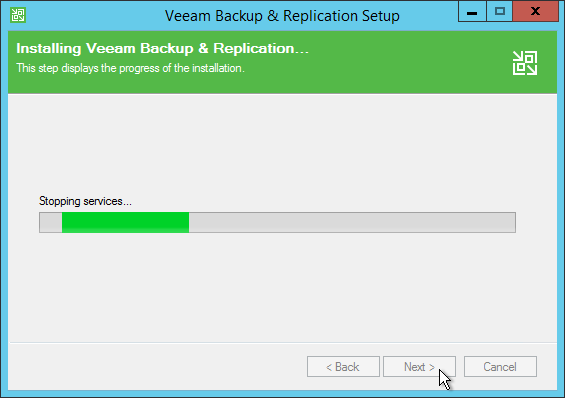
- The installer will stop the services of Veeam Backup & Replication and starts the Installation.

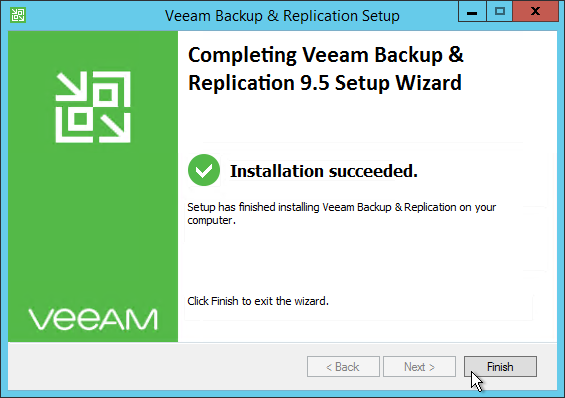
- After successful installation all services will be started.
Update Remote Components
- If you have choosen the manually component update this wizard will be shown after your first login to Veeam Backup & Replication Console
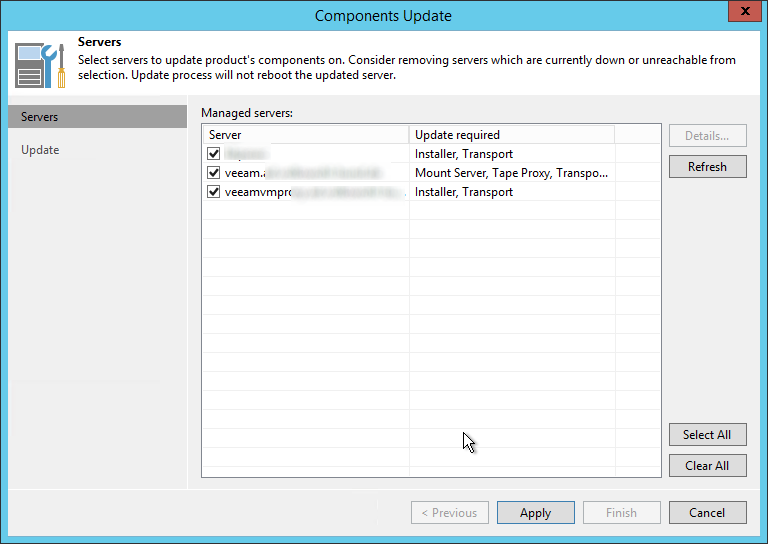
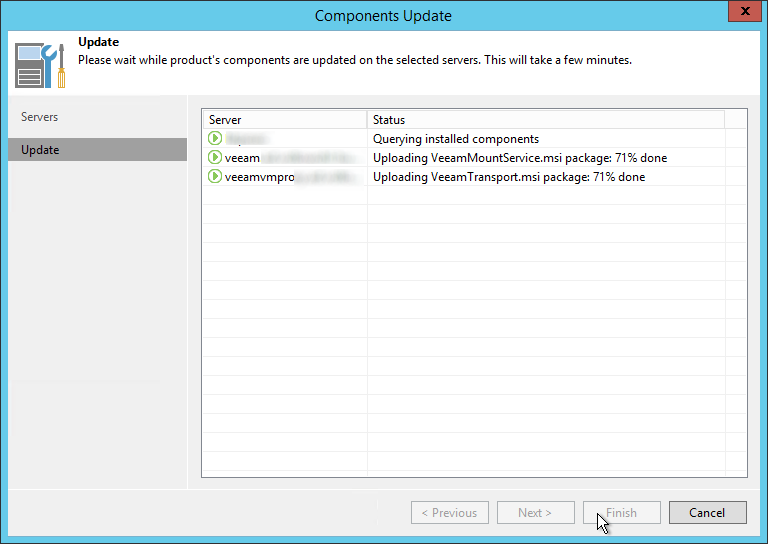
- Start the Update by clicking on Apply.
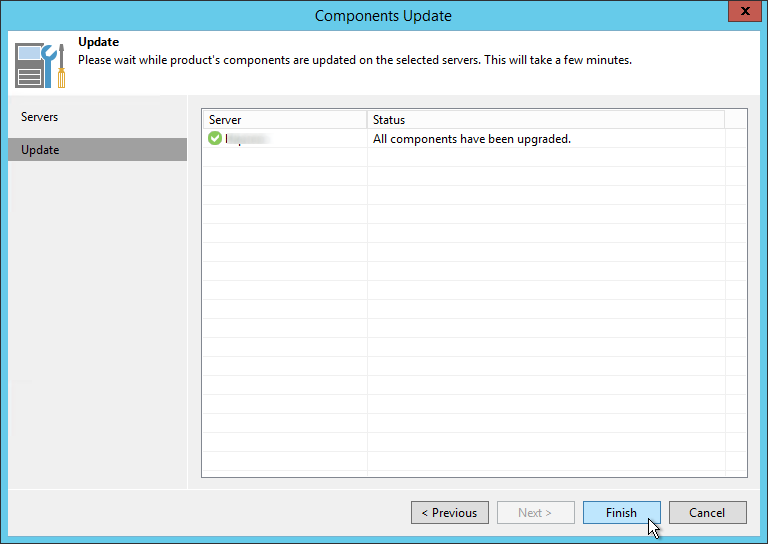
- After all components have been upgraded click on Finish.
Update Backup & Replication Console
- If you have installed the Console on other systems like your workstation or on a terminal server, you will get the update message at the first login attemp. If you have administrative rights you can start the update directly from here.
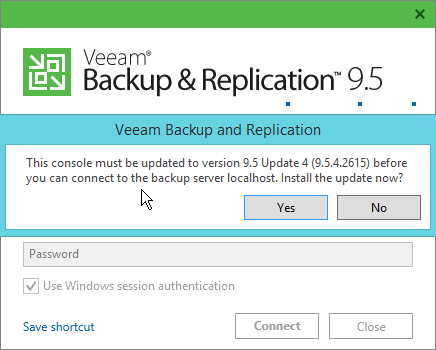
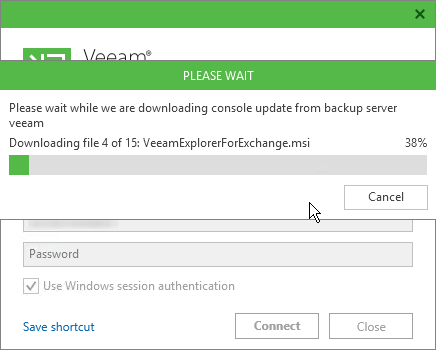
- Just click on Yes and the installation files will be downloaded
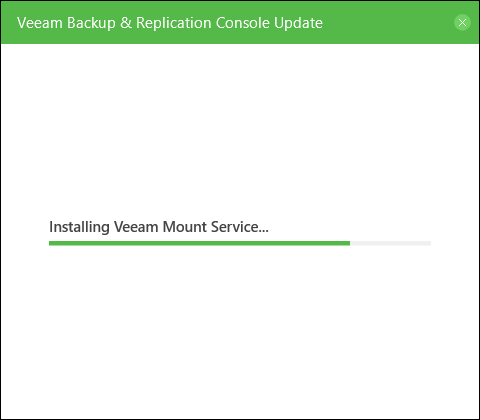
- The Console, all Explorers and Services will be updated
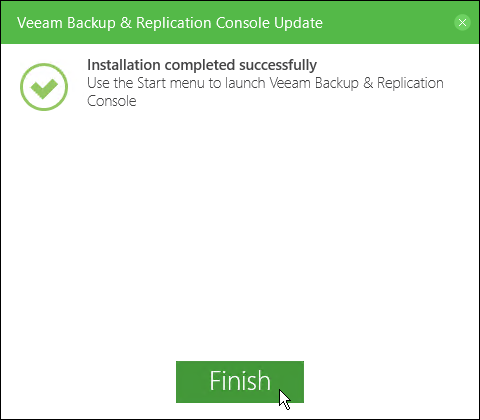
- After that, click on Finish and start the Console again.
Additional information
- www.veeam.com – Download Veeam Backup & Replication 9.5 Update 4
- www.veeam.com – Veeam Backup & Replication 9.5 Update 4 Release Notes
- www.veeam.com – What’s New in 9.5 Update 4?