
Altaro states that it takes less than 15 minutes from the beginning of the installation to the first backup of a VM.
Let’s see if this is true… :)
Requirements:
- Hypervisor:
VMware vSphere 6.7 – 5.0
Microsoft Hyper-V 2019 – 2008R2 - Altaro VM Backup Server
Windows Server 2019 – 2008R2 - Altaro Management Tools (UI)
Windows Server 2019 – 2008R2
Windows (64bit) 10 – 7
To get the full system requirements go to www.altaro.com
Lab environment:
- VMware vSphere 6.7
- Altaro VM Backup Server: Windows Server 2012 R2
- Backupdevice: Synology Diskstation
Installation:
- Download the installer from www.altaro.com
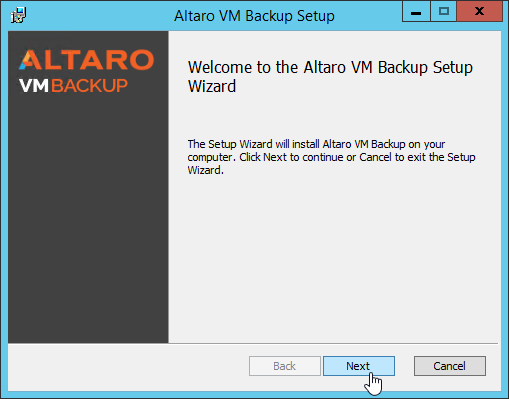
- Execute the installer
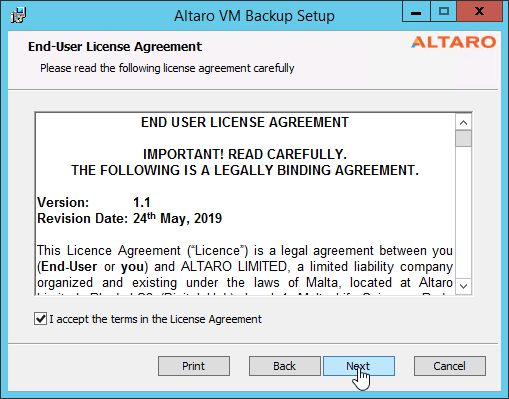
- Go through the wizard, accept the license agreement and (if needed) change the destination folder.


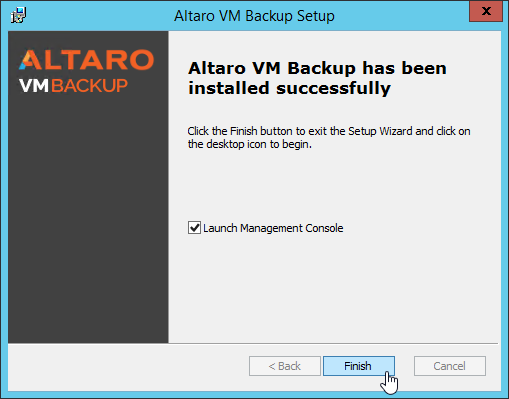
- After the installation is finished, the management console can be started directly.
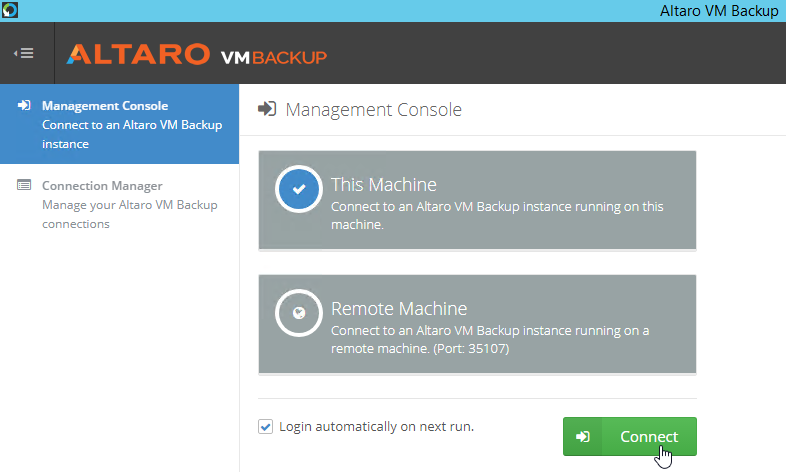
- At the first start, the console asks which server to connect to. Since the console is executed directly on the server, select “This Computer” and “Login automatically on next run”
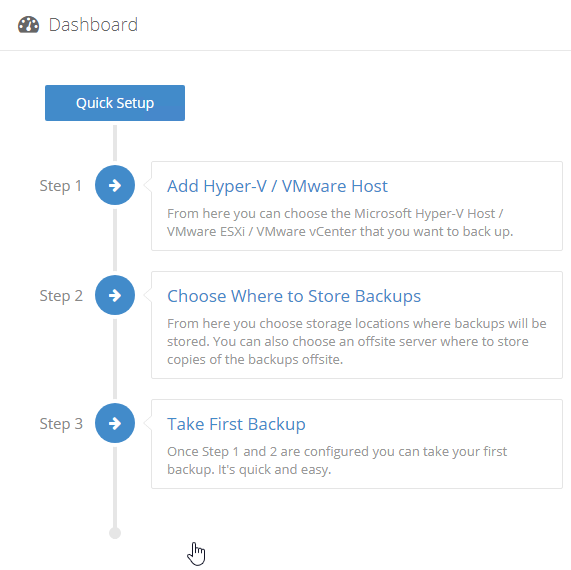
- The Dashboard will guide you through the configuration with a step-by-step guide
- Select “Add Hyper-V / VMware Host

- Choose VMware vCenter Server
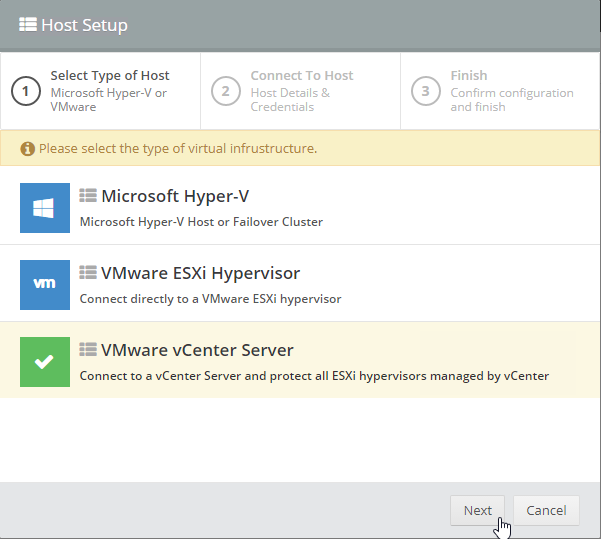
- Add the vCenter FQDN und admin credentials for vCenter. You can use Test Connection to verify the correct settings.

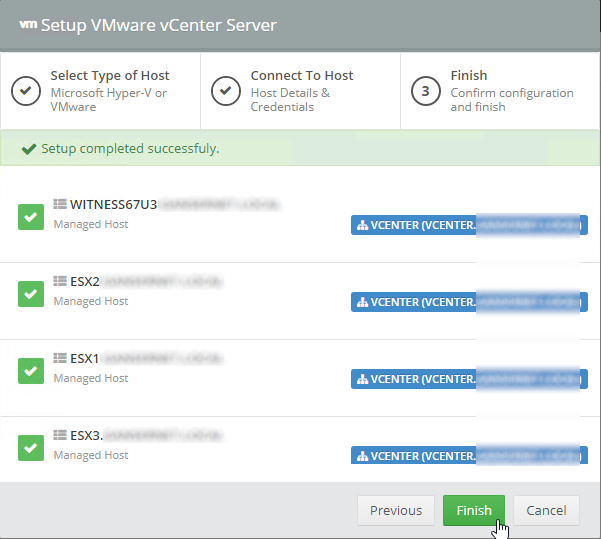
- At least confirm configuration an finish
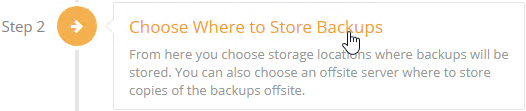
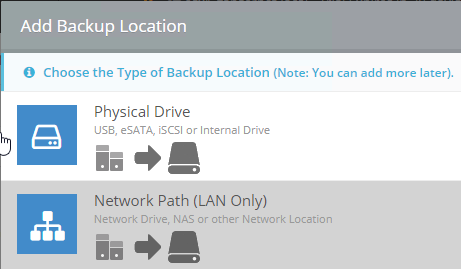
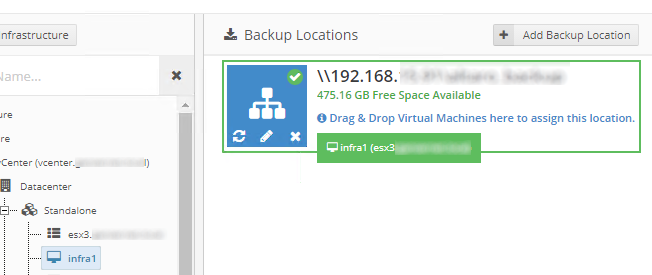
- After adding your host, you have to choose where the backups will be stored.
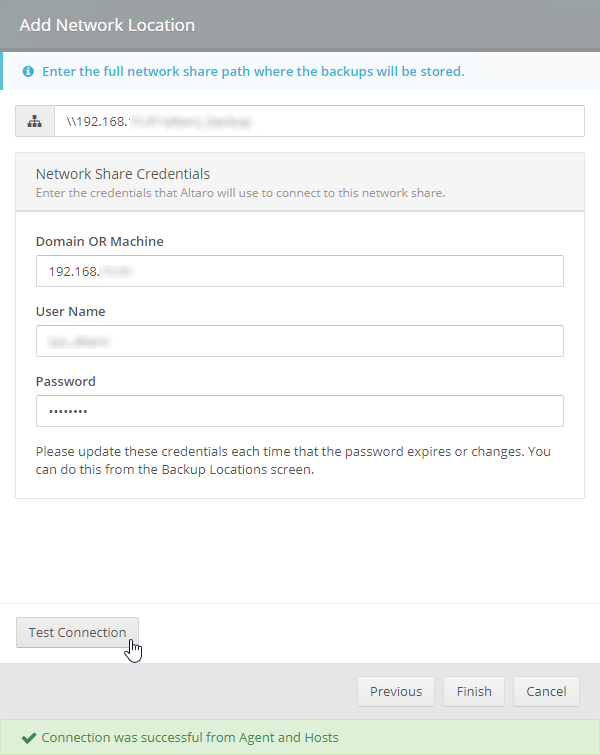
- Initial you can select Physical Drive or Network Path. For Backup on the Disktation I choose Network Path.
After you’ve created you first backup location, it is possible to add more destinations for offsite backup on e.g. Amazon S3 or Azure.
- I’ve created a simple share on Diskstation and added it.
- After finishing this step, the new backup location should be visible in dashboard.
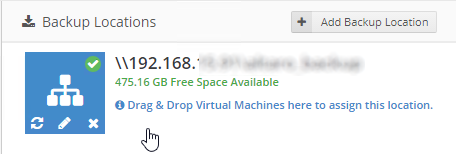
- Now you can Drag & Drop a virtual machine to the new backup location.
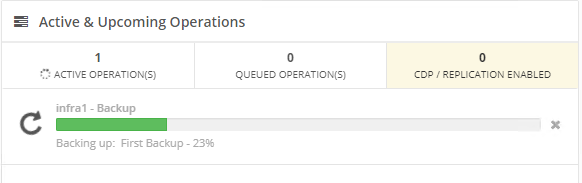
- After that select the machine an click on “Take Backup”

- The First Backup will take a few minutes (depending on the size of your vm)


- On the dashboard you can follow the progress
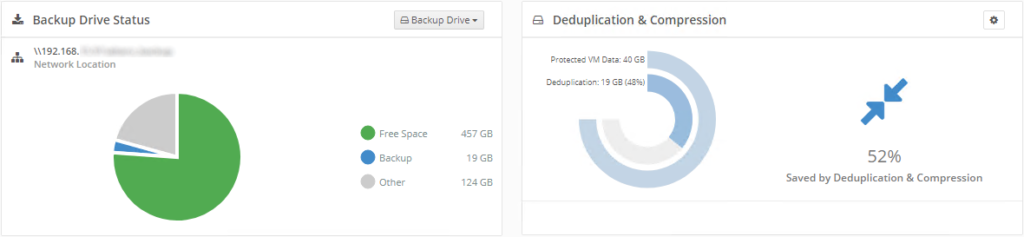
- After the process is finished you will see the allocated space and Dedup and Compression Rate of your first backup.
You want to try out Altaro VM Backup 8.5?
Download your free 30-day trial here.