Since 2013 I am using Citrix Netscaler both at work and for my homelab. At work we have Netscaler SDX which have much power and throughput. For my homelab I am using the free Netscaler VPX with a maximum throughput of 5Mbps. @MarcHuppert gave me a hint to checkout the LoadBalancer from KEMP technologies. In the free community version of VLM you get 20Mbps throughput which would be enough for homelabs and testing in production.
It was easy to install the appliance and the initial configuration was done in minutes. In the next days I will post how to add virtual services and content switching.
Installsteps:
- Download the current version of KEMP Virtual Load Balancer from the KEMP website (Download)
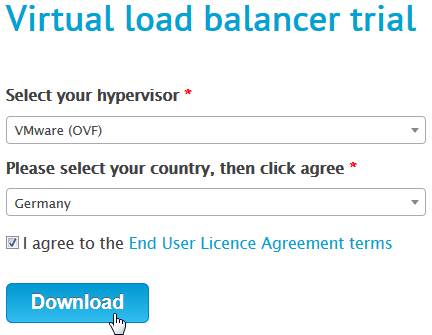
- Choose your hypervisor, your country and agree the terms of the End User License Agreement
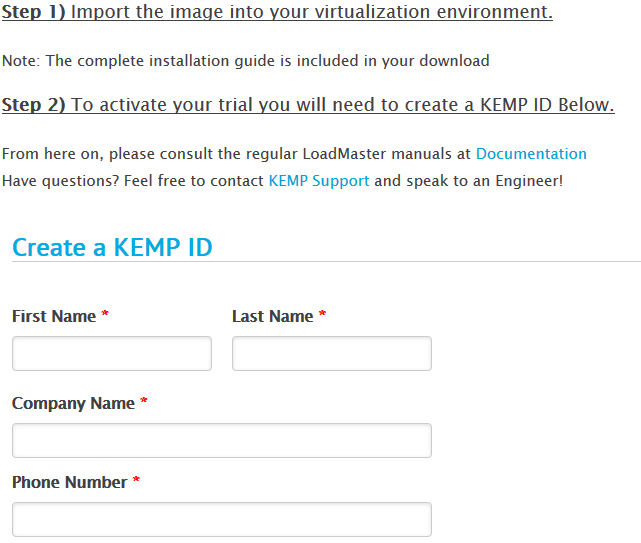
- The download starts automatically. You will need a KEMP ID to activate the license (also the free version), so you should create one.
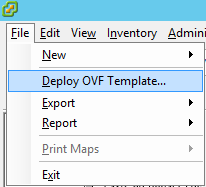
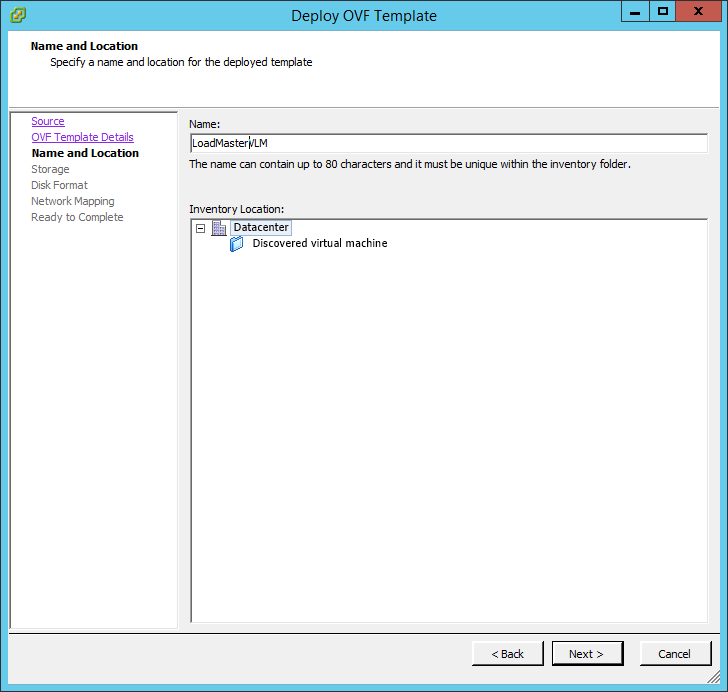
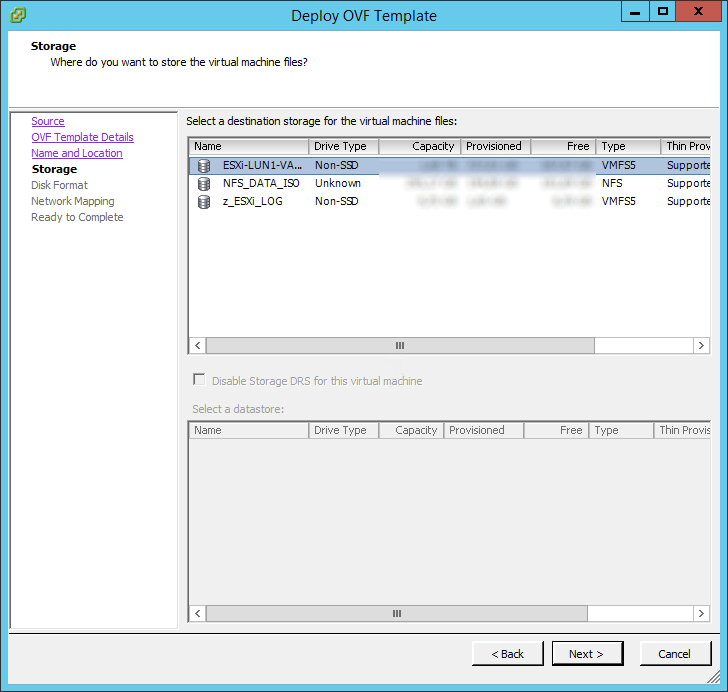
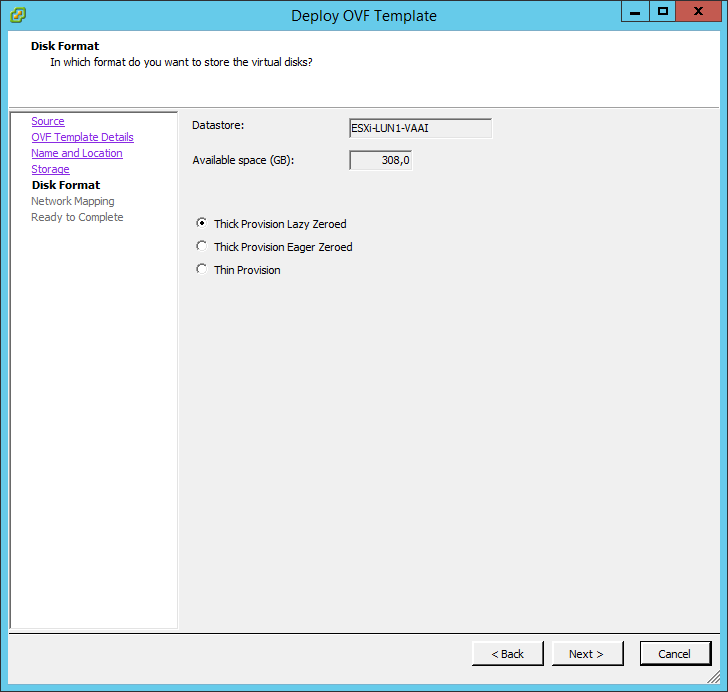
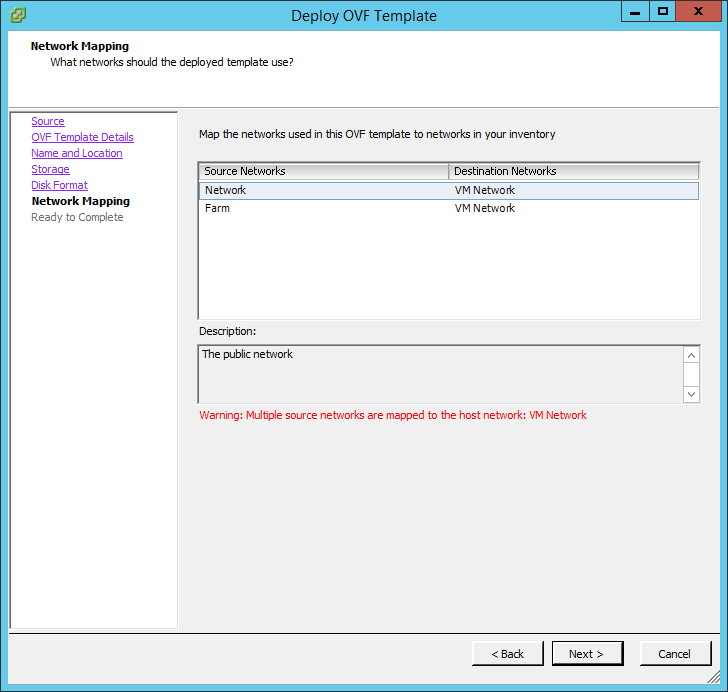
- After unzipping the OVF, choose “Deploy OVF Template” in the vSphereClient. Give a name for the VM and choose storage/network settings.
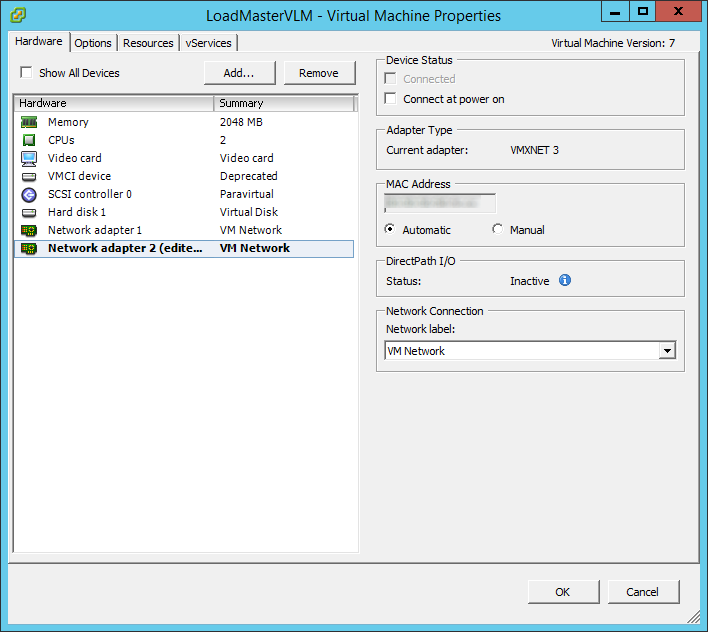
- After deploying finished, I unlink the second network adapter, because I only need a “one-leg-configuration“
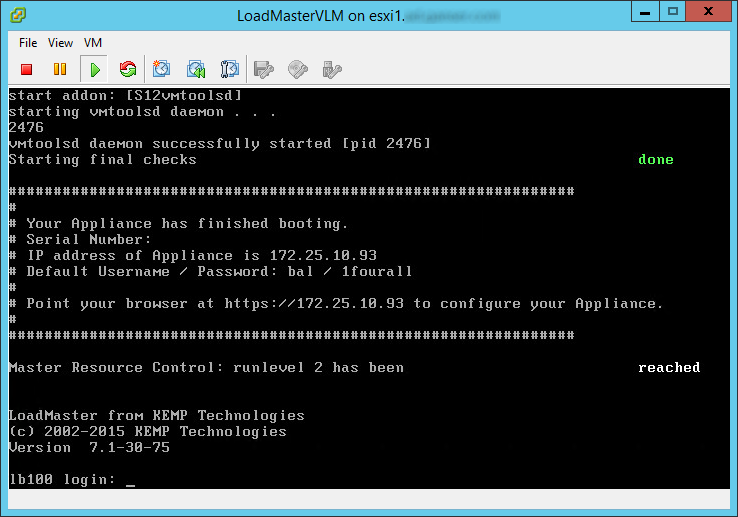
- Power on the VM and after initialization got to the website shown on the console https://IP-of-LoadMaster
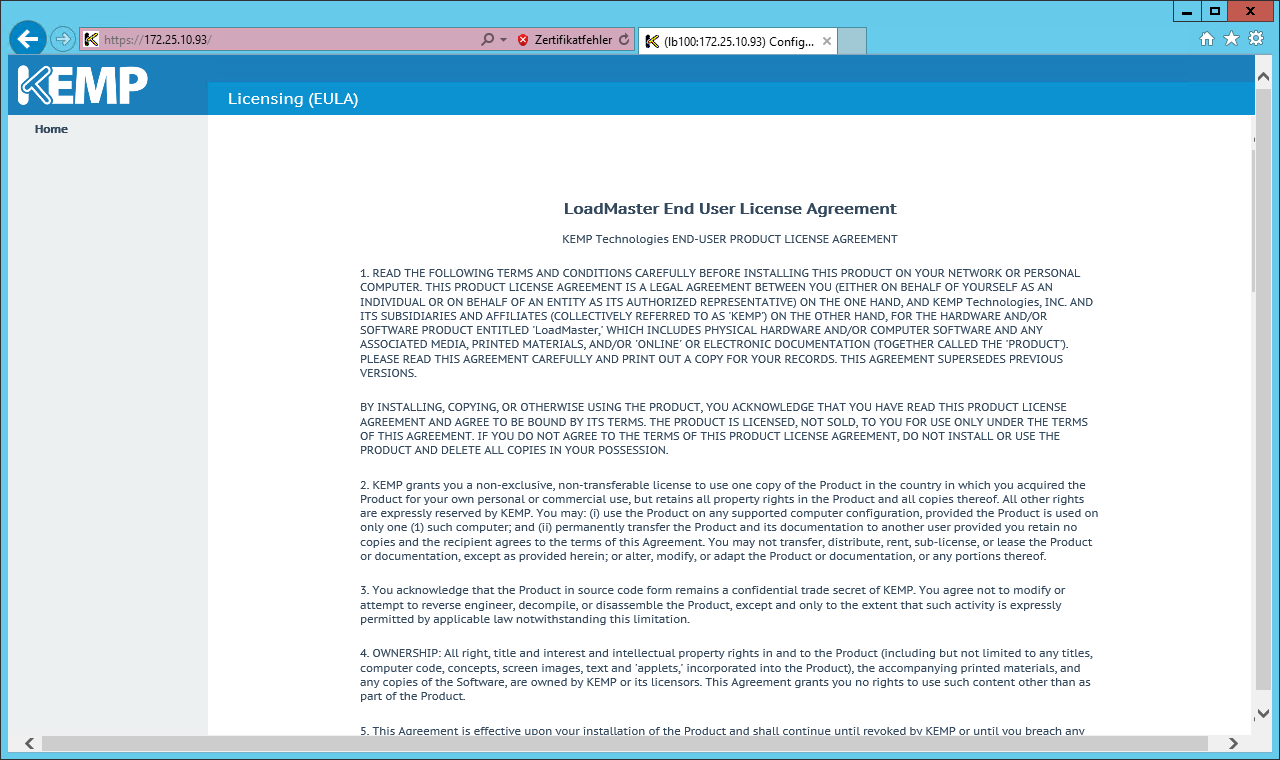
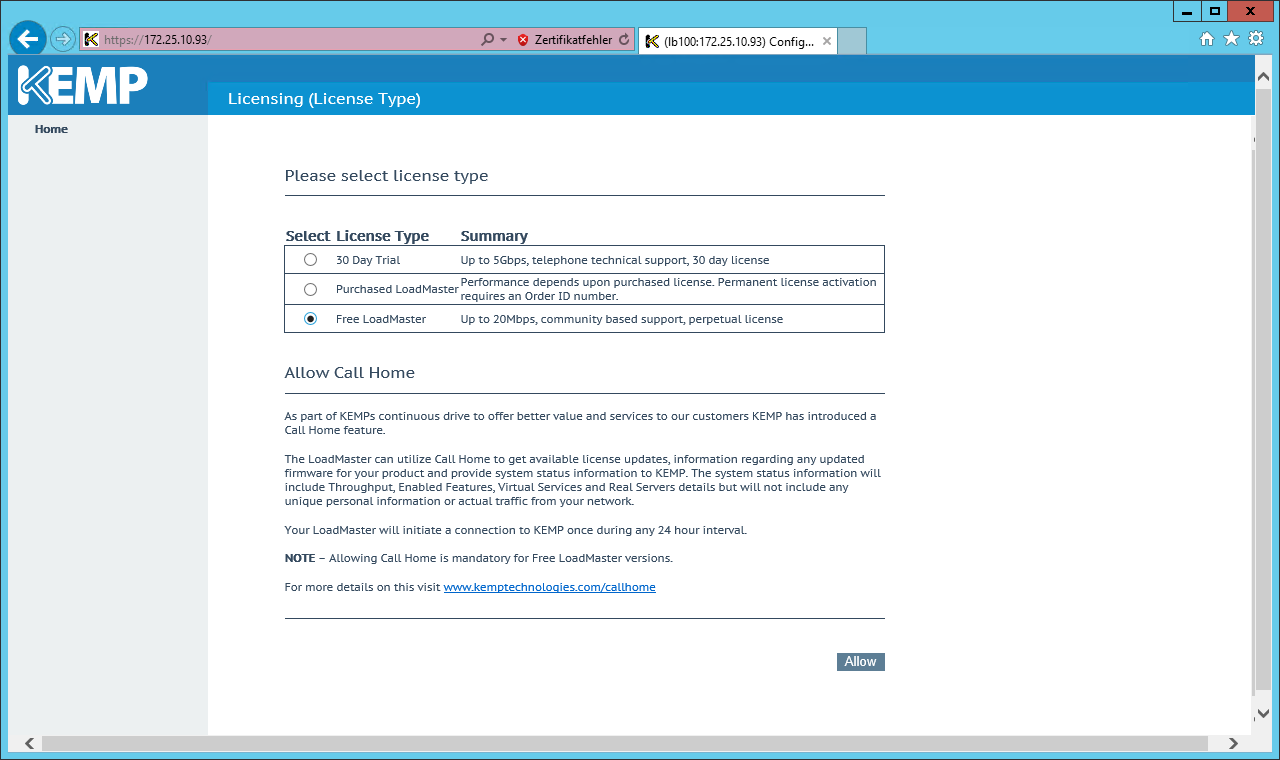
- You need to agree a second time the EULA, then you’ve to choose the license type. The Free LoadMaster gives you a 20Mbps, community supported LoadBalancer.
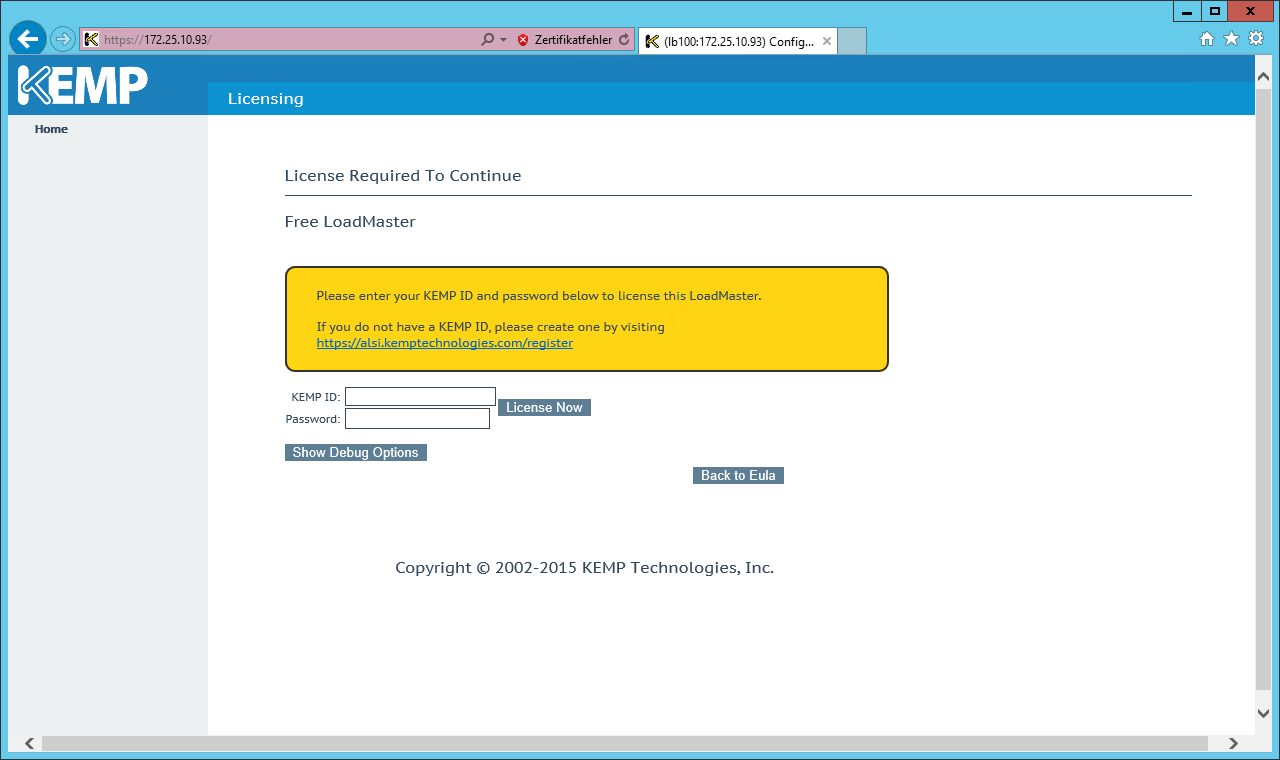
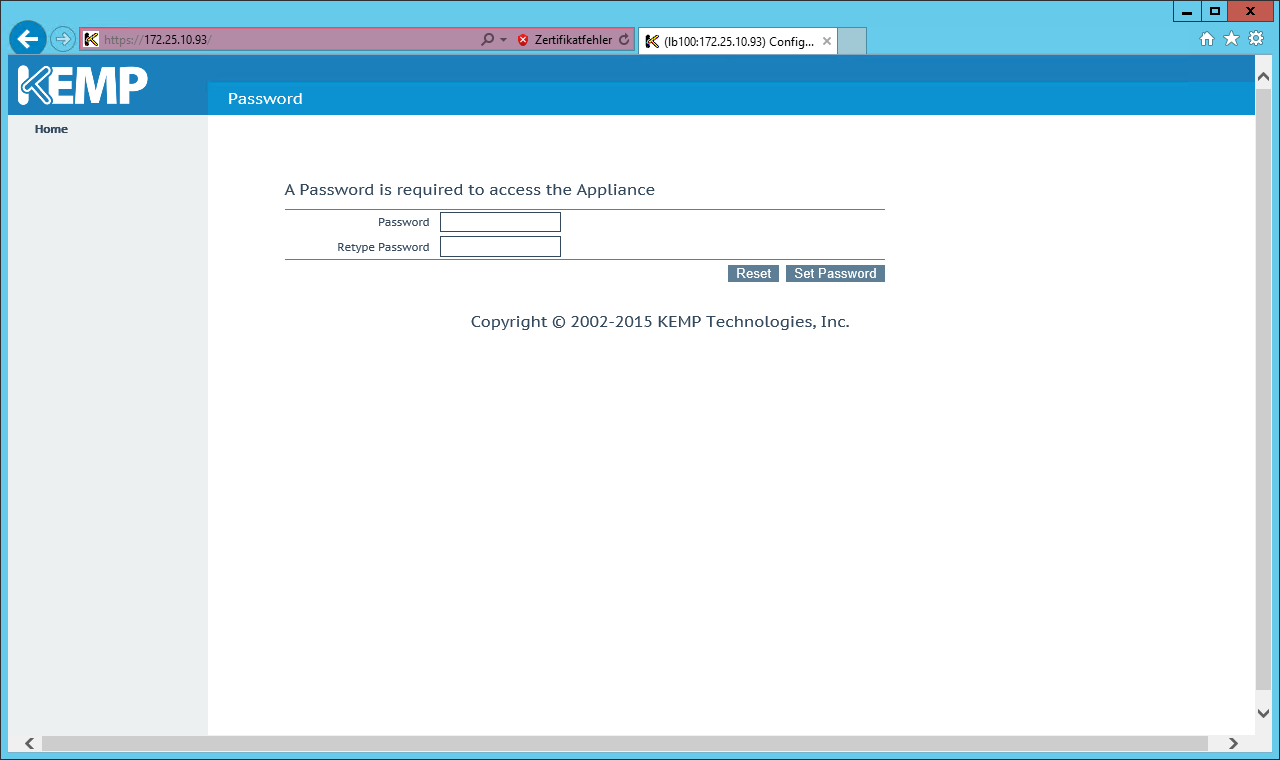
- After choosing the license type, you have to activate the license with your KEMP ID and set a password for bal (admin user)
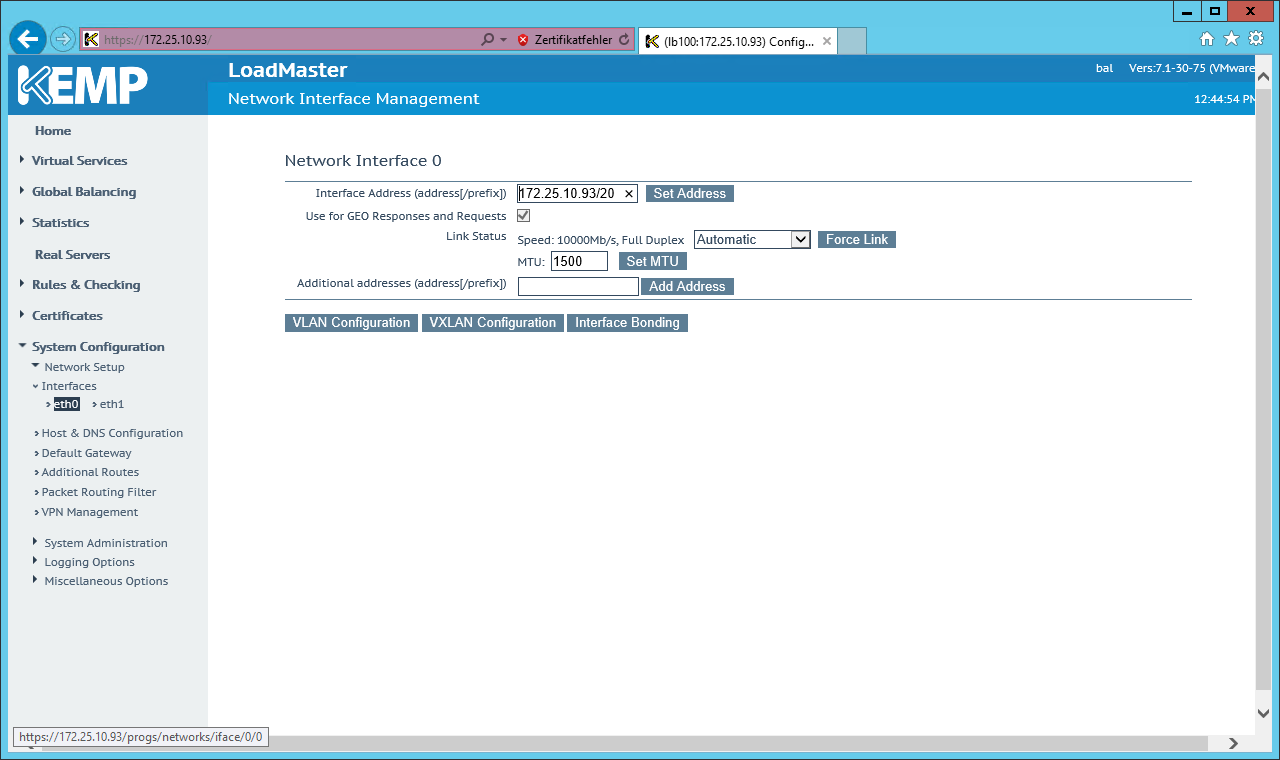
- Last step is setting up a static IP.
Go to System Configuration > Interfaces > eth0 and set a new address with /prefix
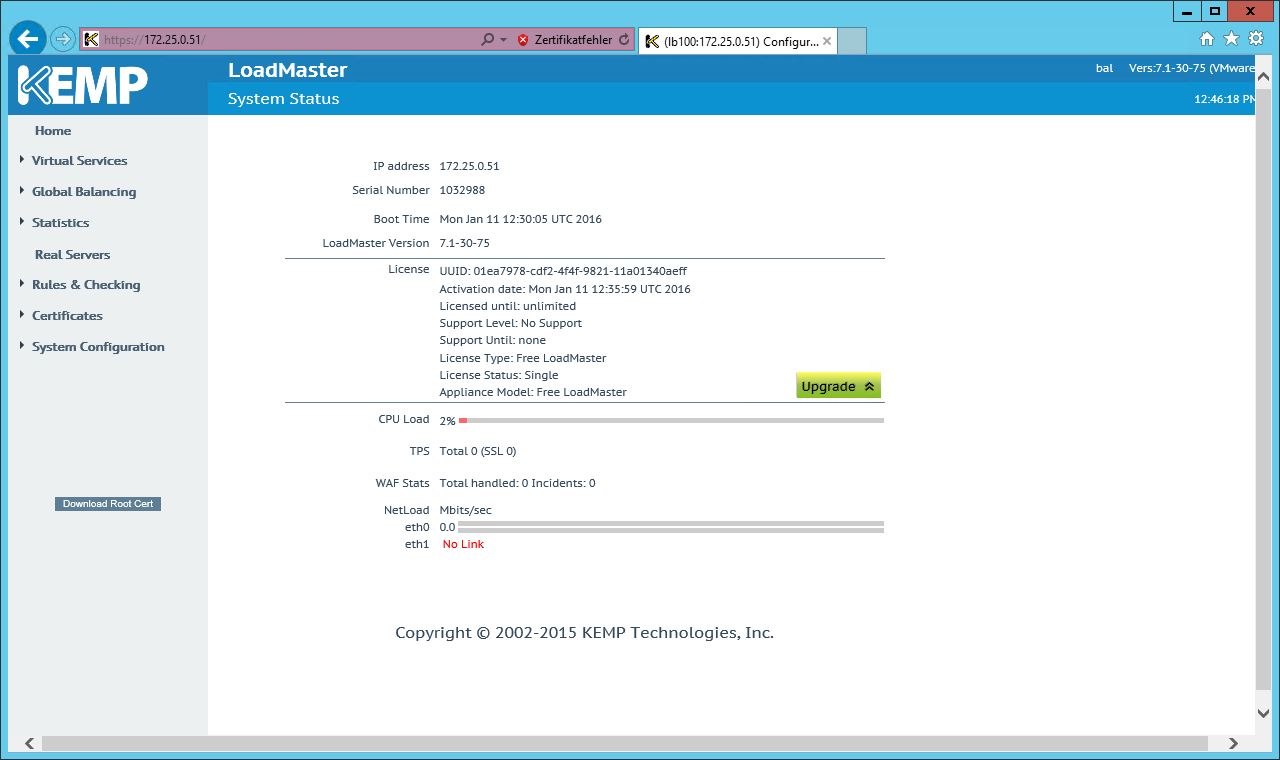
That’s it! You now have an installed KEMP Load Balancer which waits for virtual services, rules, real servers etc.
With the free version of KEMP LoadMaster you get a 20Mbps, community supported LoadBalancer which has a throughput four times faster than the free version of Citrix Netscaler (VPX Express (5)).




Leave a Reply