vSphere 6.5 is now GA. In this post I want to go through the upgrade process of the vCenter Server Appliance (vCSA). First thing I can say. It works really good :)
The upgrade process will create a new machine and transfer all data (you can choose between configuration + events + performance data) from the old one to the new vCSA.
Please think about, when to install the upgrade… All 3rd party software, which is using the vCenter must support the new version. If you have a lab this could be okay, but in your production it is not much fun, if backup or something else fails.
But now to the upgrade…
Requirements
- vCSA ISO
- Goto to the VMware.com > Log In
- Select View & Download Products
- Select your vSphere Version and click on Download
- On the top of the menu select version 6.5
- Then search for vCenter Server 6.5 and select Go to Download

- For the vCSA choose the ISO

- IPs and usernames/passwords
- IP of your old vCSA
- a temporary IP address for the new vCSA for communication on the migration.
- Usernames and passwords of
- SSO user (e.g. administrator@vsphere.local)
- Appliance root user (OS user root)
- ESXi root user
- VMware Update Manager
You will need administrative access to the VMware Update Manager Server - DRS – set tu partial automated. I choose this setting because I use an ESXi directly to build and migrate the machines. A vMotion would be not nice in this process.
Upgrade
VMware Update Manager
- Mount the upgrade ISO to the Server on which VMware Update Manager is running
- Execute VMware-Migration-Assistant.exe from the ISO (e.g. D:\migration-assistant\VMware-Migration-Assistant.exe)
- After starting the assistant you have to enter the SSO user
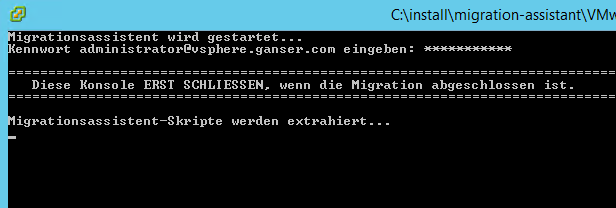
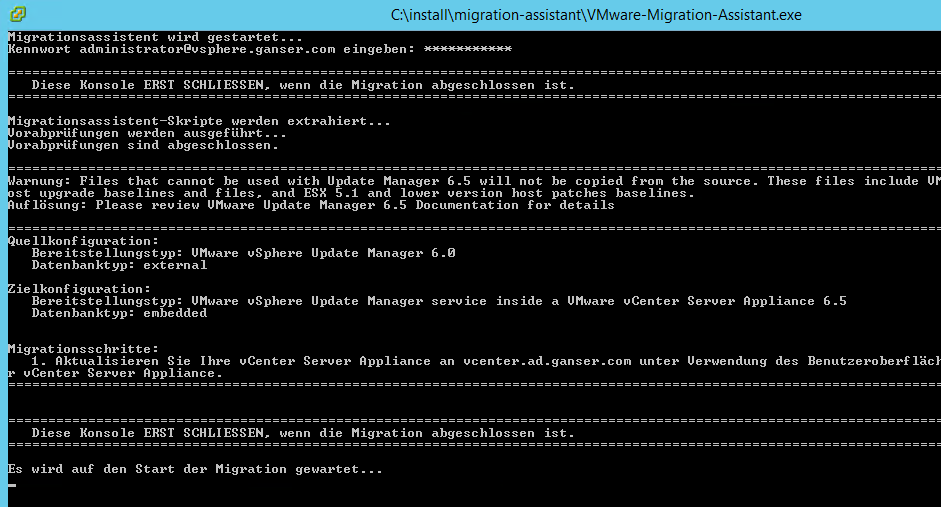
- After entering the password the assistant is waiting for migration communication. Leave him run and let’s go to the upgrade…
Upgrade Stage 1
You can choose to do the upgrade from the server (VMware Update Manager) where you have already mounted the ISO or from your workstation. I’ve done it from my workstation, but both is okay.
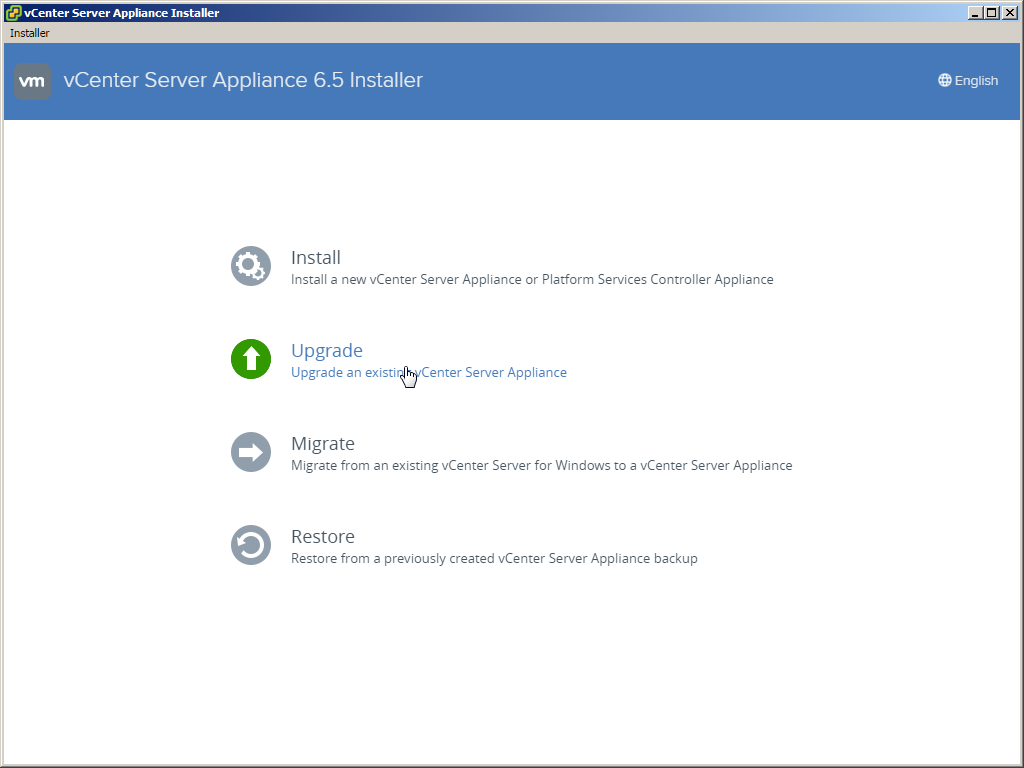
- To start the Installer go to your mounted ISO and start the installer from the vcsa-ui-installer directory
(e.g. d:\vcsa-ui-installer\win32\installer.exe) and choose Upgrade.
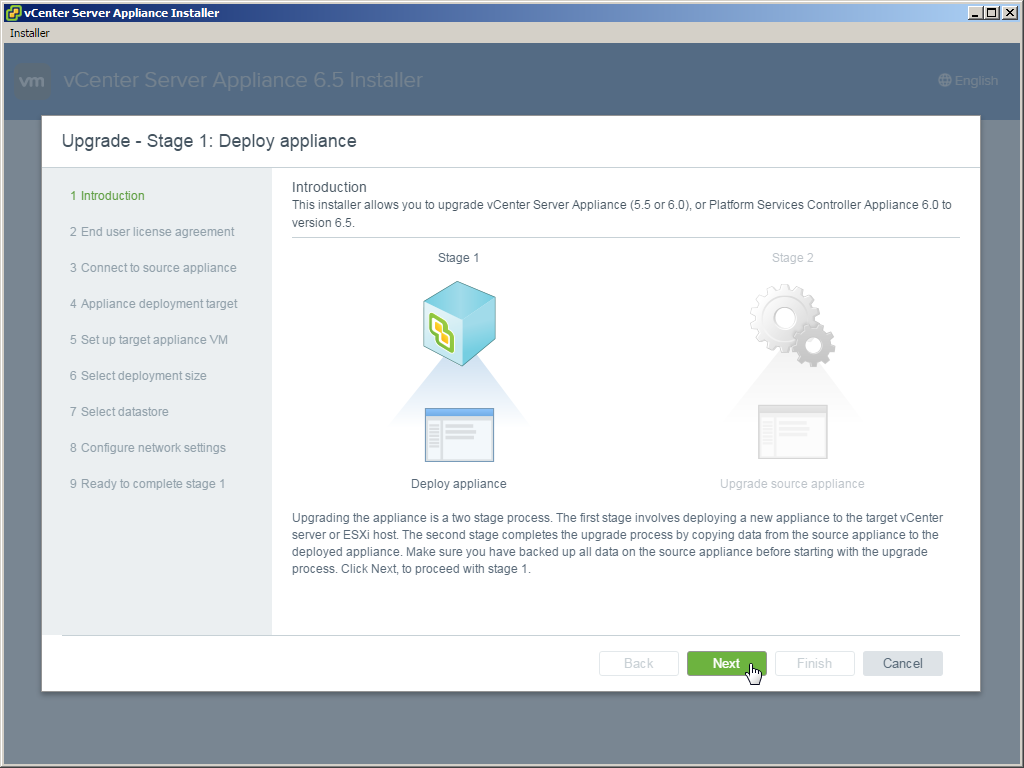
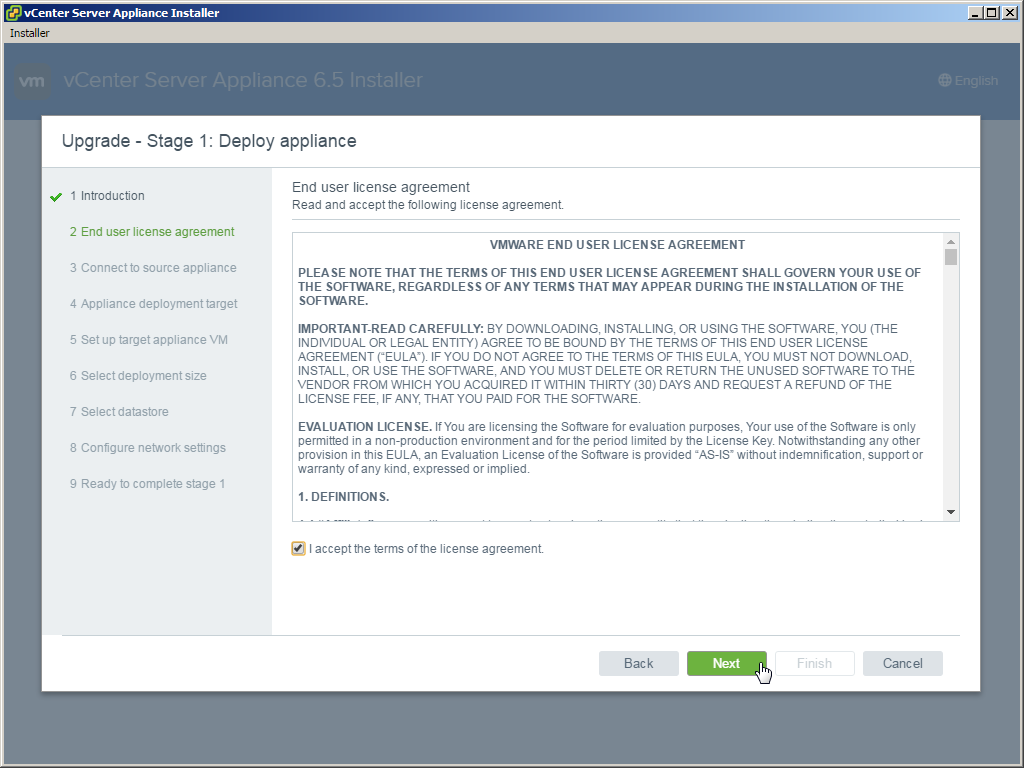
- The installer begins with a short explanation of Stage 1 and EULA
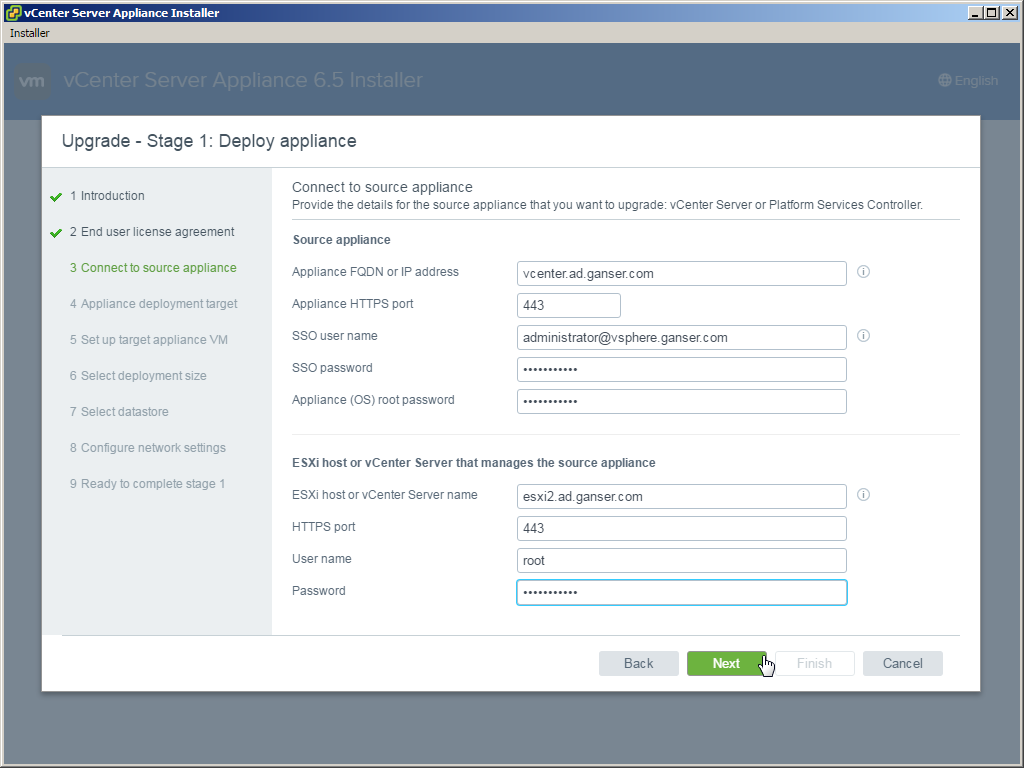
- After that you have to enter
– the FQDN or IP address of the source vCSA
– the SSO username
– the SSO password
– the appliance root password
In the next section you have to enter the data of the ESXi host on which the appliance is running.
– ESXi server name or IP
– Username
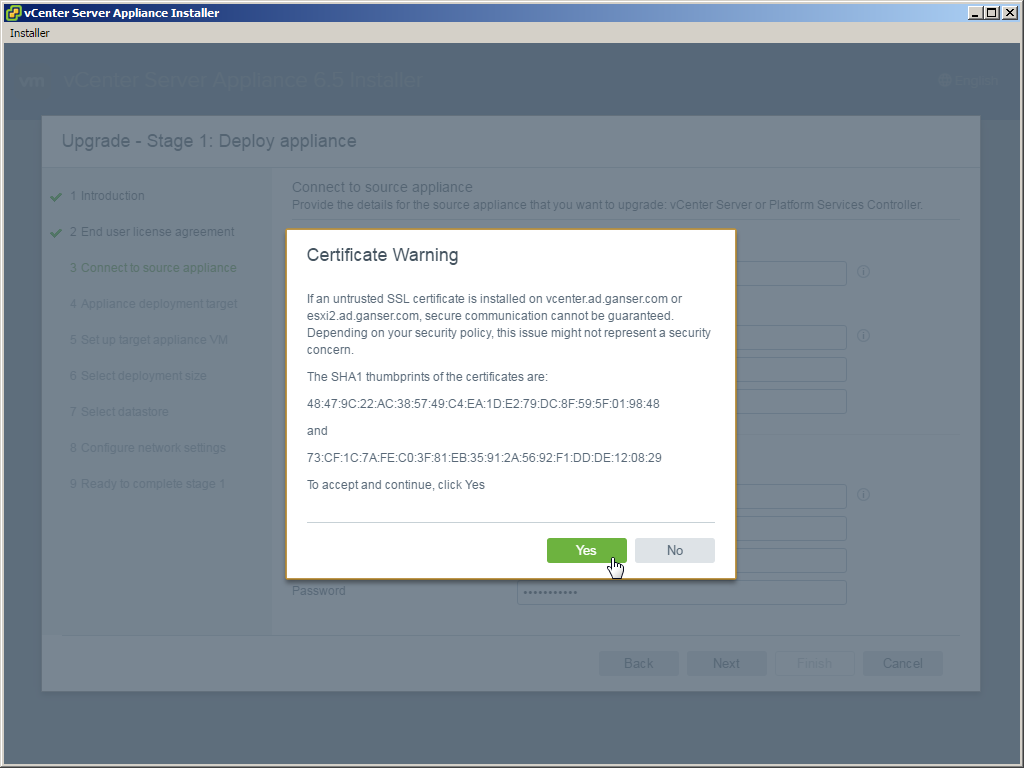
– Password - Certificate warning for the SSL fingerprint could be accepted with yes
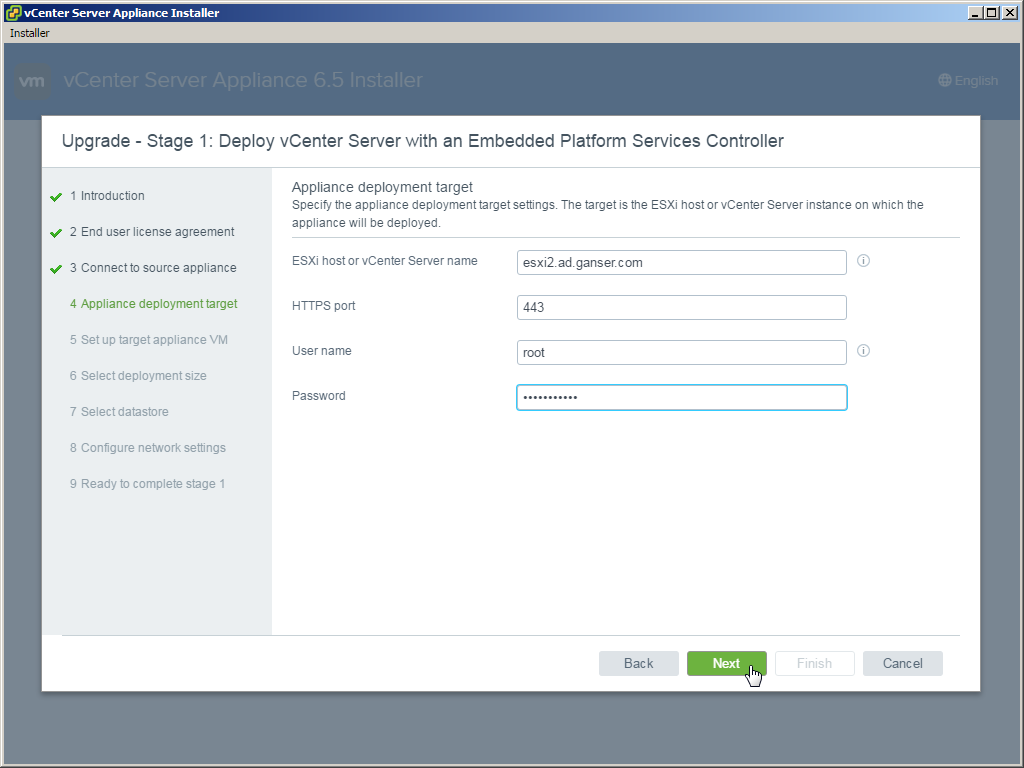
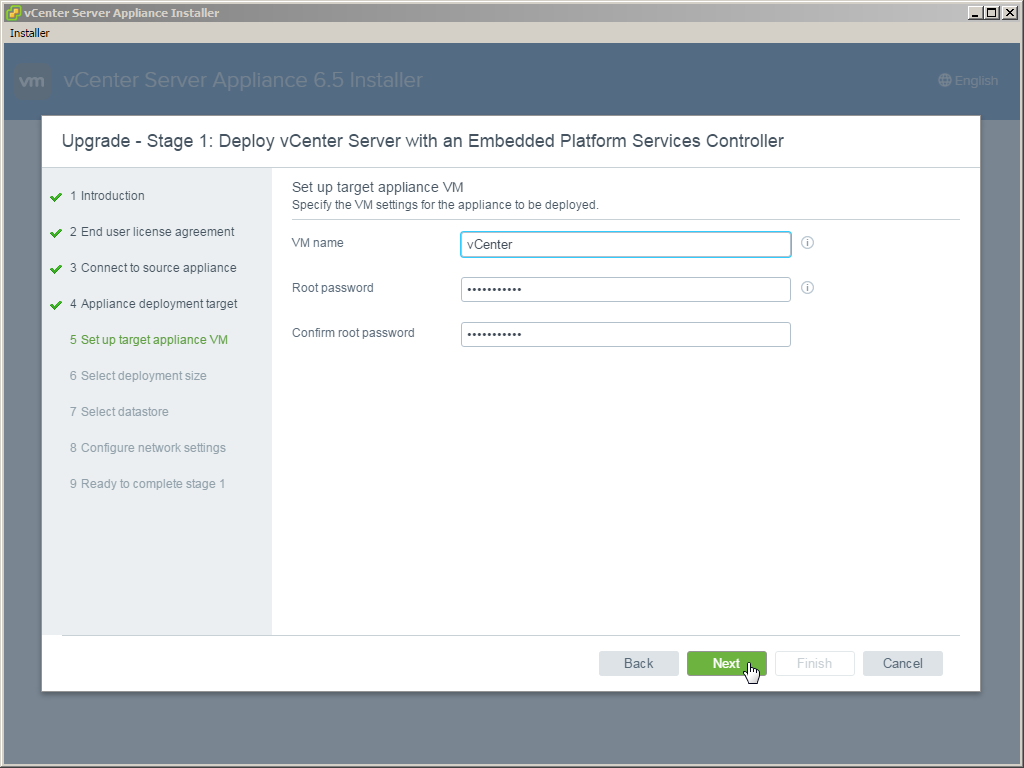
- After the validation you must enter target information for the new vCSA
- You can choose a deployment size.
For all LAB users: There is no tiny deployment size… The medium size begins with 24GB RAM *uff*
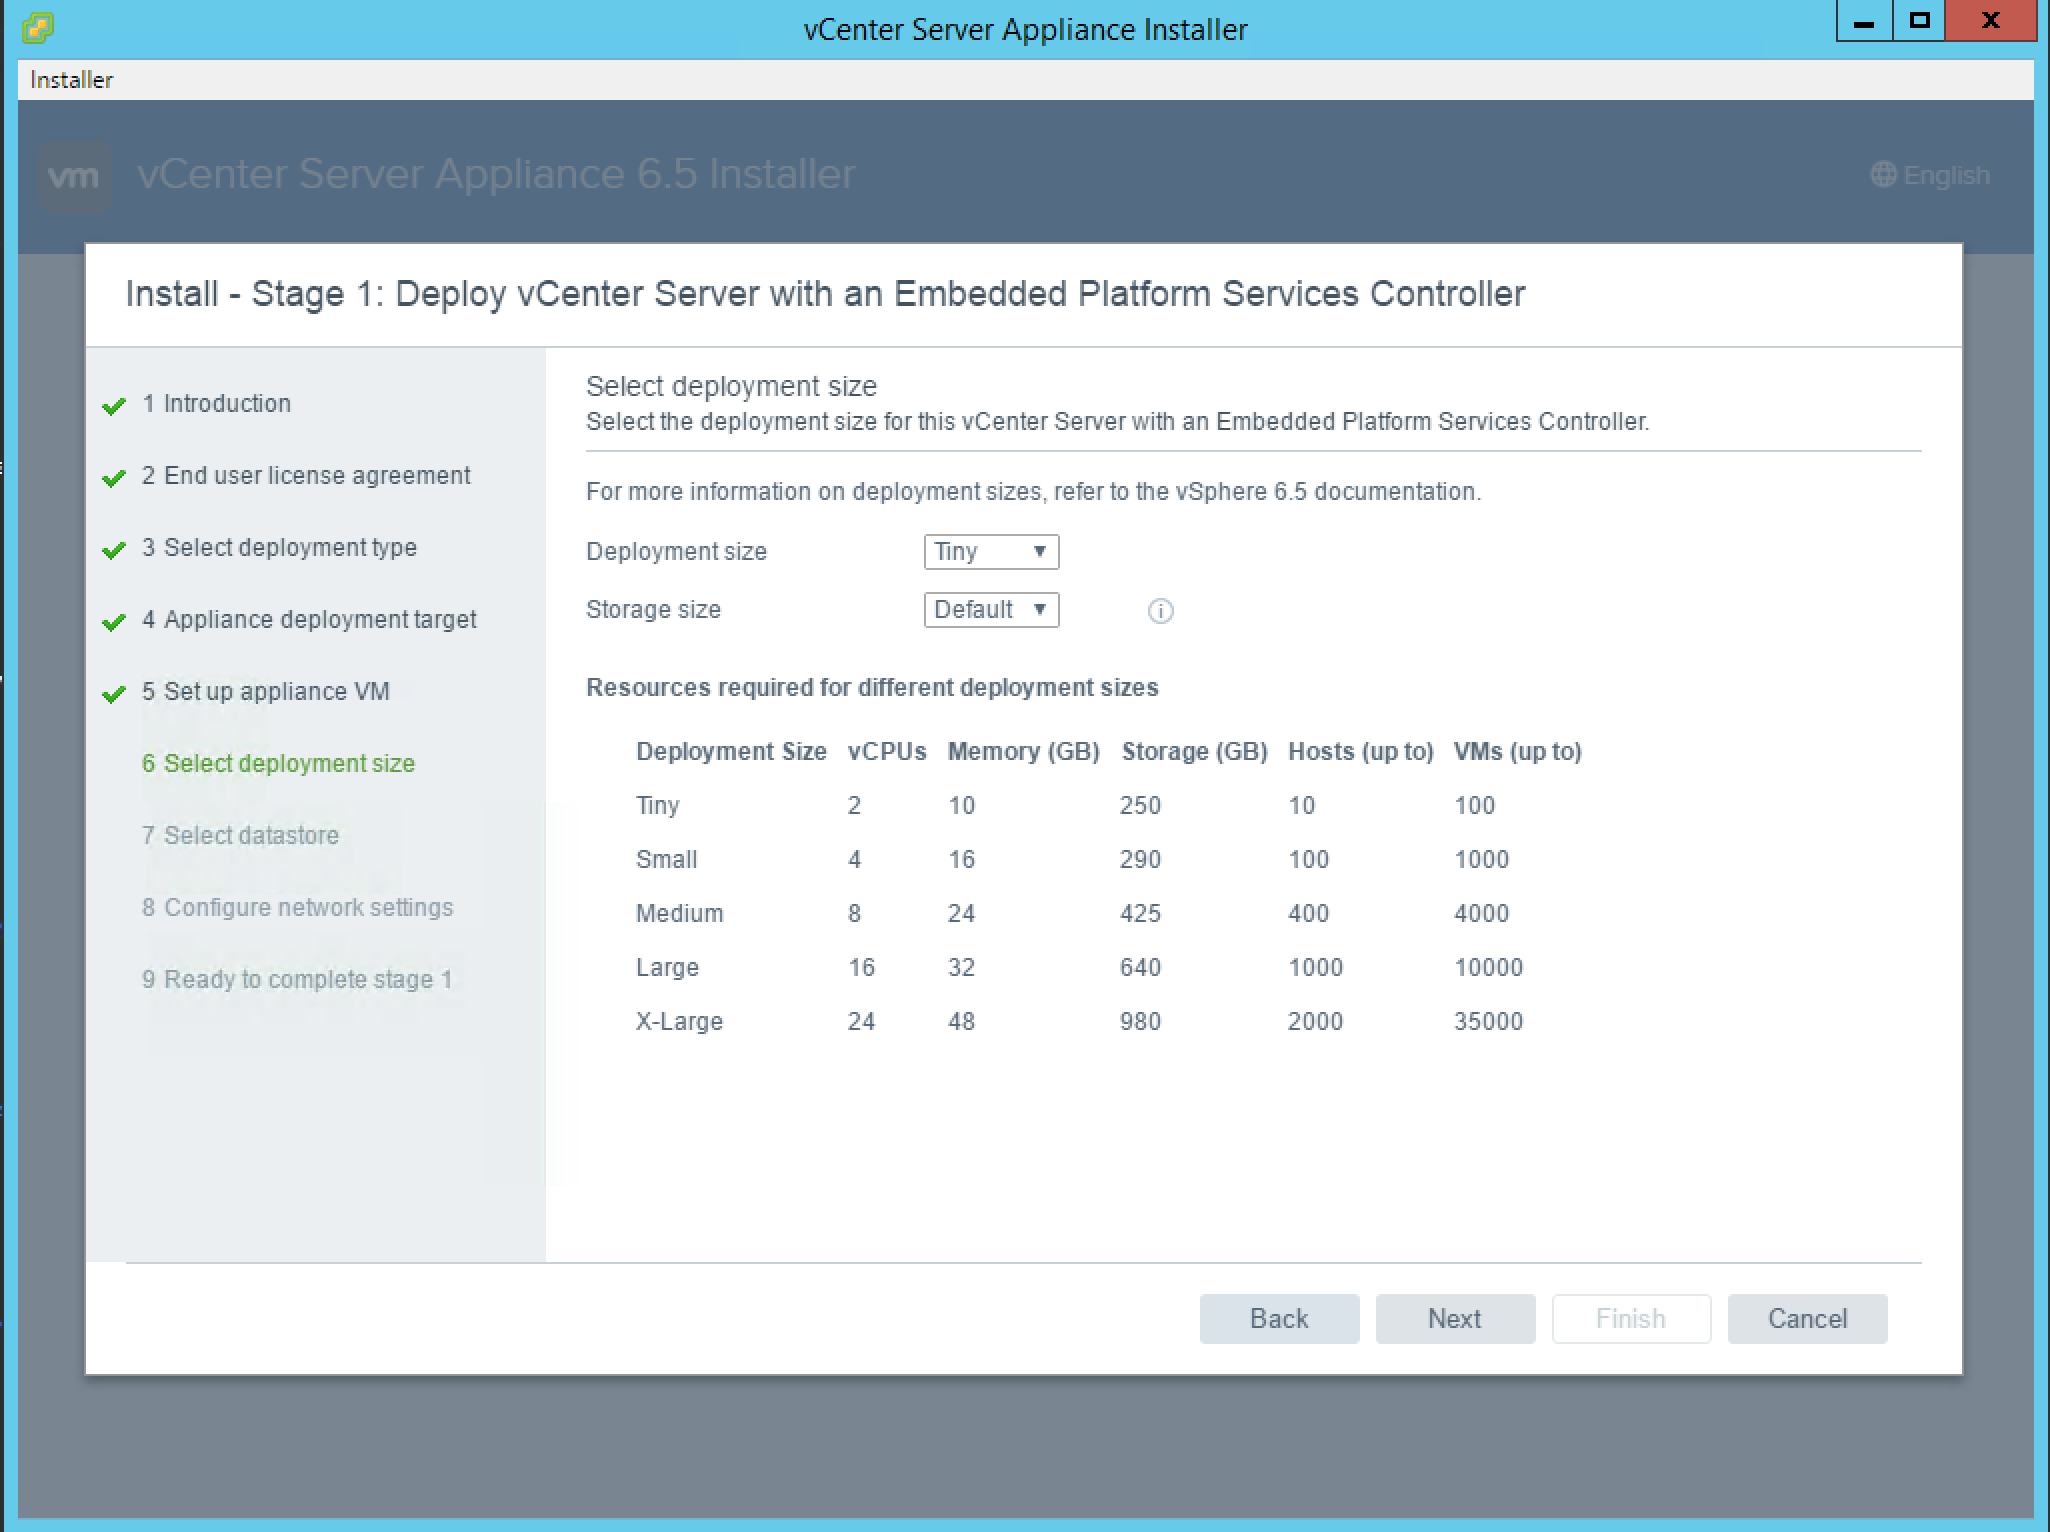
Update: Fabian send me a message, that he could choose smaller sizes.
After start a normal installation, I can also choose tiny and small too. But starting the migration of my vCSA don’t let me choose a smaller size than medium. My old installtion was tiny and I don’t get it why the installer wants medium as smalles size…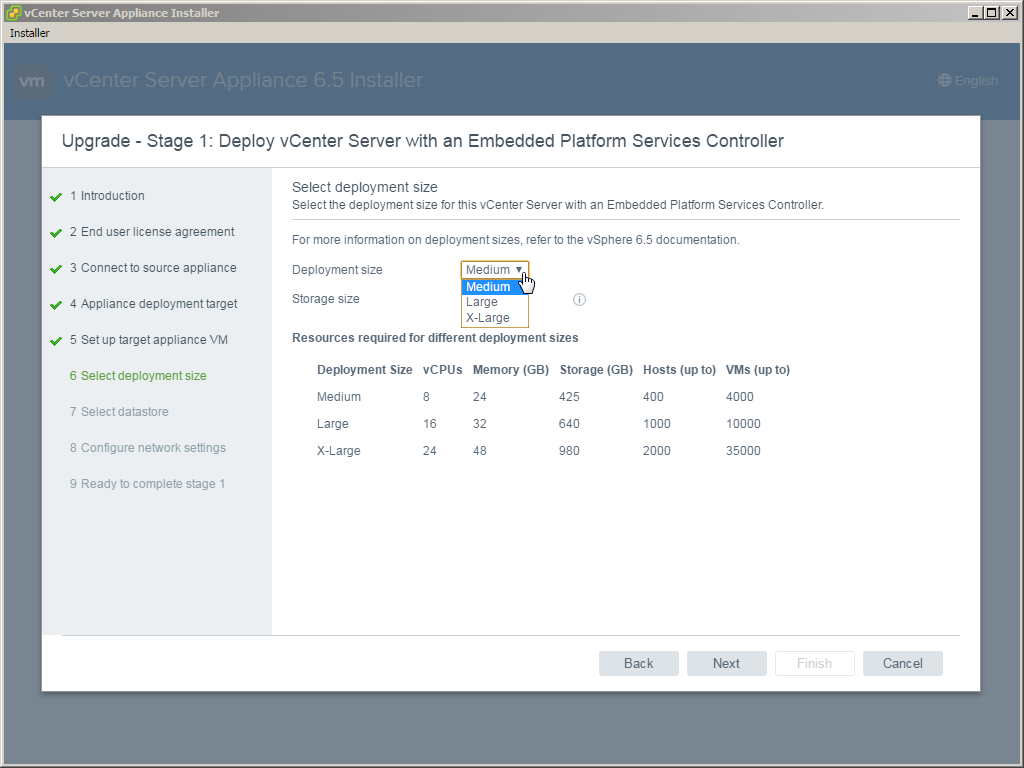
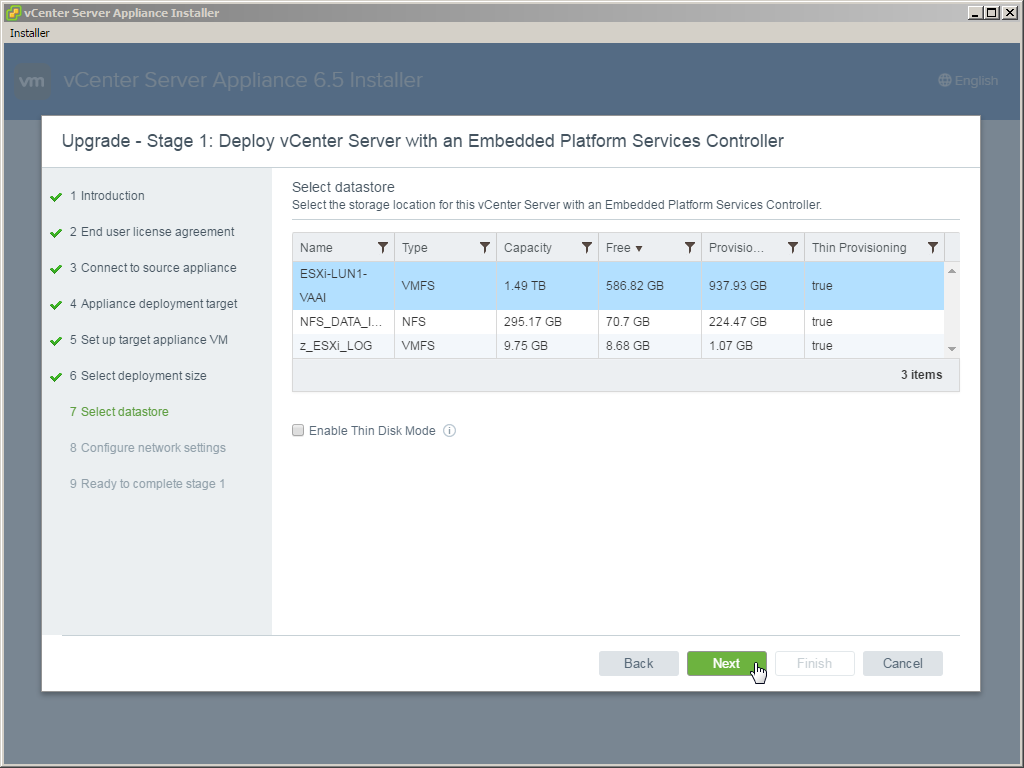
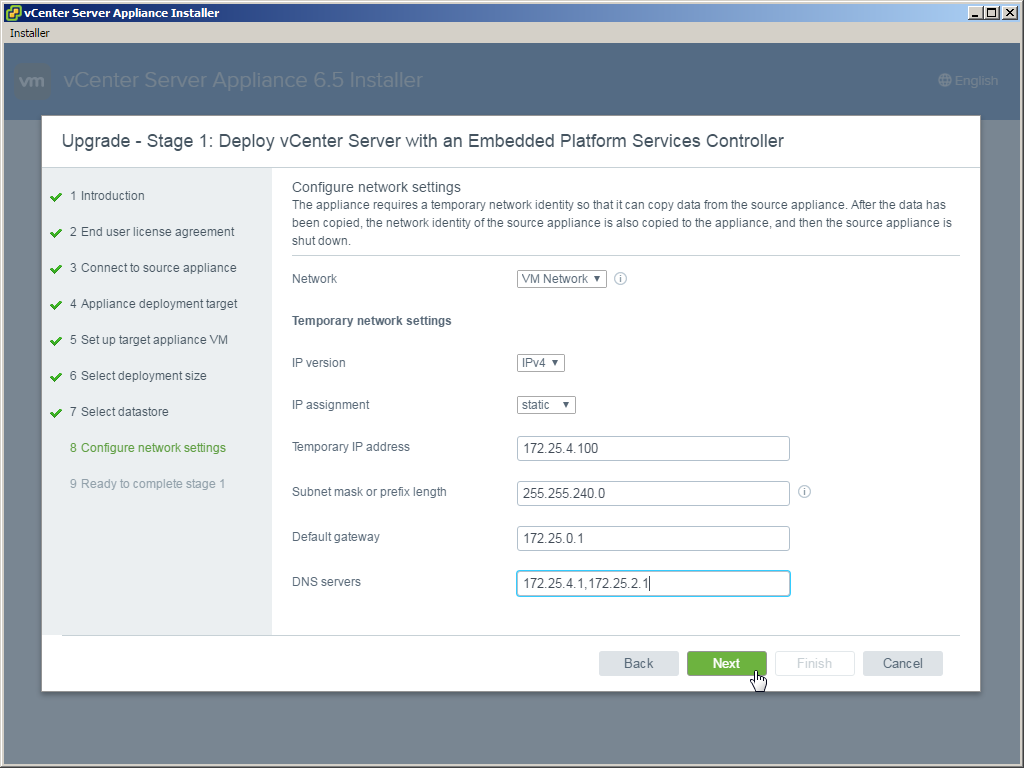
- Now choose the datastore and give a temporary IP address for the new vCSA
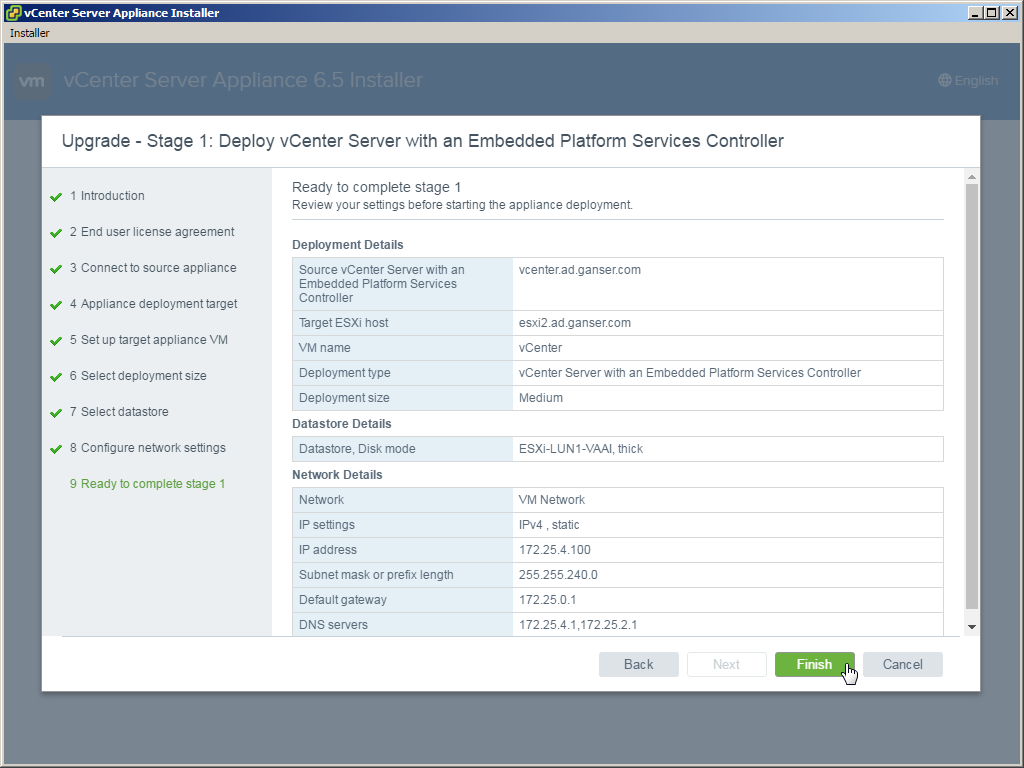
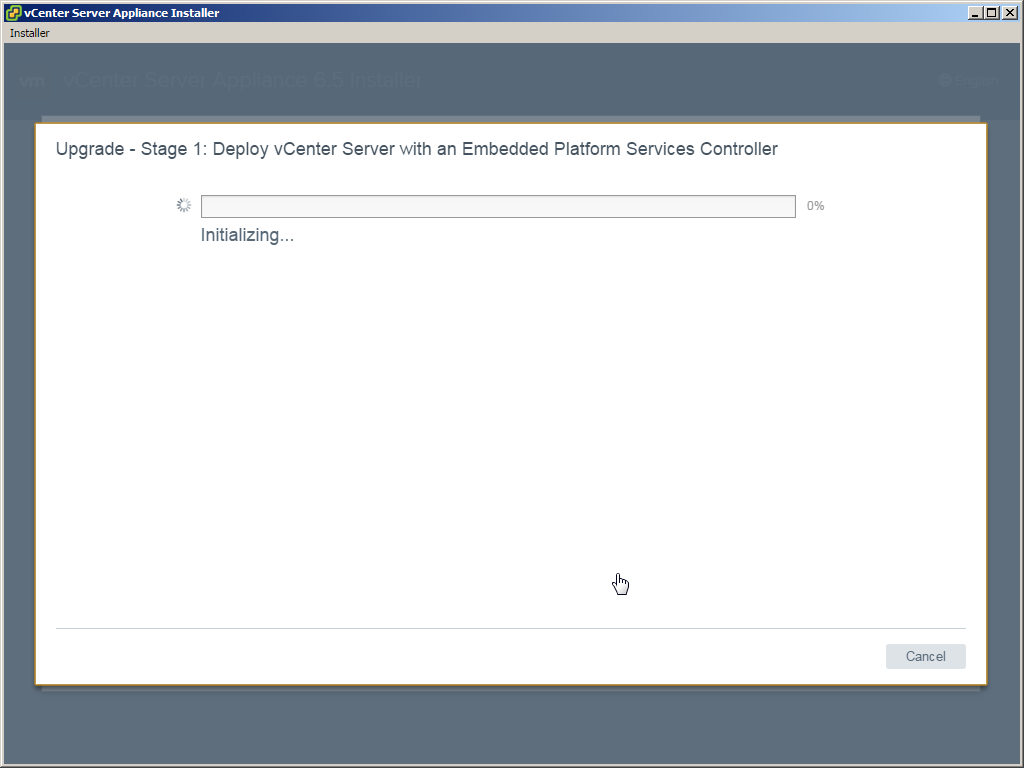
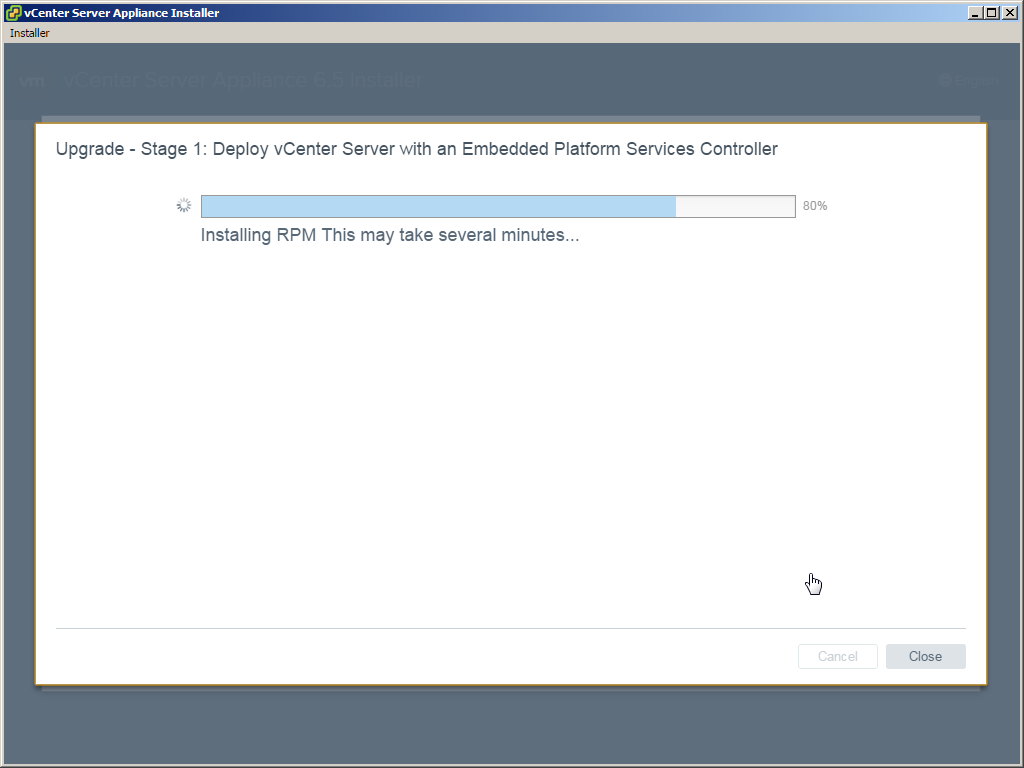
- After that, you get a review and you can start the Stage 1
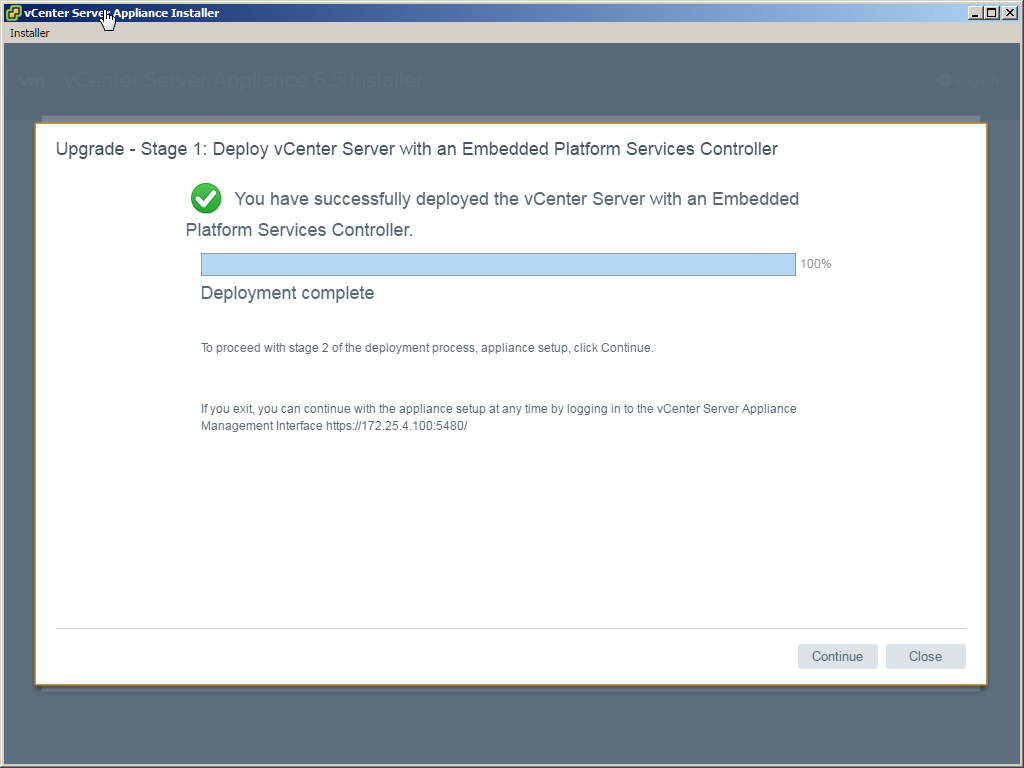
Upgrade Stage 2
- After deploying the new vCSA the Stage 2 will migrate the data from the old vCSA. The Pre-Upgrade check maybe shows some warnings.
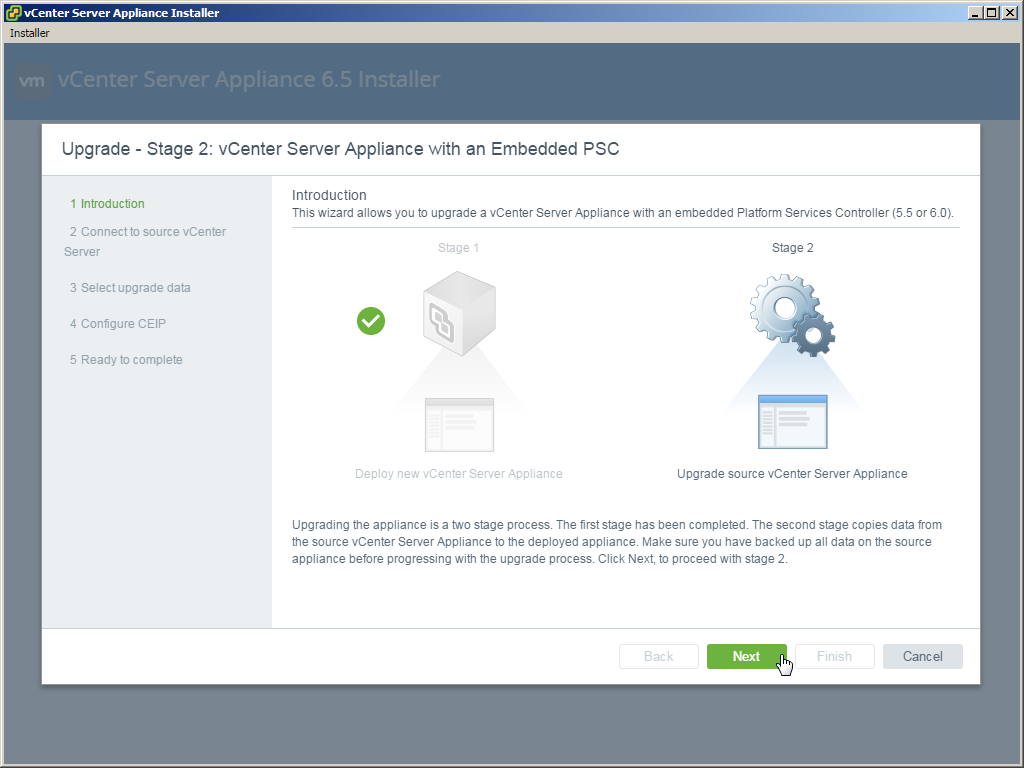
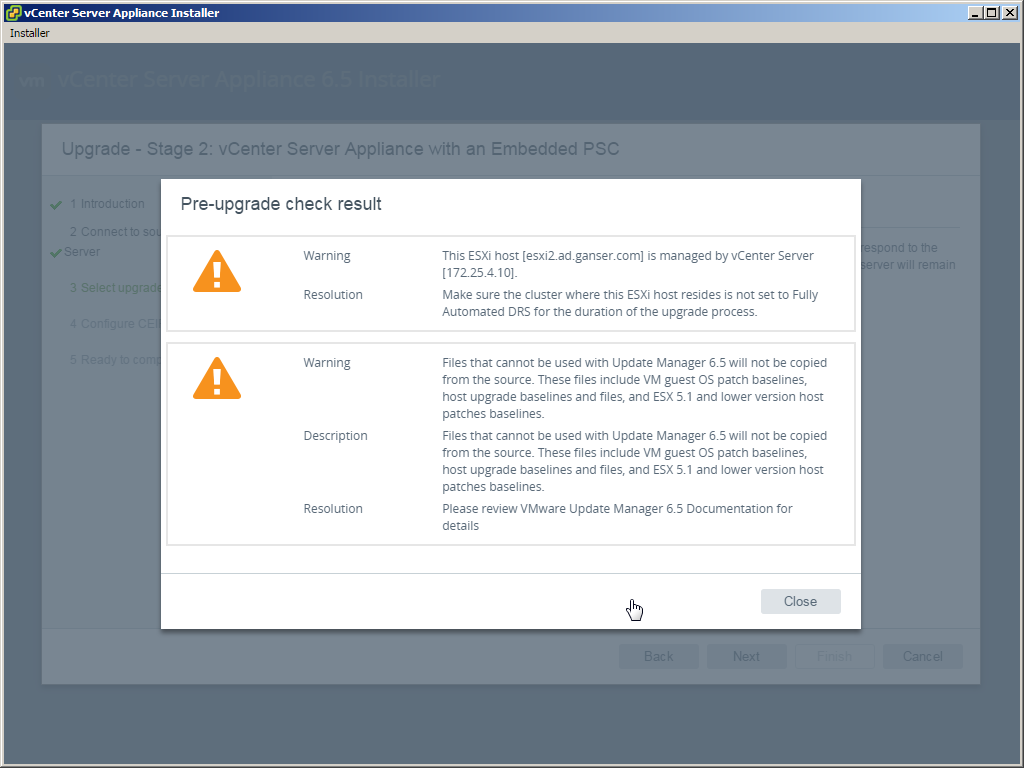
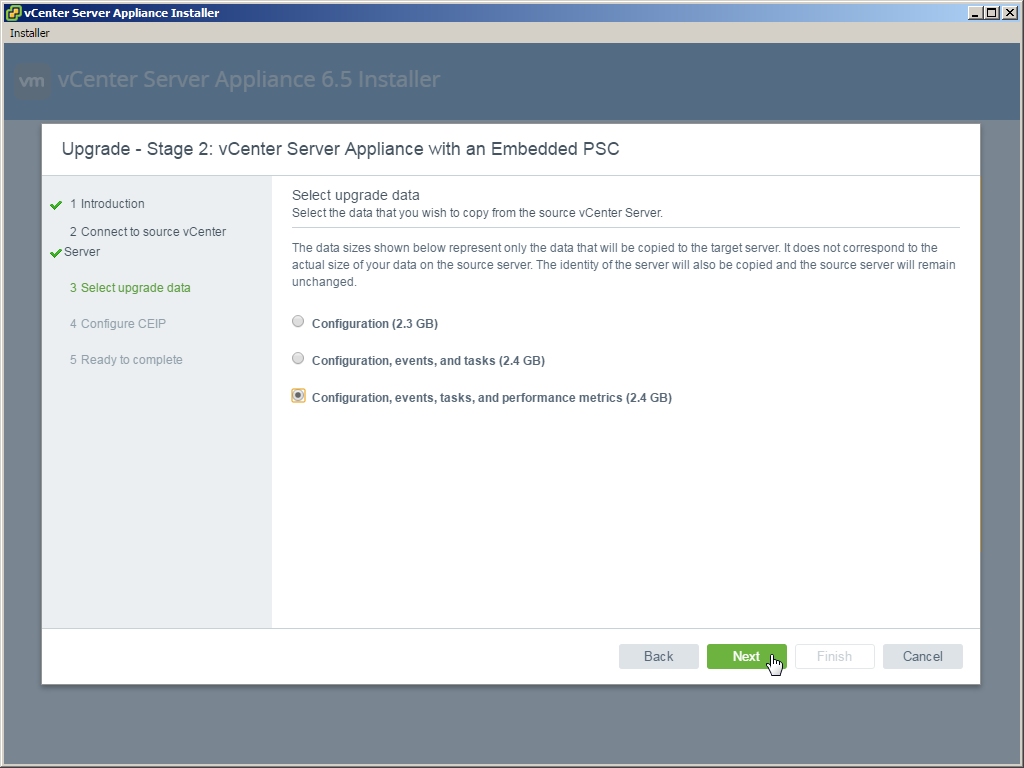
- After proceeding you can choose to participate the Customer Experience Improvement Program. In the next step you choose the type of data which will be migrated (configuration only / configuration, events and tasks / configuration, events, tasks and performance metrics)
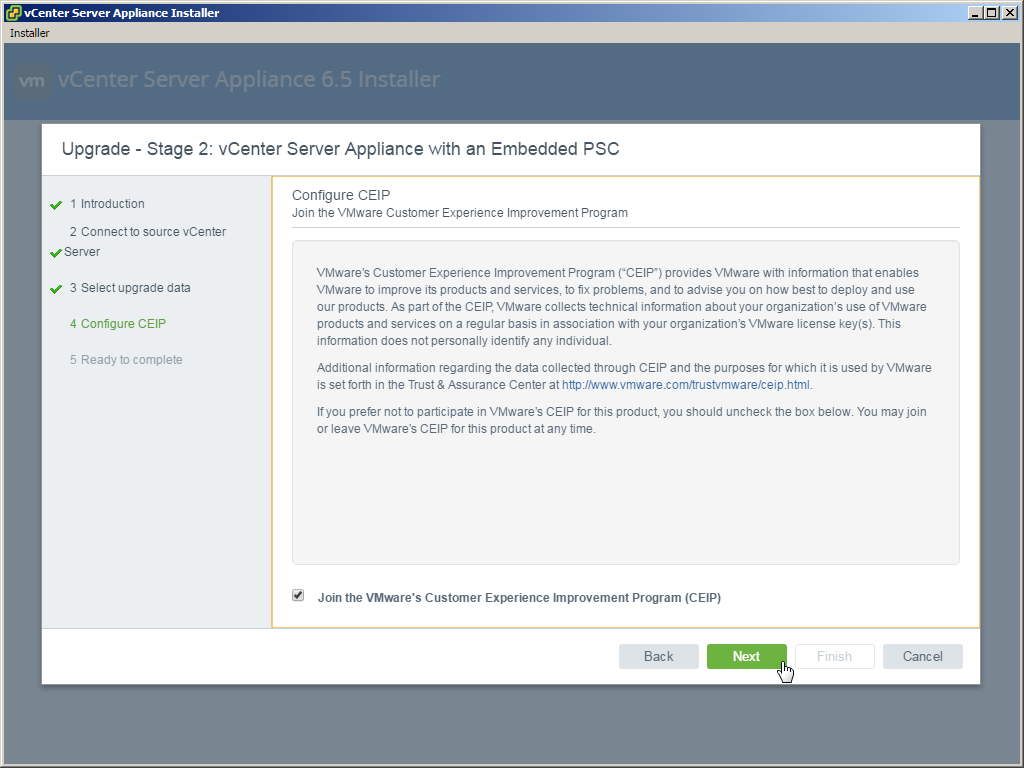
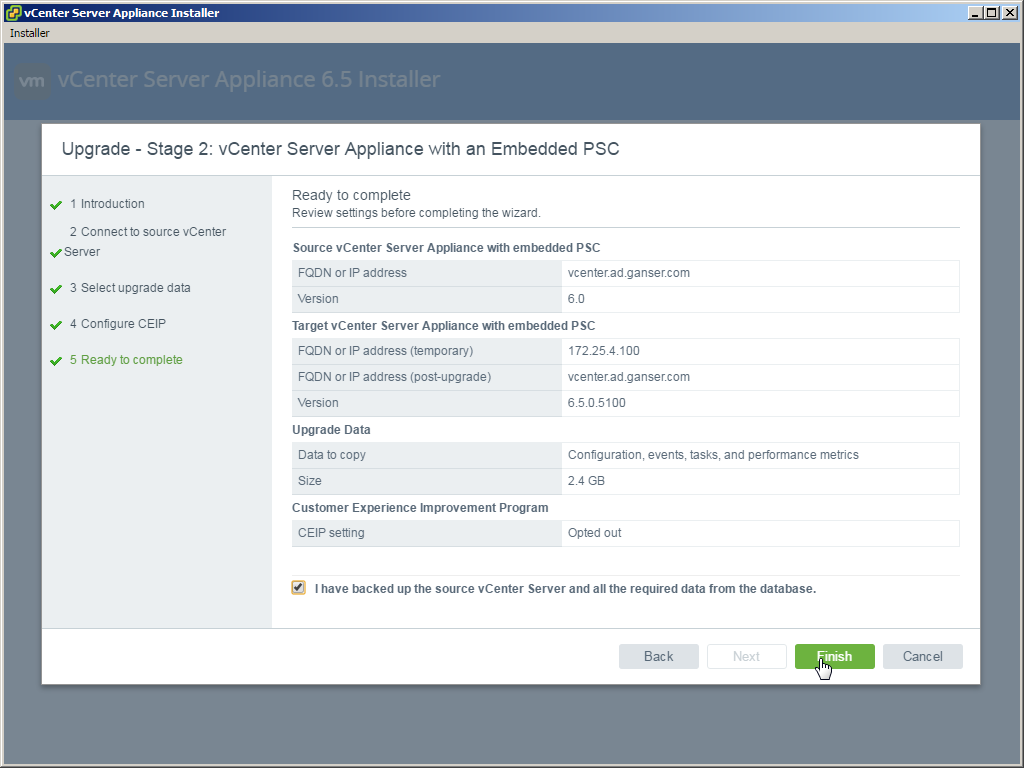
- After reviewing the settings you can start the data transfer
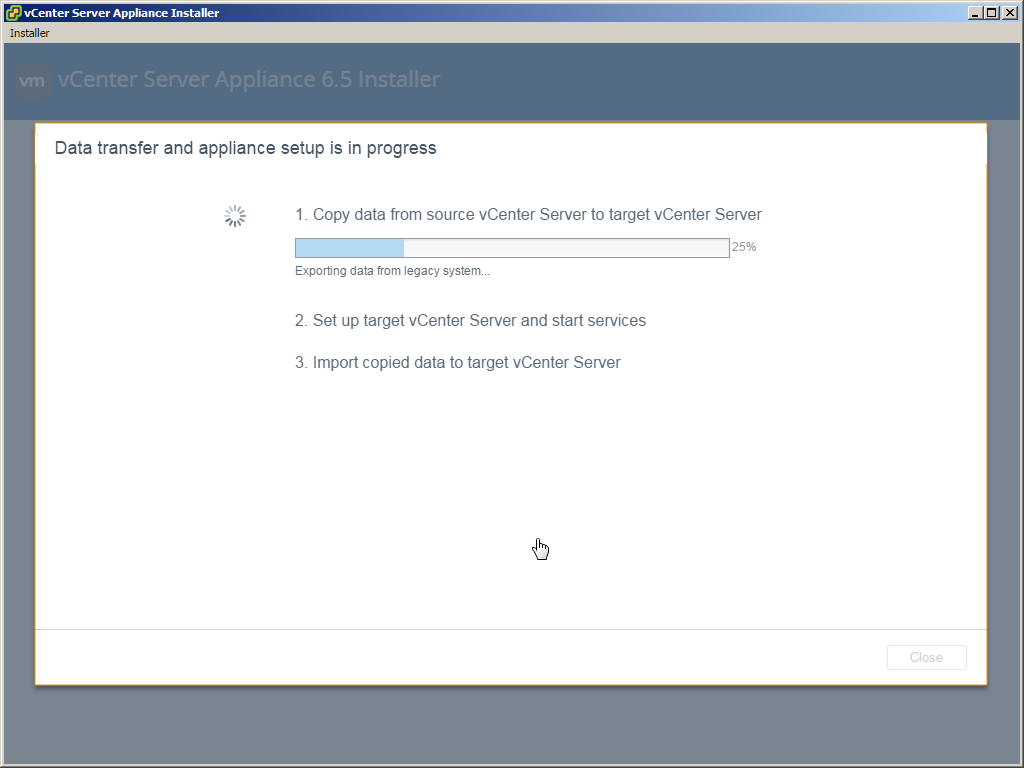
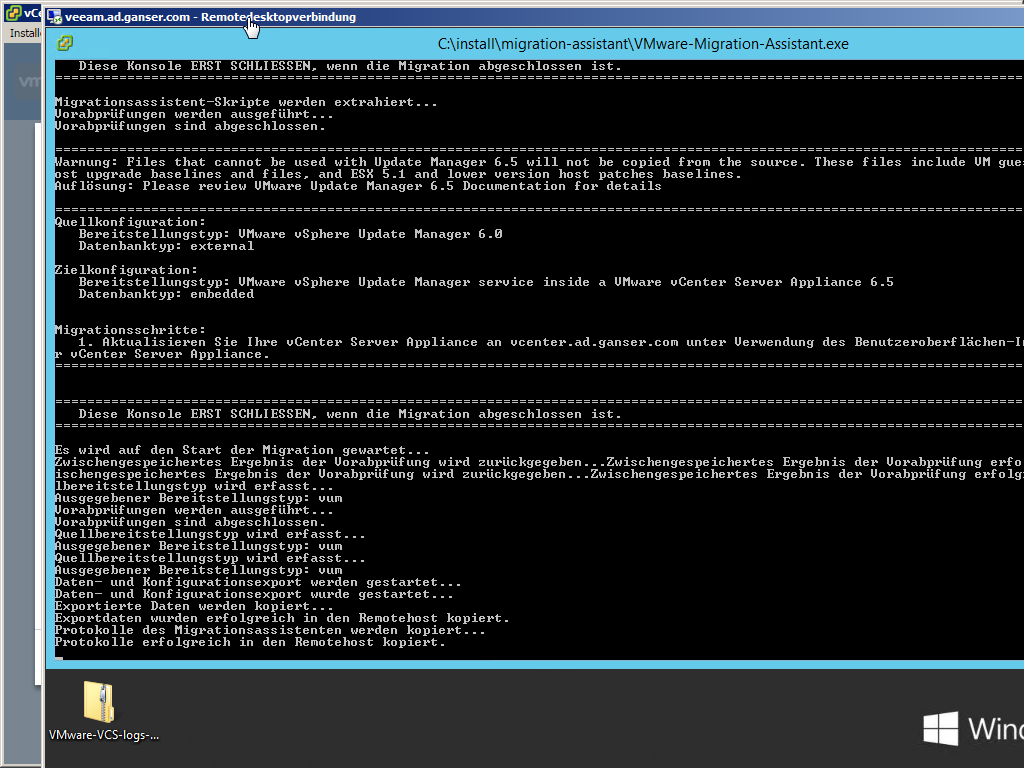
- You can see the reaction on the VMware Update Manager Server in the migration assistant. The migration assistant shuts down by itself at the end.
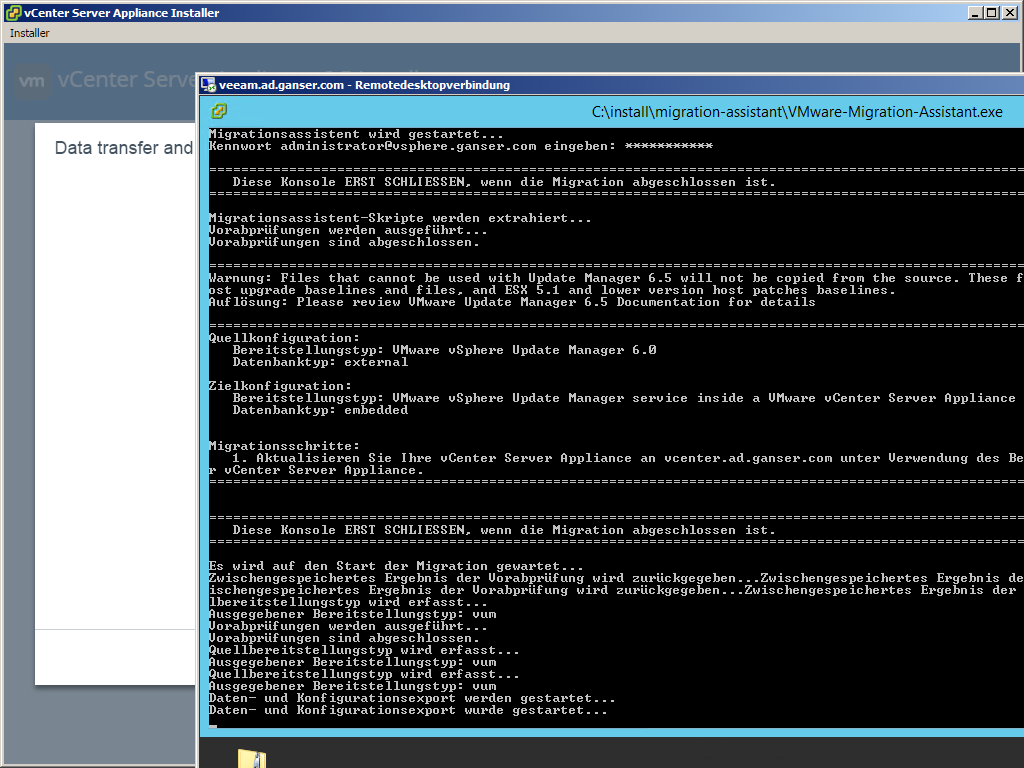
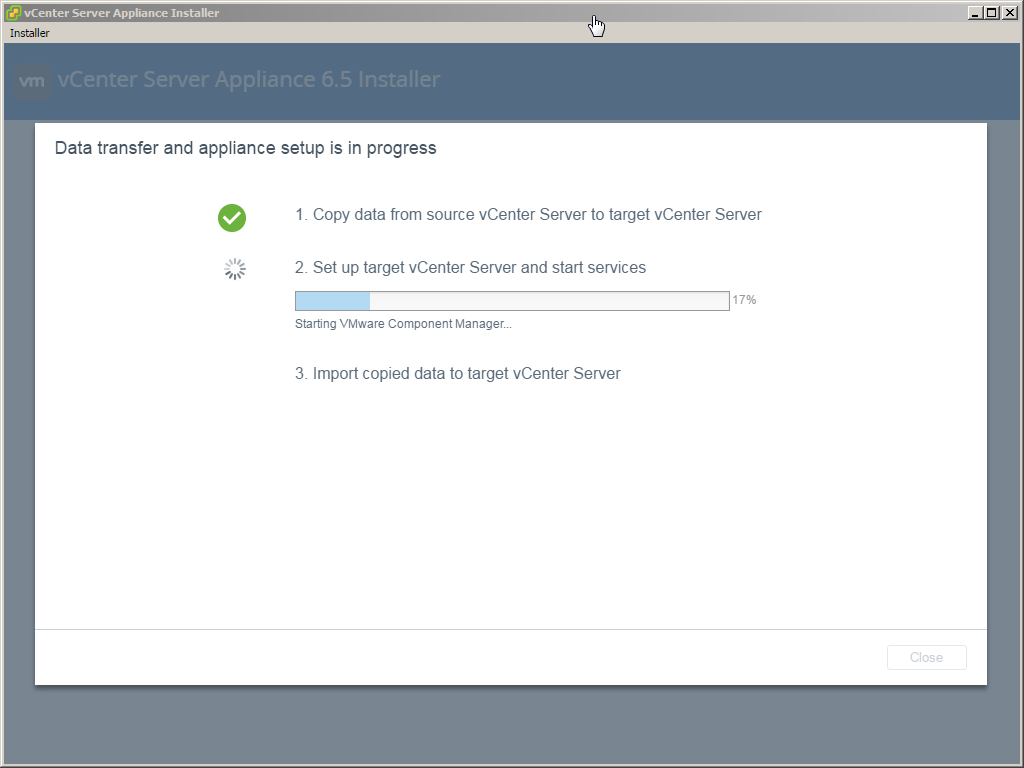
- After the data is copied, the new vCSA will be set up and data gets imported.
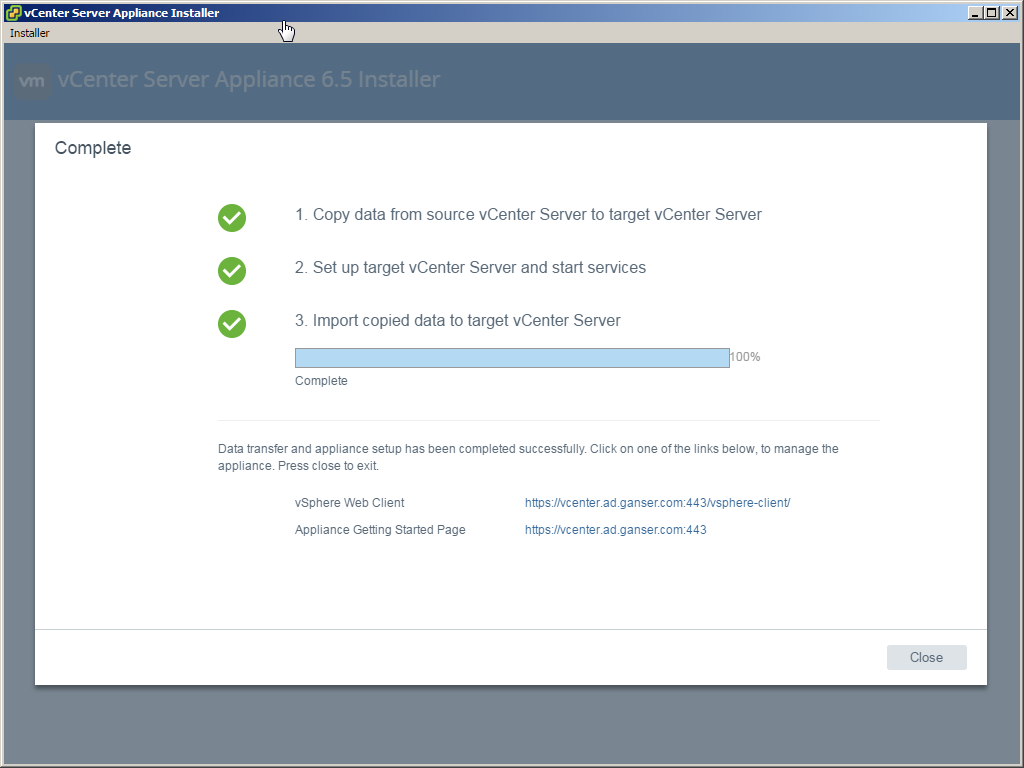
- After completion you can access the new vCSA. The new HTML5 Web Client is accessible via
https://yourvcsa.domain.local/uiThe “old” WebClient is also there. VMware didn’t get all functions in the new HTML5 WebClient and so the old one is accessible via the old link
https://yourvcsa.domain.local:9443/vsphere-client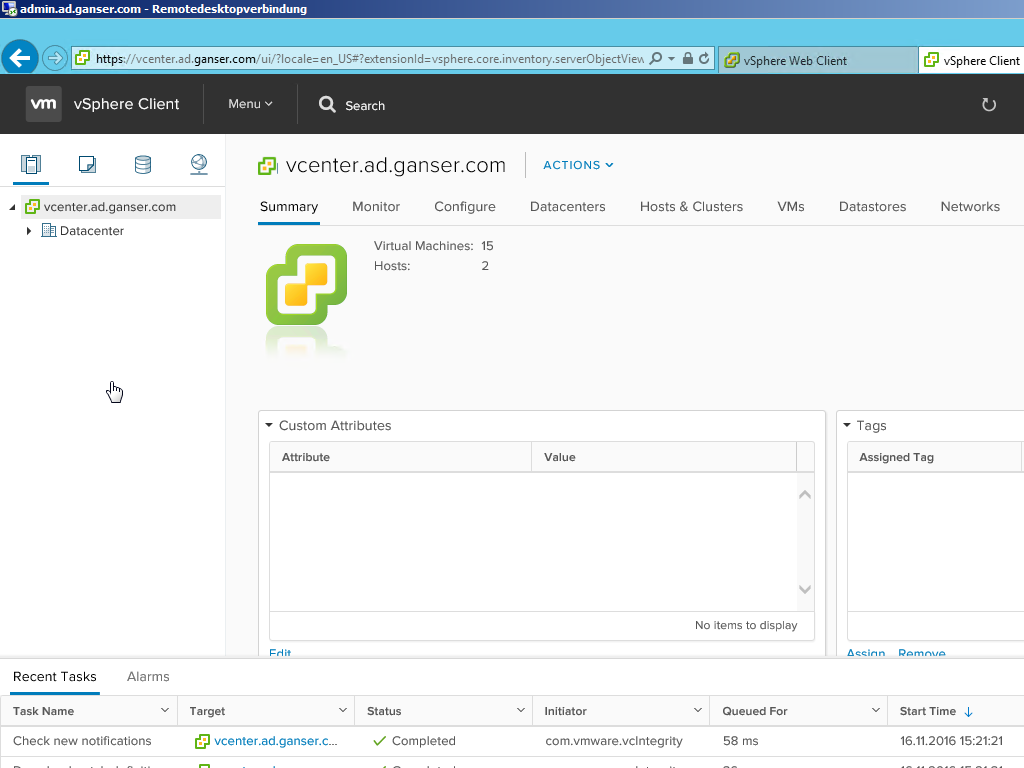
- At the end set your DRS setting back to fully automated.

Conclusion
The new vCSA is online. If everything is working you can delete the old vCSA from your datastore. Maybe you want to back up the old one…
I am happy about the new HTML5 WebClient Integration but also sad about it, because it is a WebClient where several functions missing. I hope that this will be solved in the next updates and the old WebClient could jump in the lake…


Leave a Reply