The last days VCSA 6.7.0a gets GA. In this post I want to show the upgrade from VCSA 6.5 U1 to VCSA 6.7.0 (not a). In my other post (Update VCSA 6.7) I’ve made the update from 6.7.0 to 6.7.0a.
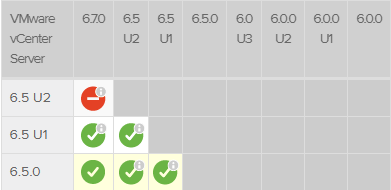
First thing to know is, there is no support to upgrade from 6.5 U2 to 6.7.0! So, if you are planning to update your existing VCSA 6.5 to Update 2 you have to wait for the (maybe) VCSA 6.7 Update 1 to migrate to 6.7.
For example there is also no support from Veeam Backup & Replication 9.5 Update 3 for vSphere 6.7 (www.veeam.com) Support will come with the next update.
(26thJun18 Veeam B& R 9.5 Update 3a is availiable)
VMware has made an KB article with important information before upgrade (kb.vmware.com)

Now lets start with the upgrade
Preparation:
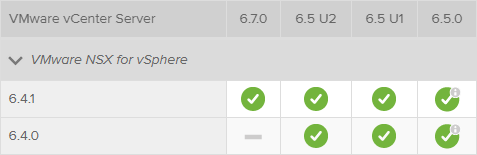
- First check the Interoperability Matrices (www.vmware.com)
Check ALL of your VMware products! NSX for example needs to be upgraded before. VMware vCenter Server 6.7. only supports NSX 6.4.1
- Download the ISO from my.vmware.com

Upgrade:
- Mount the ISO to your workstation and run the installer which is located in vcsa-ui-installer/YOUR-OS
To upgrade the VCSA choose Upgrade

- The upgrade is a migration in fact. It is split into two Stages. In “Stage 1” a new virtual machine is deployed and configured. Stage 2 will migrate data and power up the new VCSA.
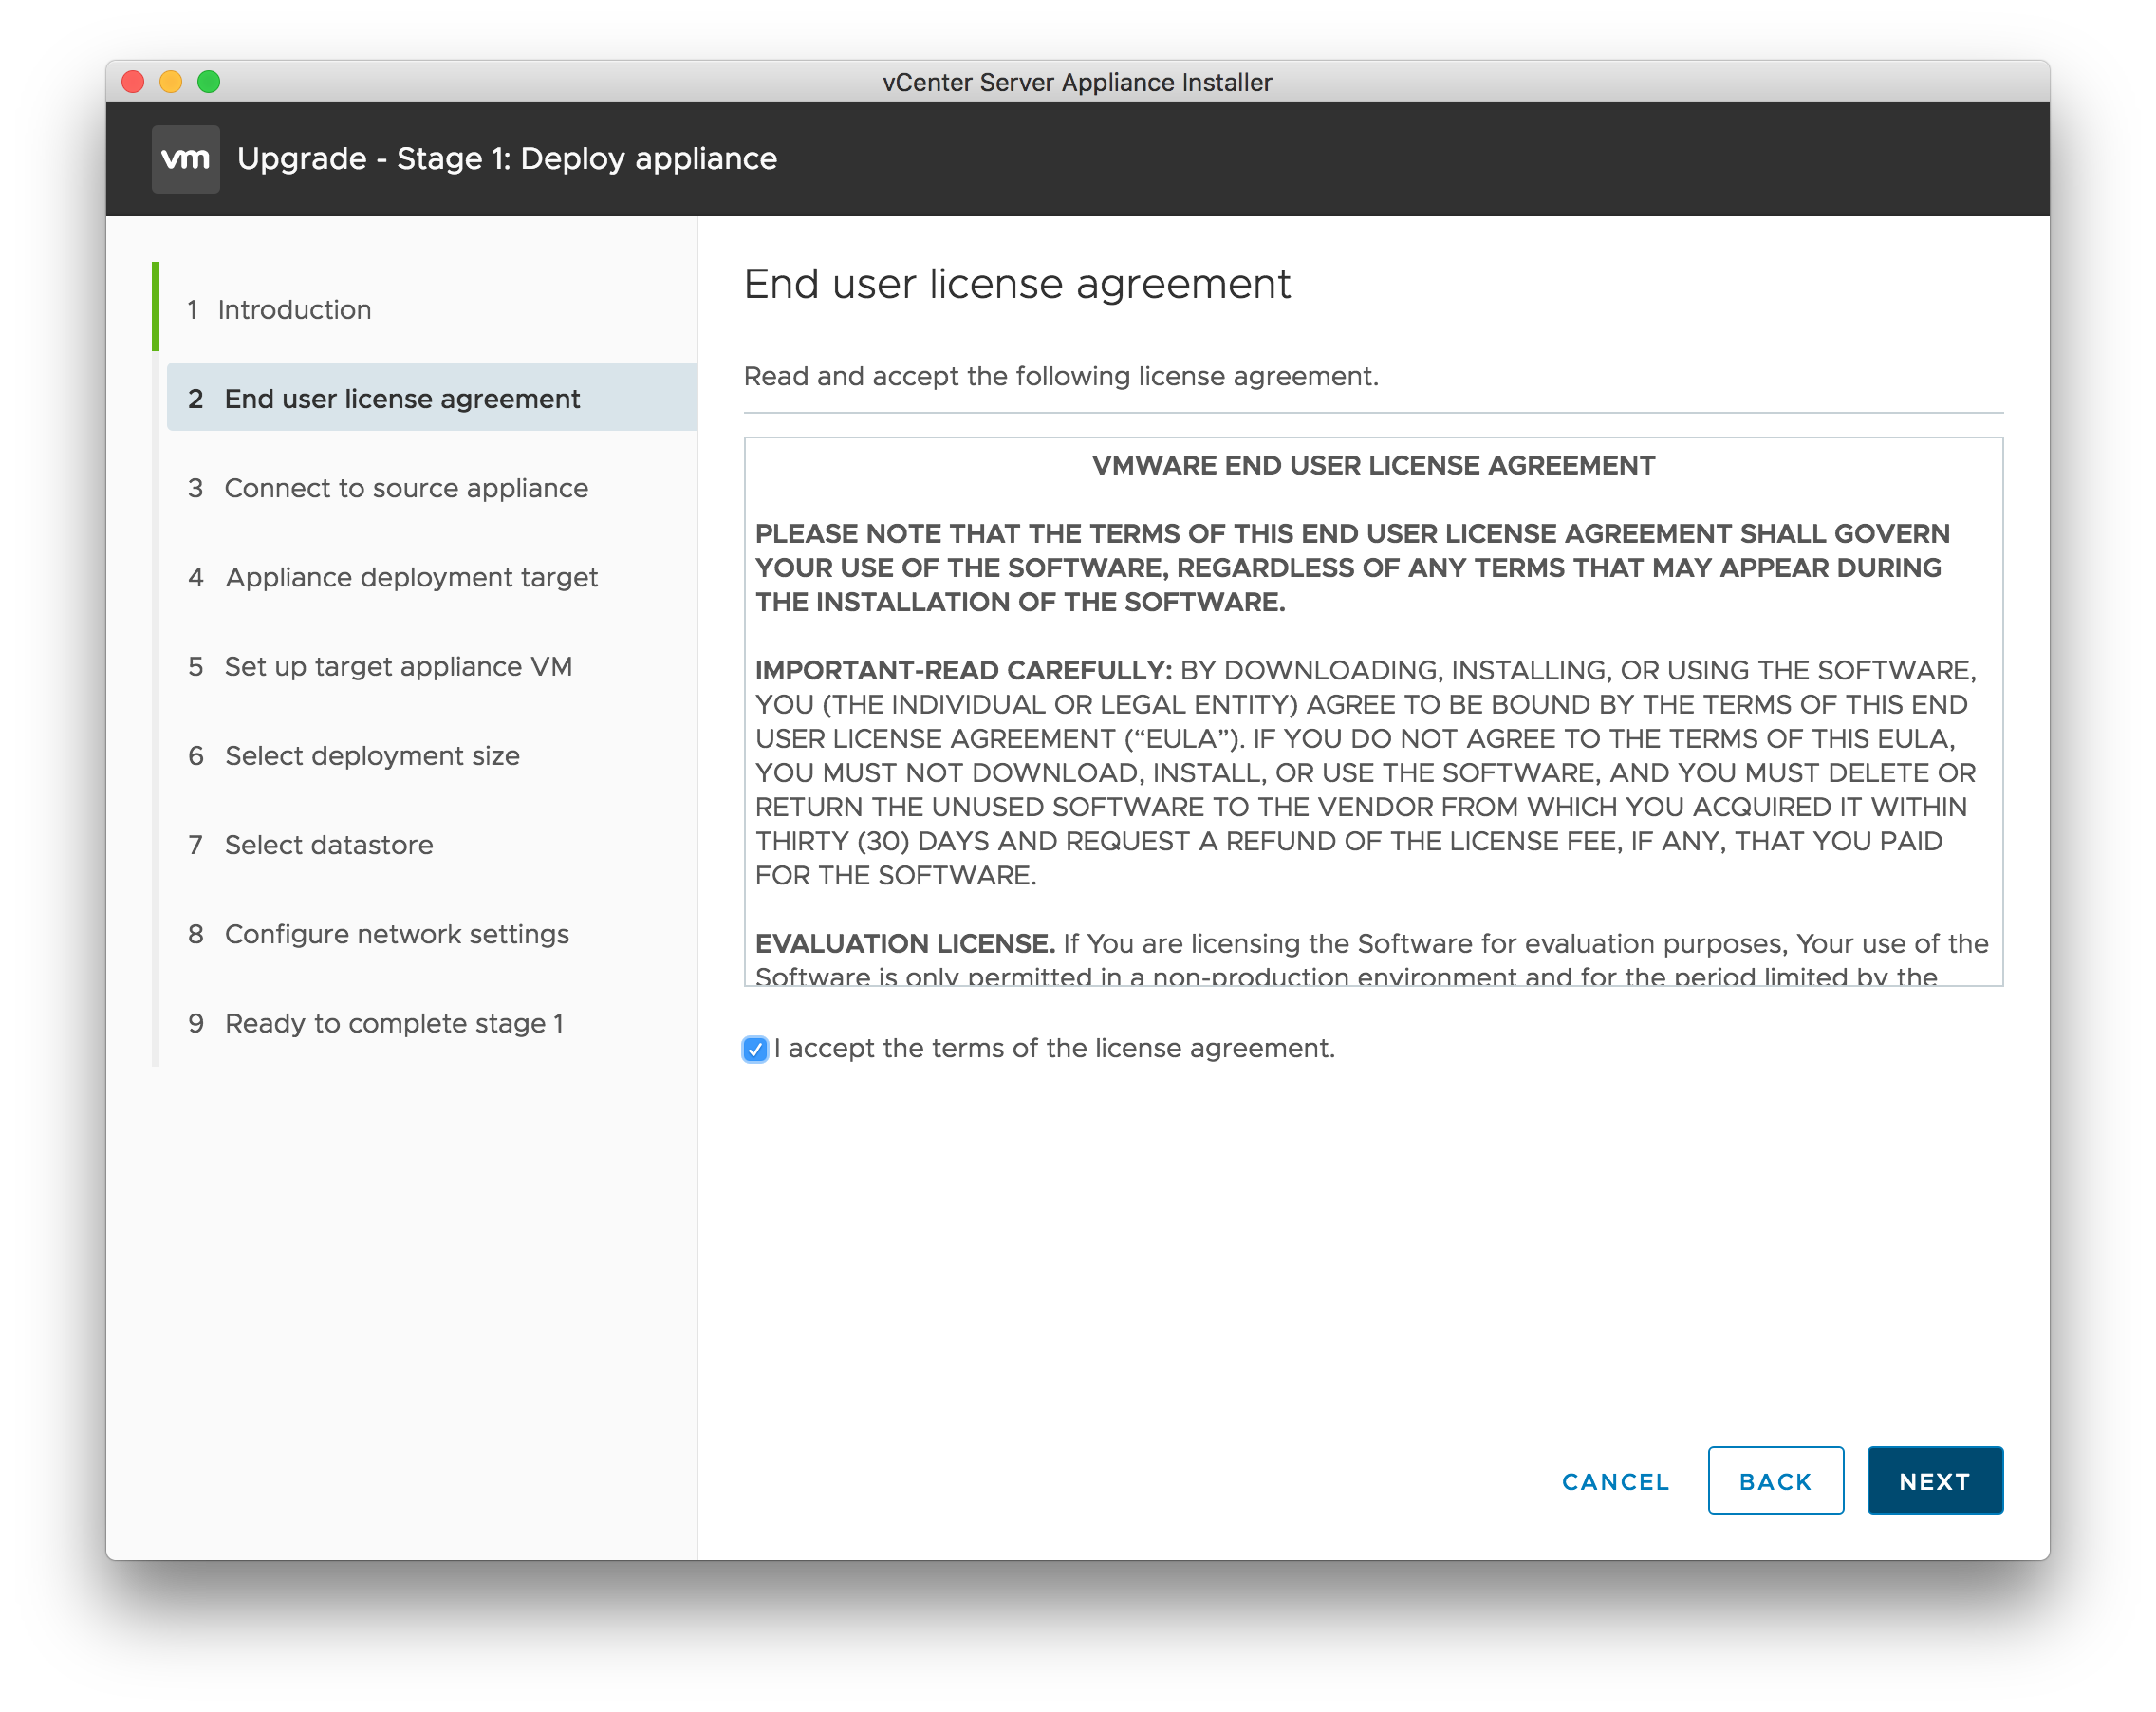
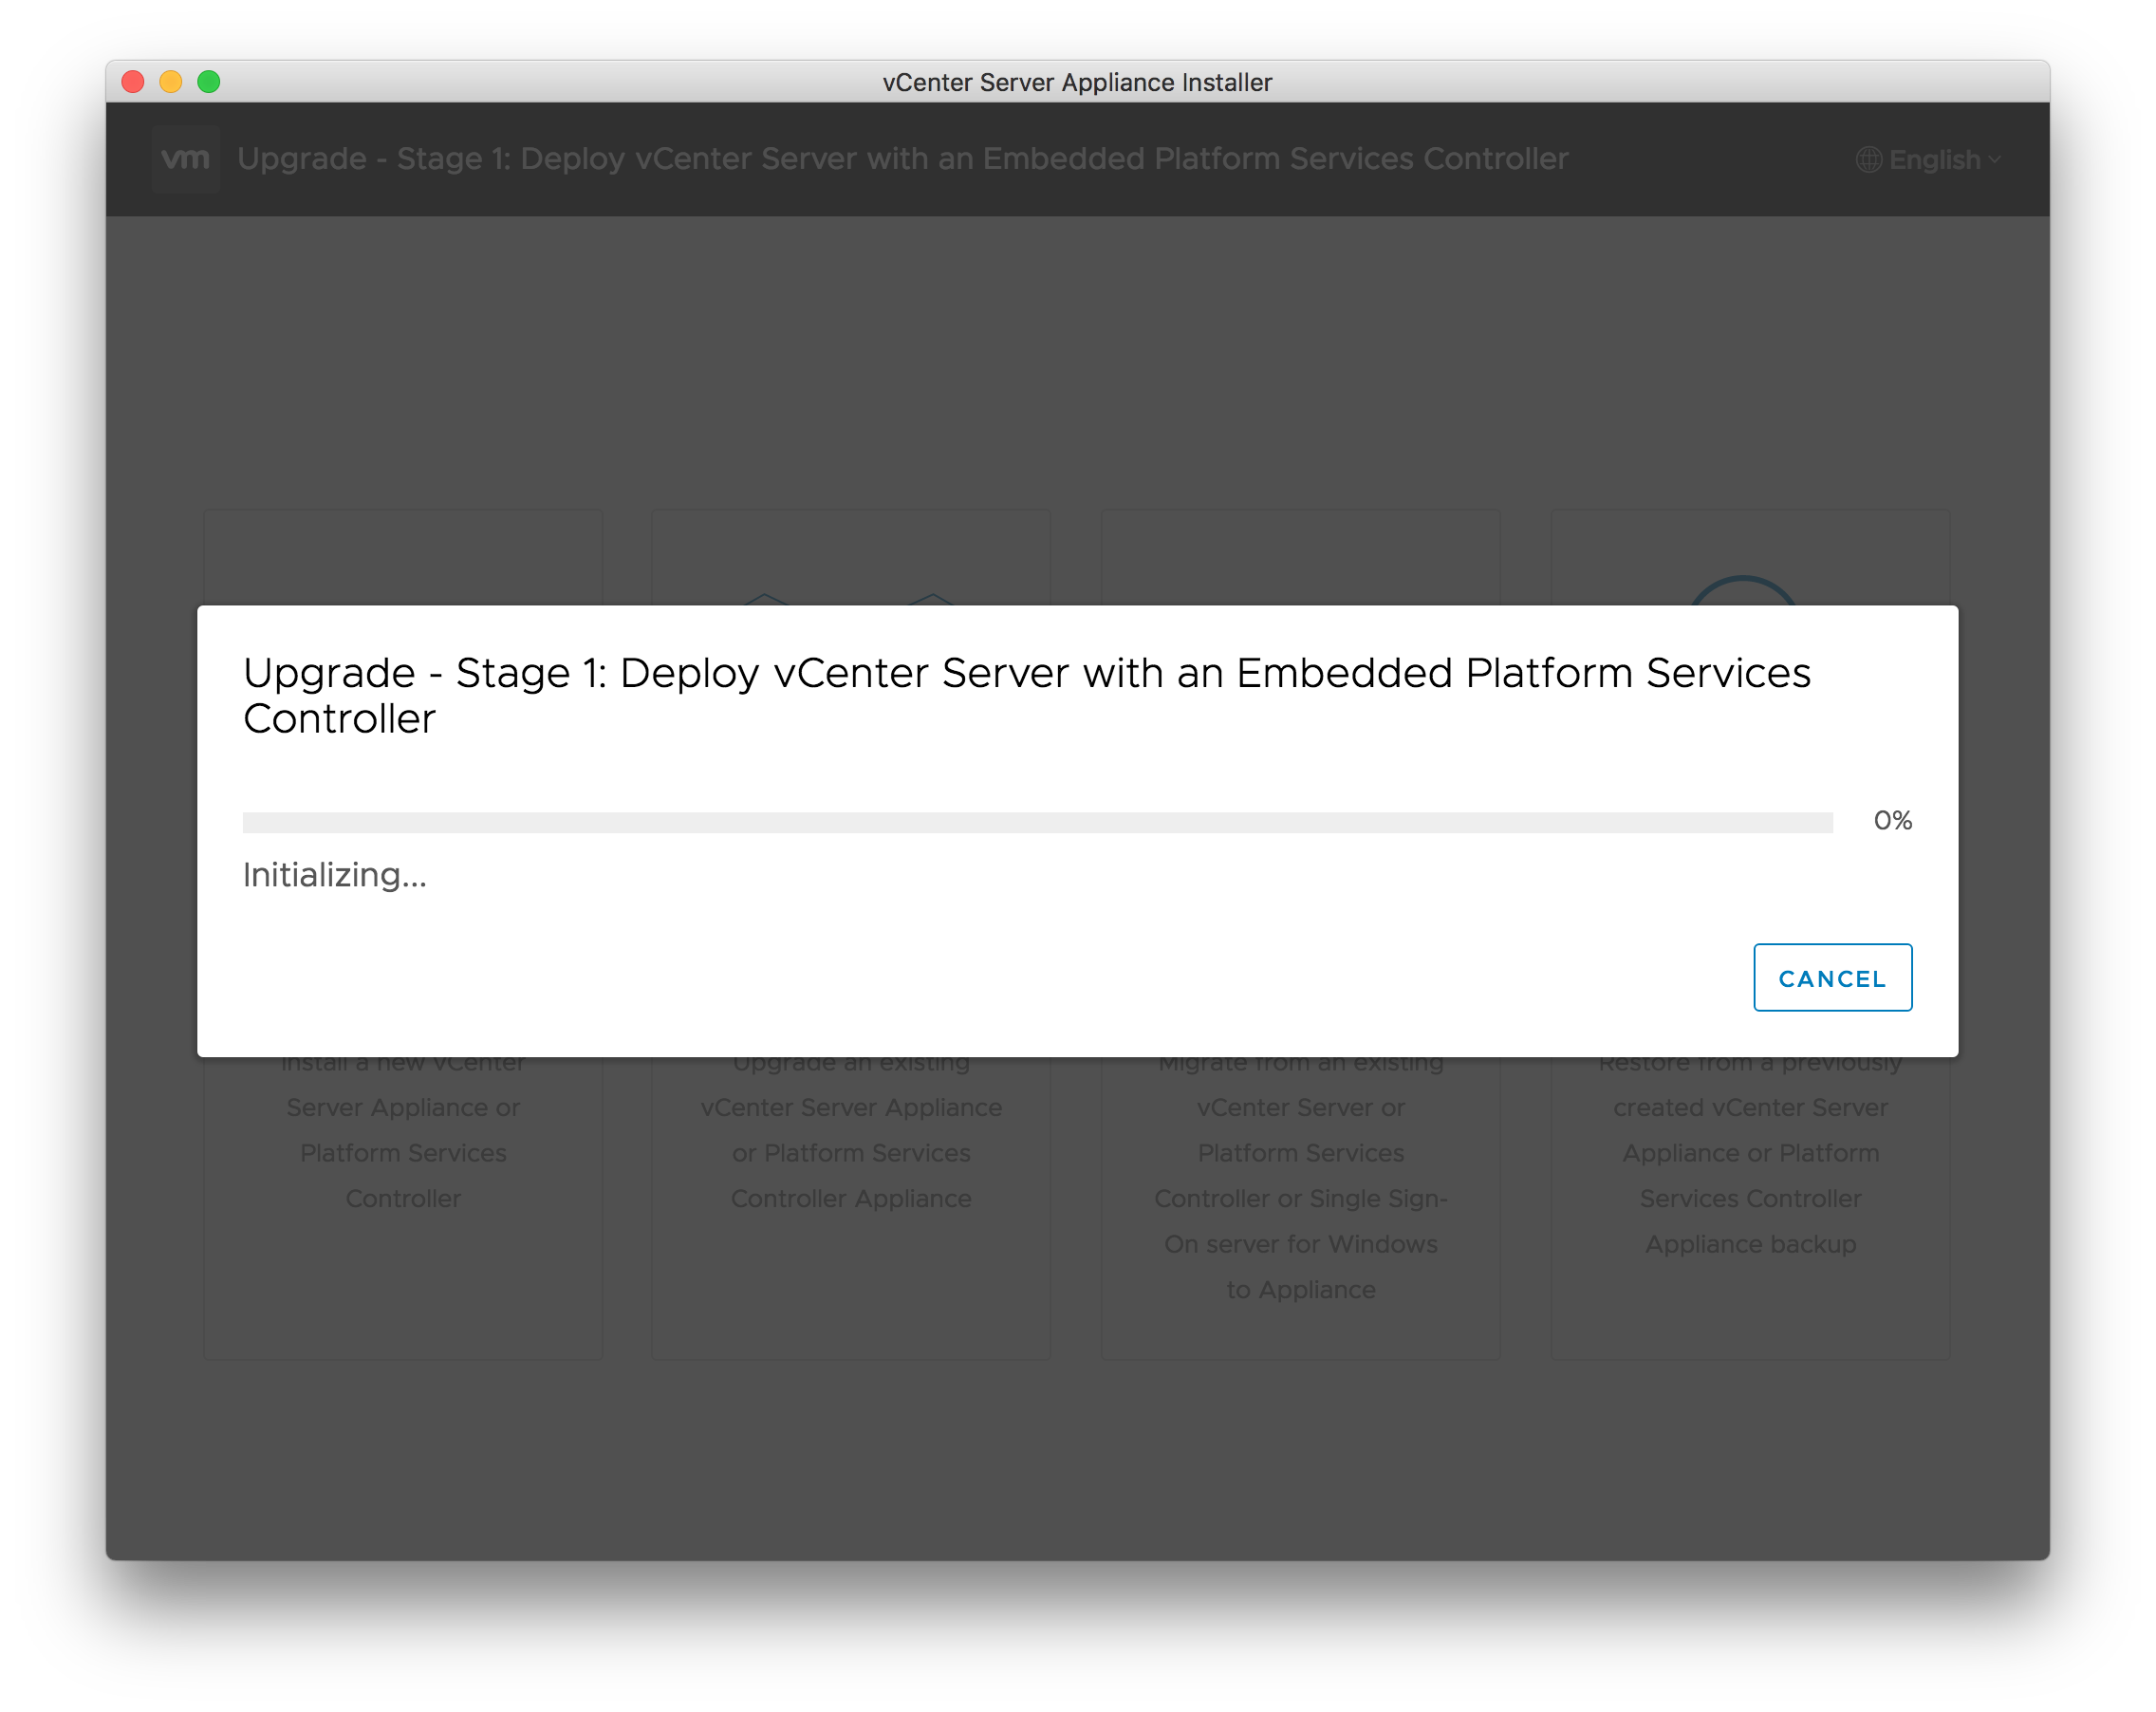
- Lets start “Stage 1”

- First you have to accept the EULA
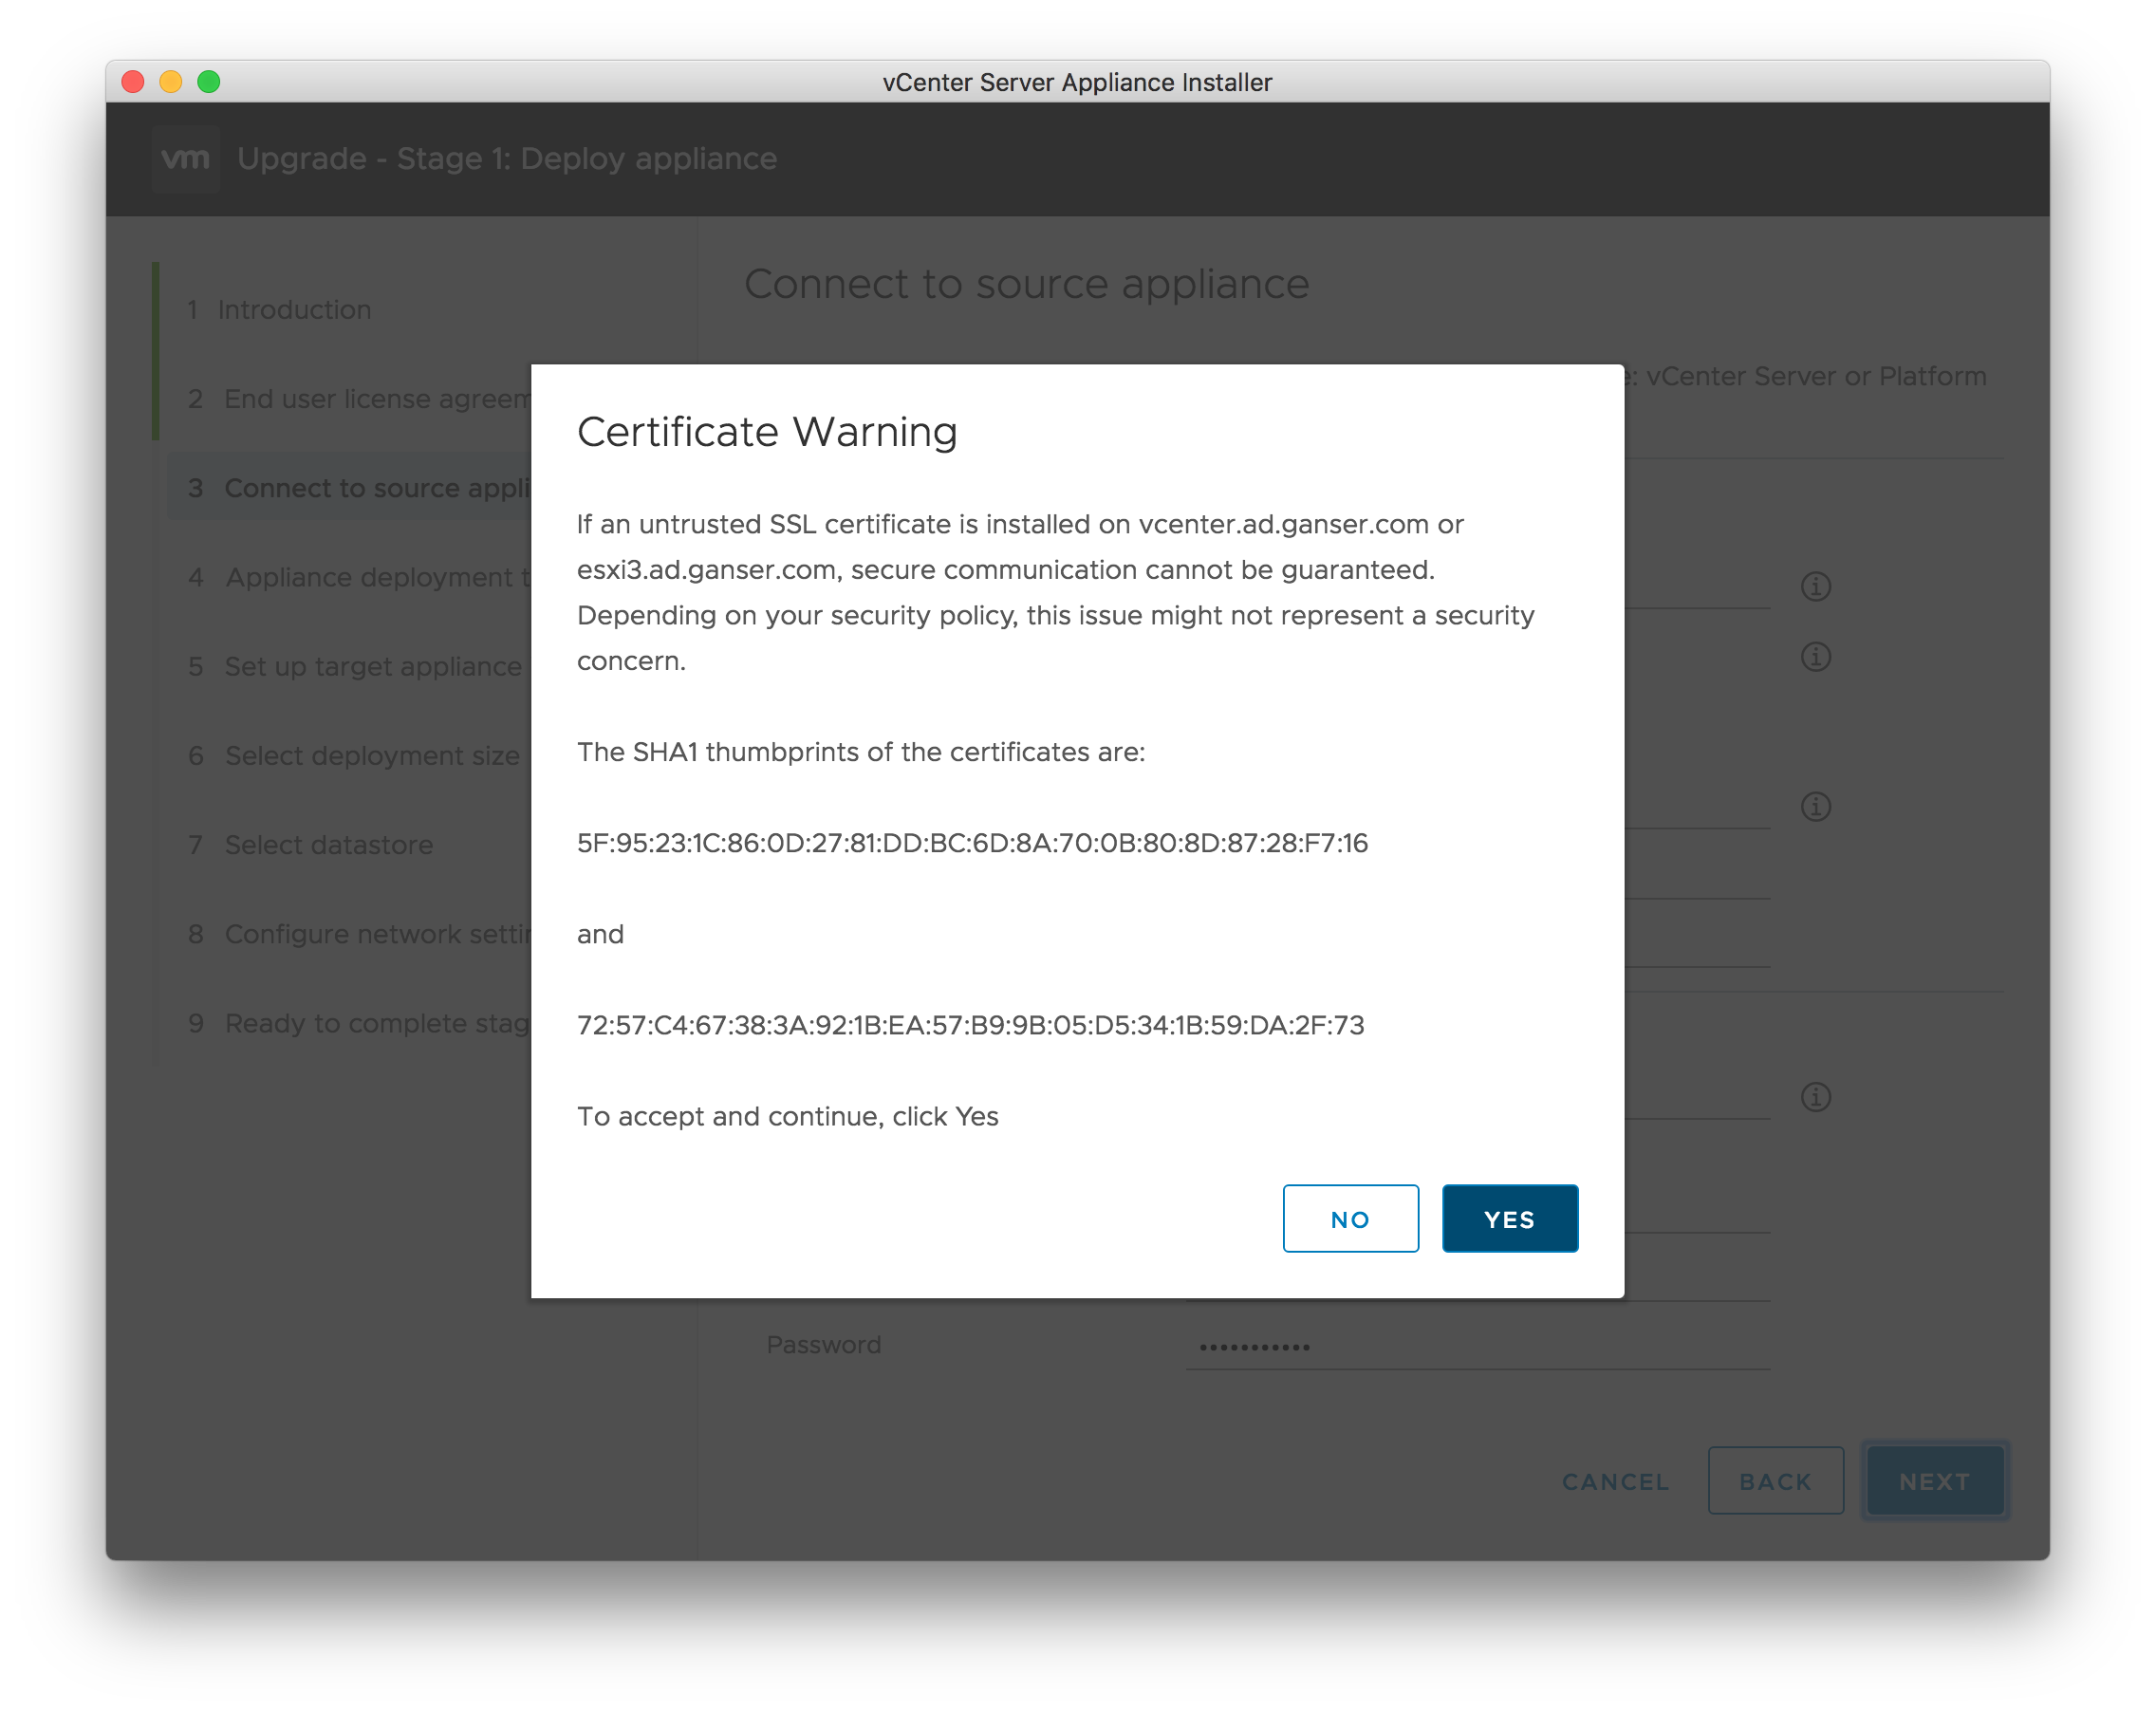
- After that you insert your data to connect to the source vCenter appliance. Attention you have to enter the passwords from the SSO-User and the root-User from the source appliance! The first two password fields are for different users! Accept the certificate warning.


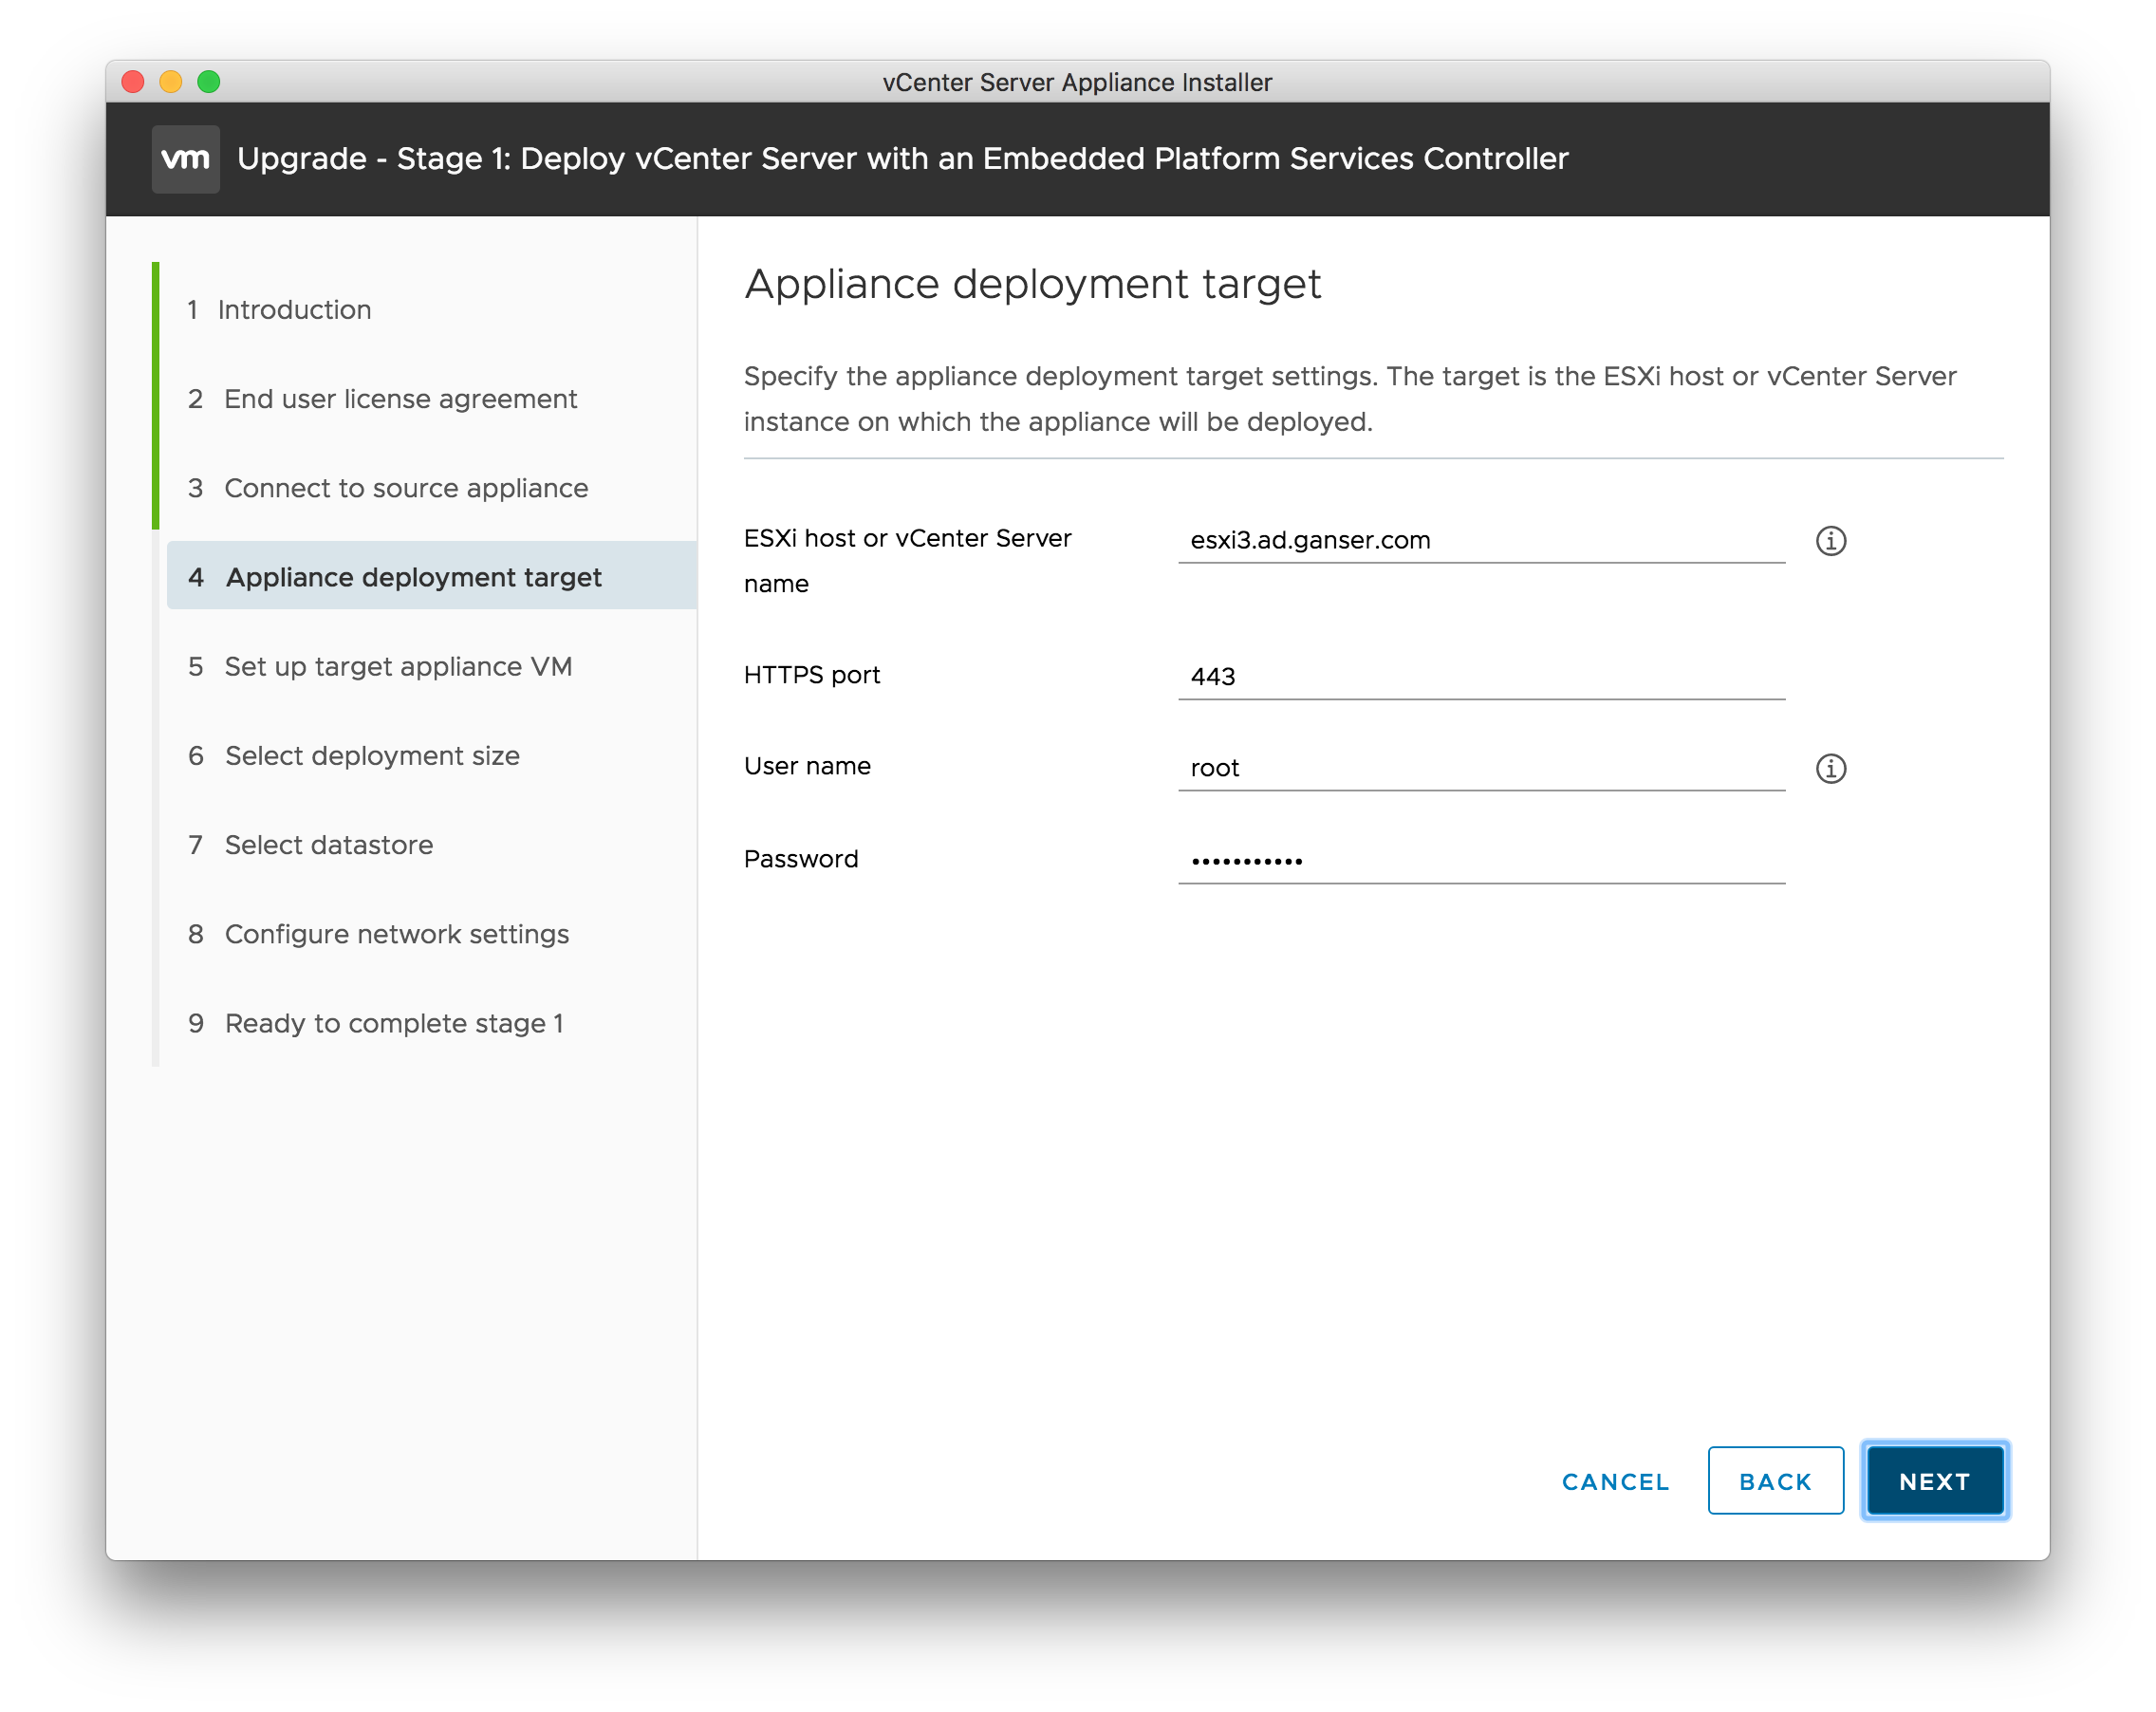
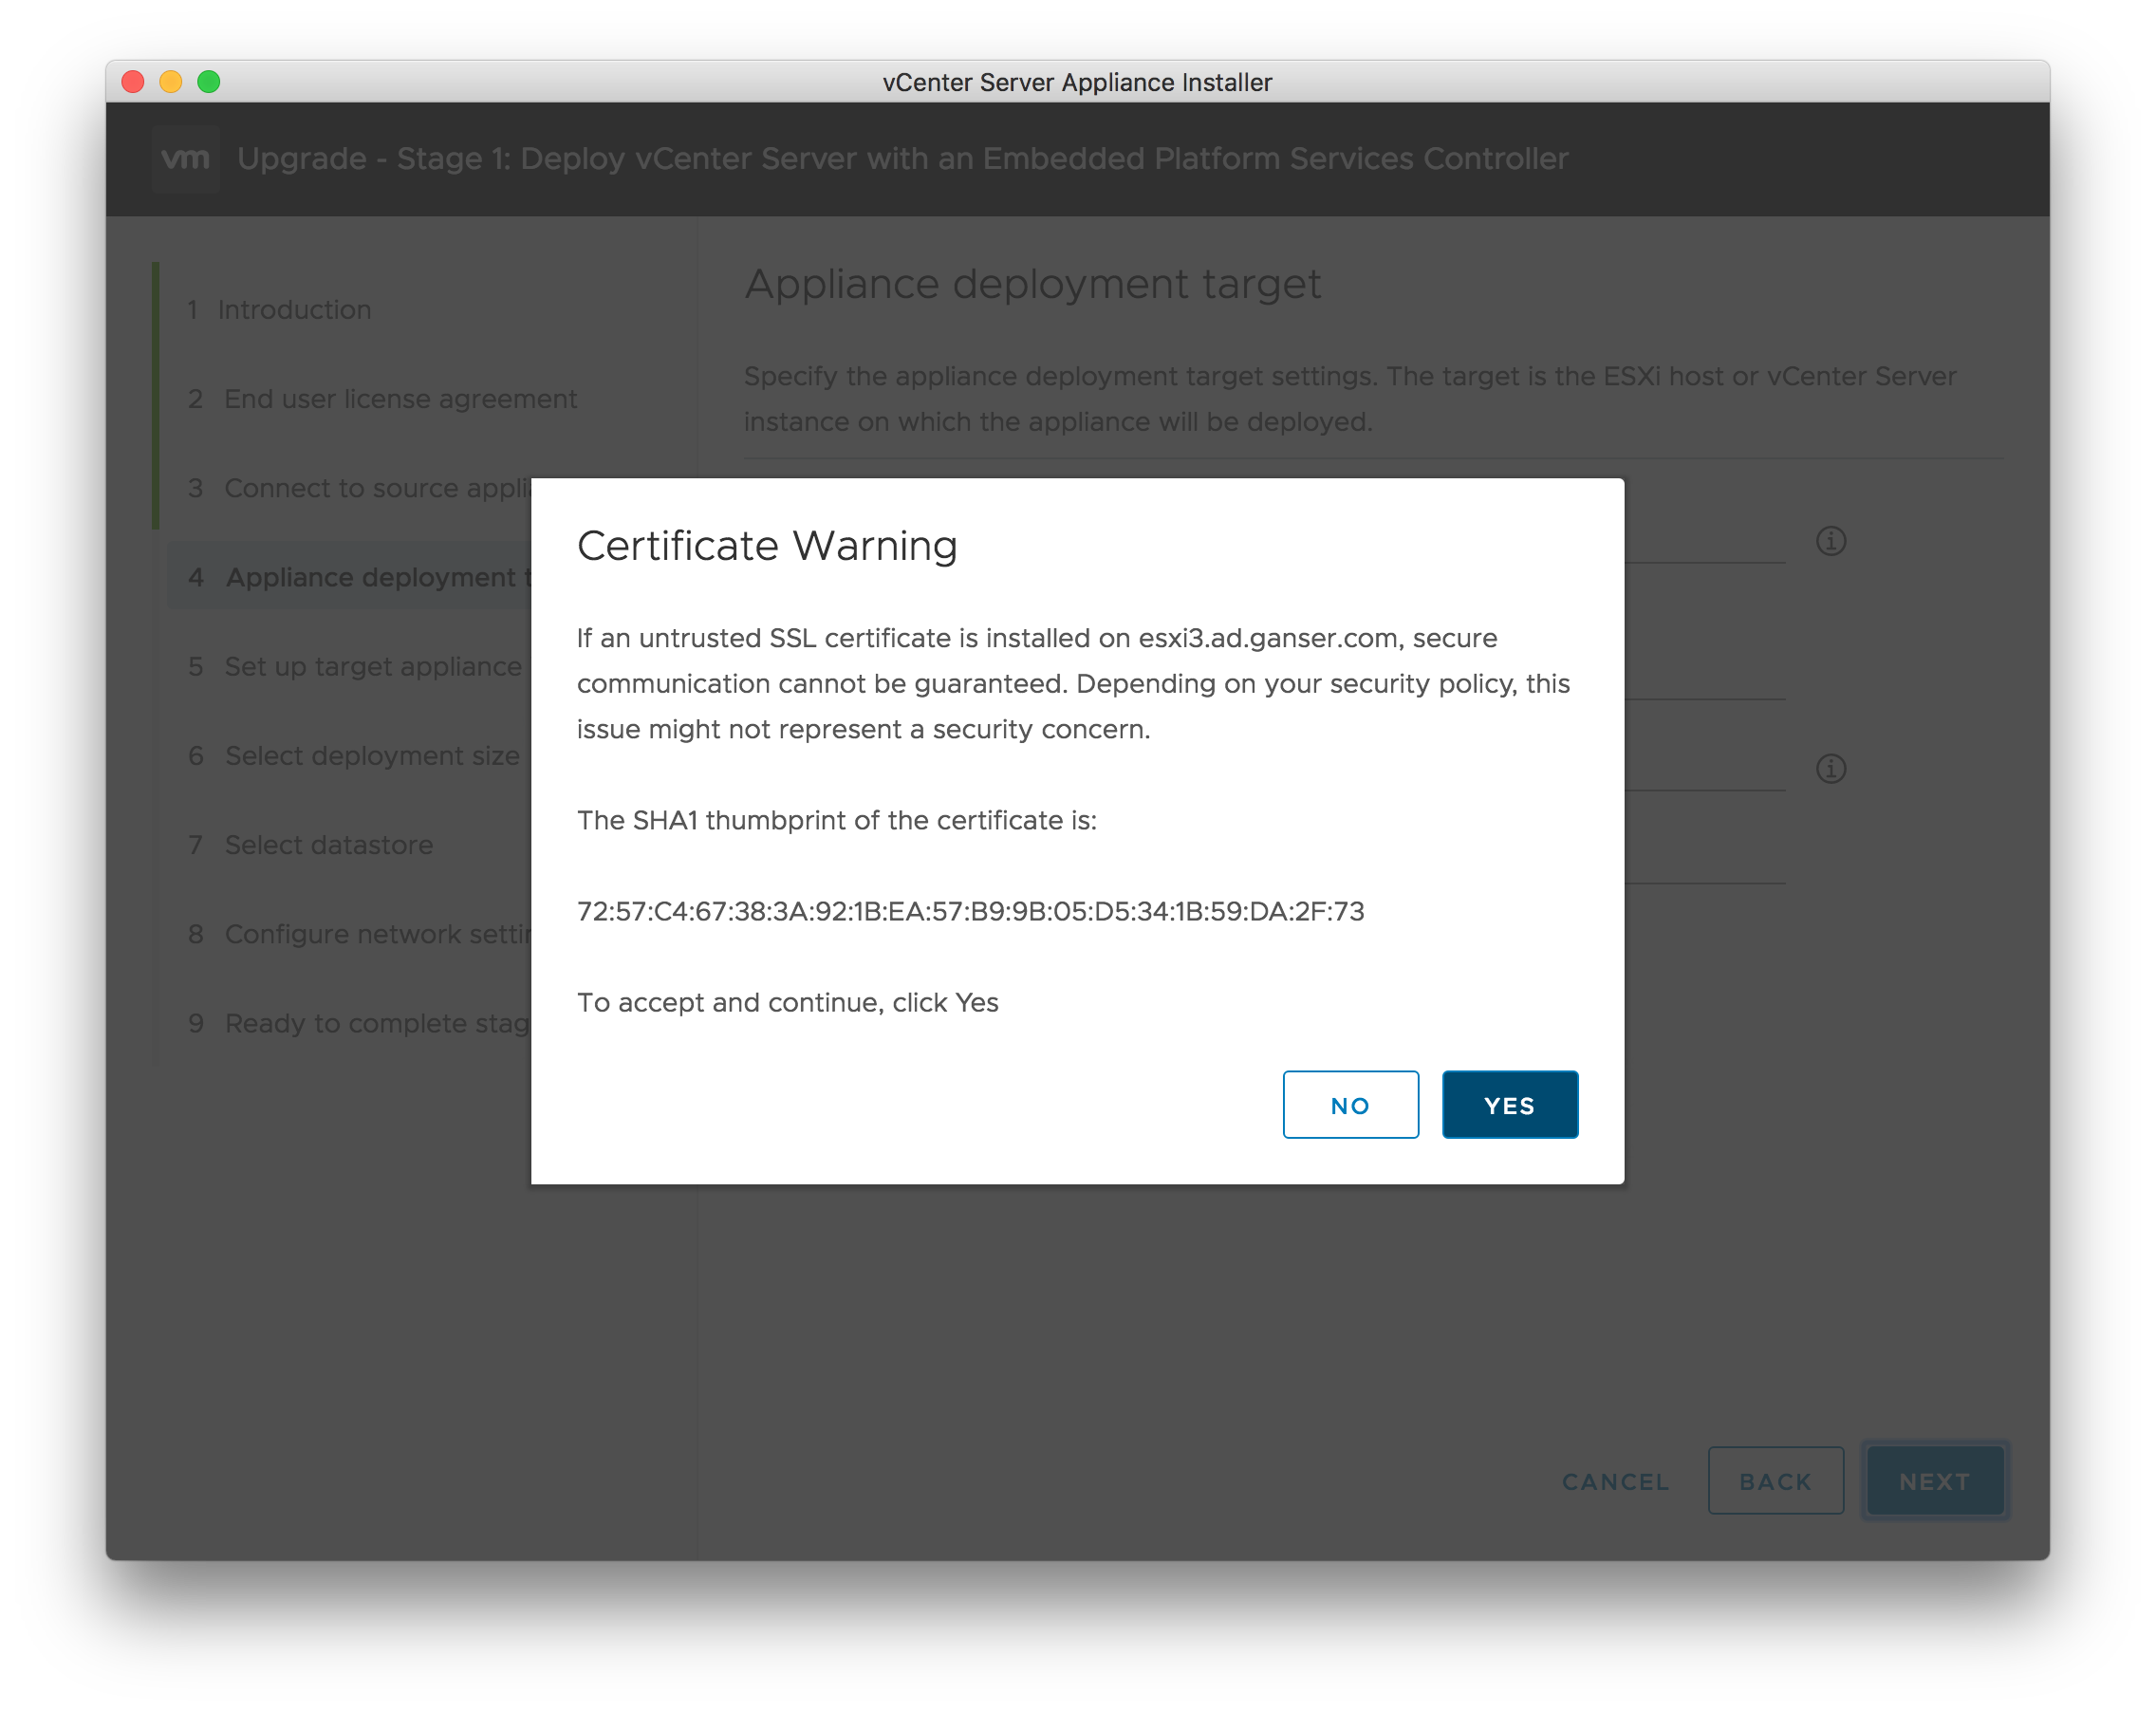
- Step 4: Connect to the target ESXi or vCenter Server (not the vCenter which you want to upgrade ;) ). The certificate must be accepted.
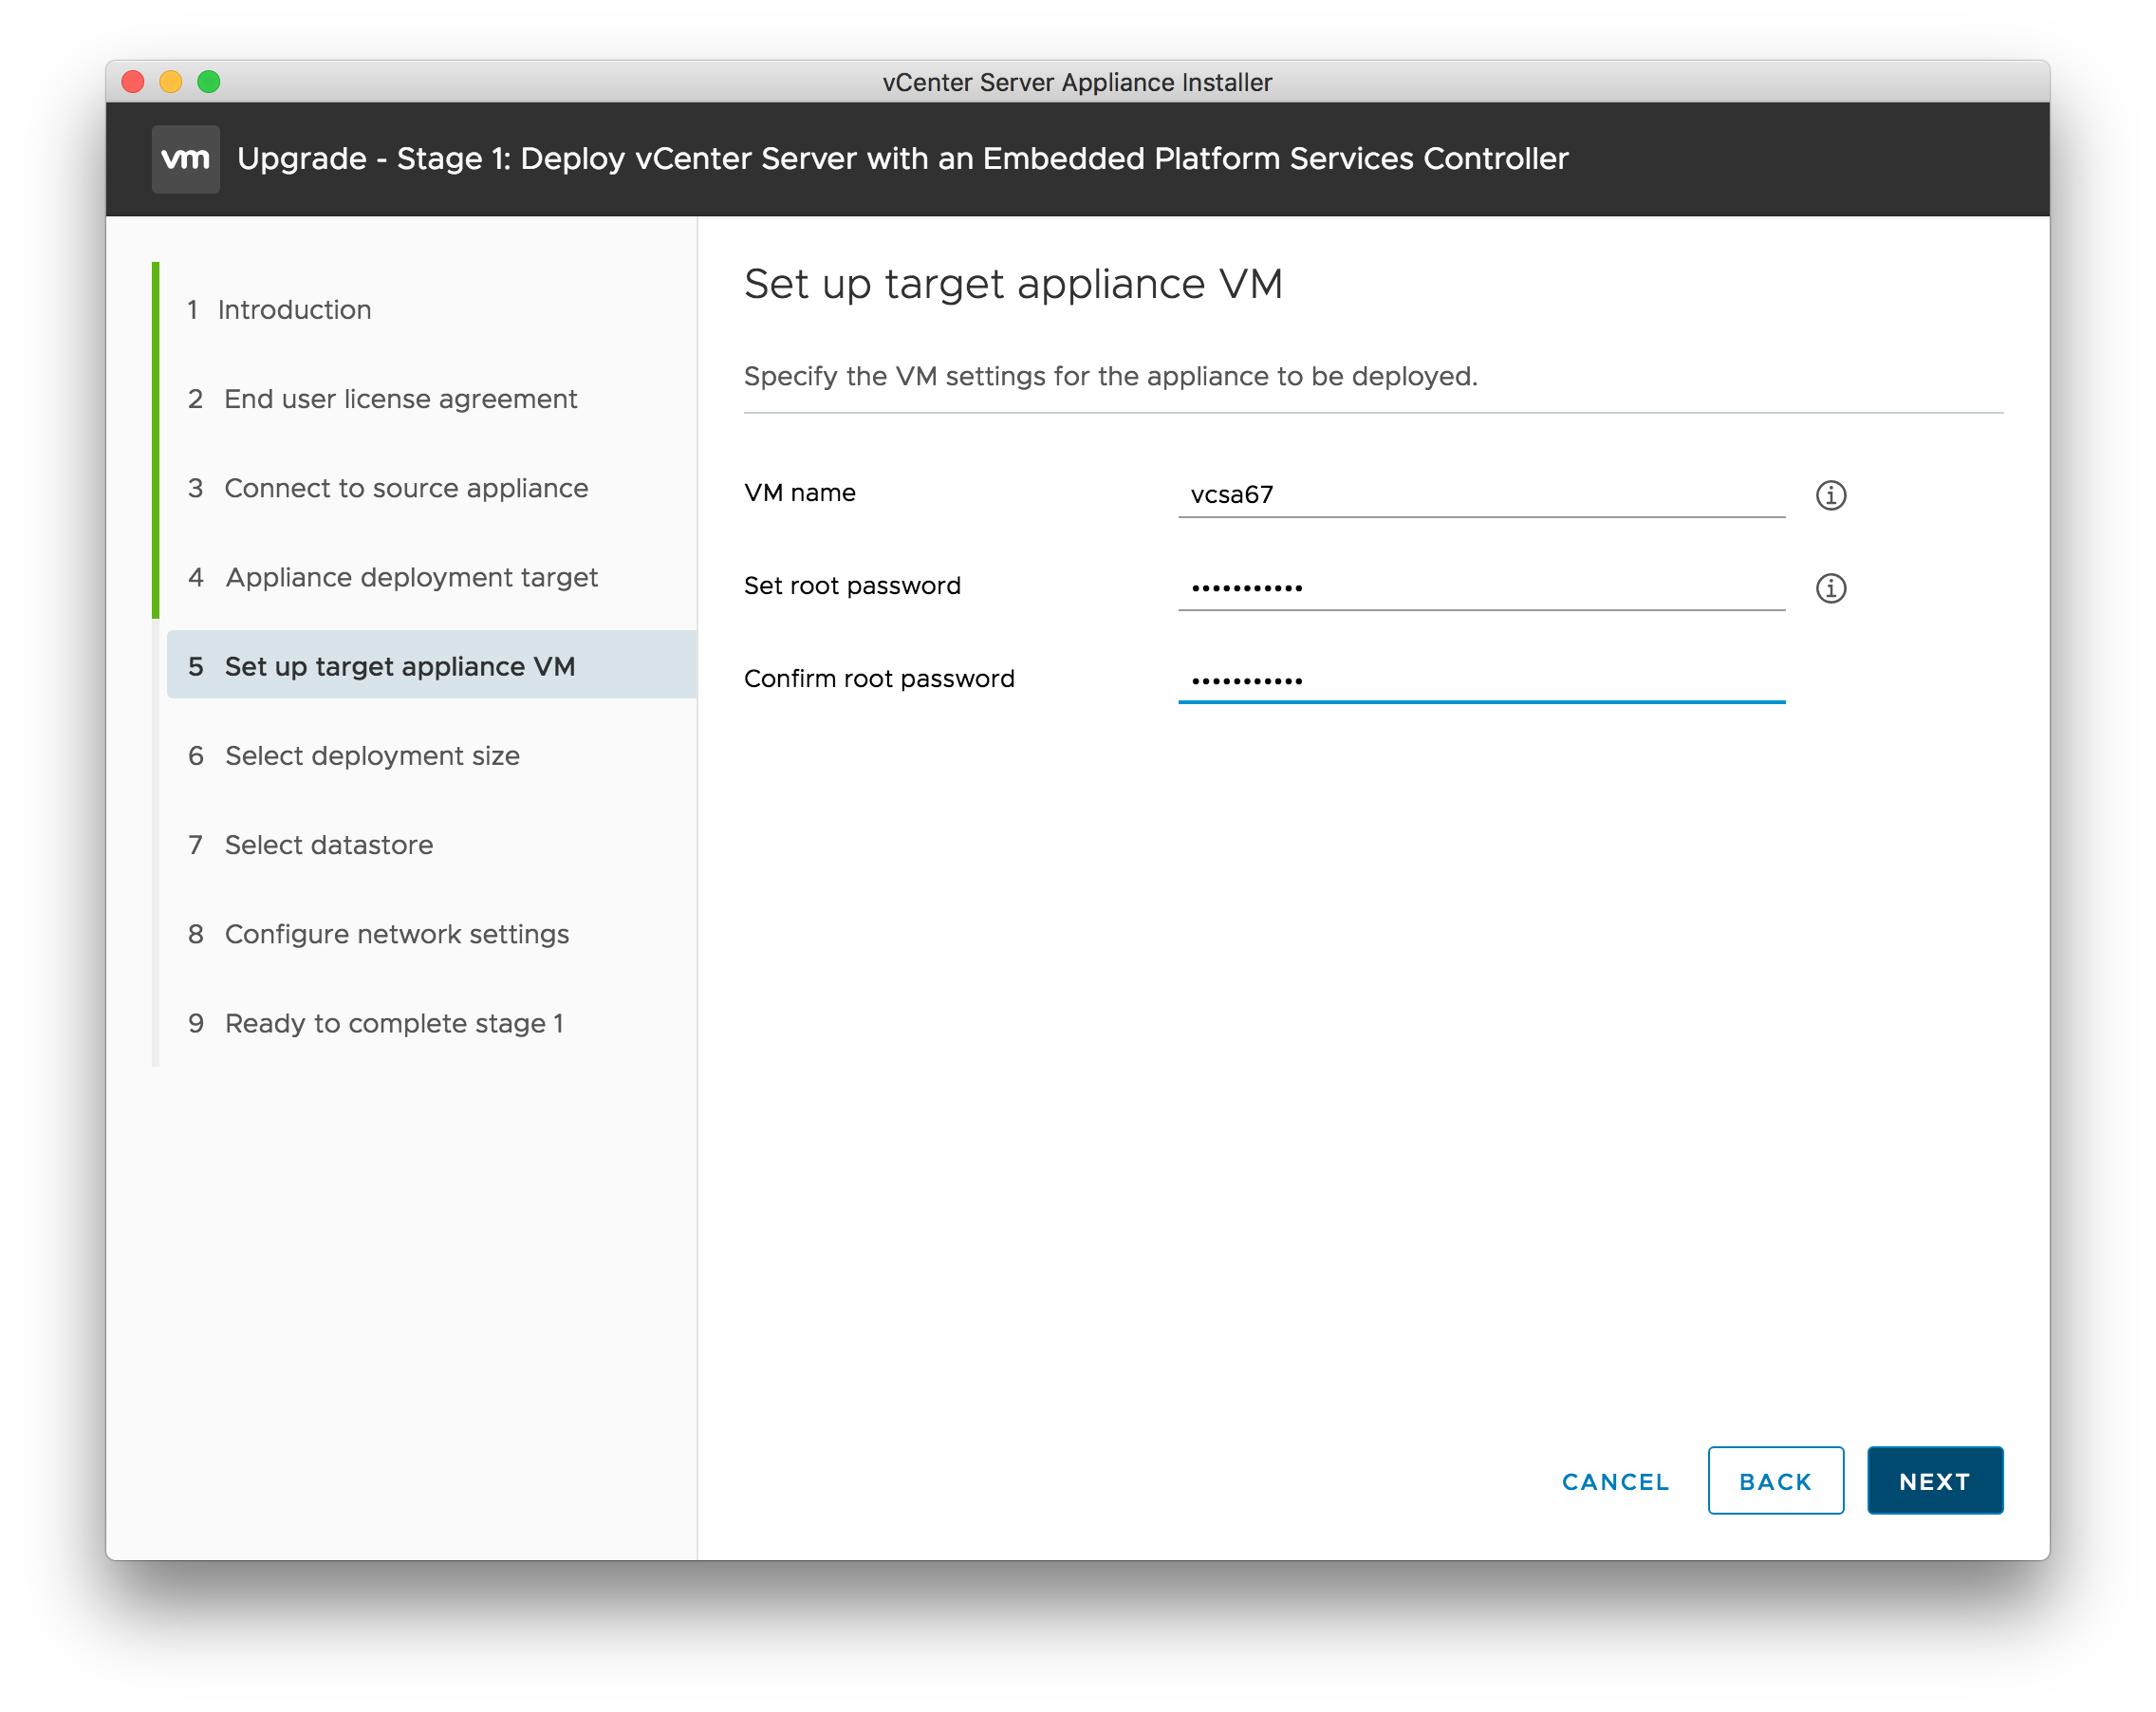
- Step 5: Now enter the VM name for the new VCSA (it can’t be the same name as the source) It is not the NetBIOS name. The NetBIOS name will be automatically adopted after successful migration. Also set the root password.
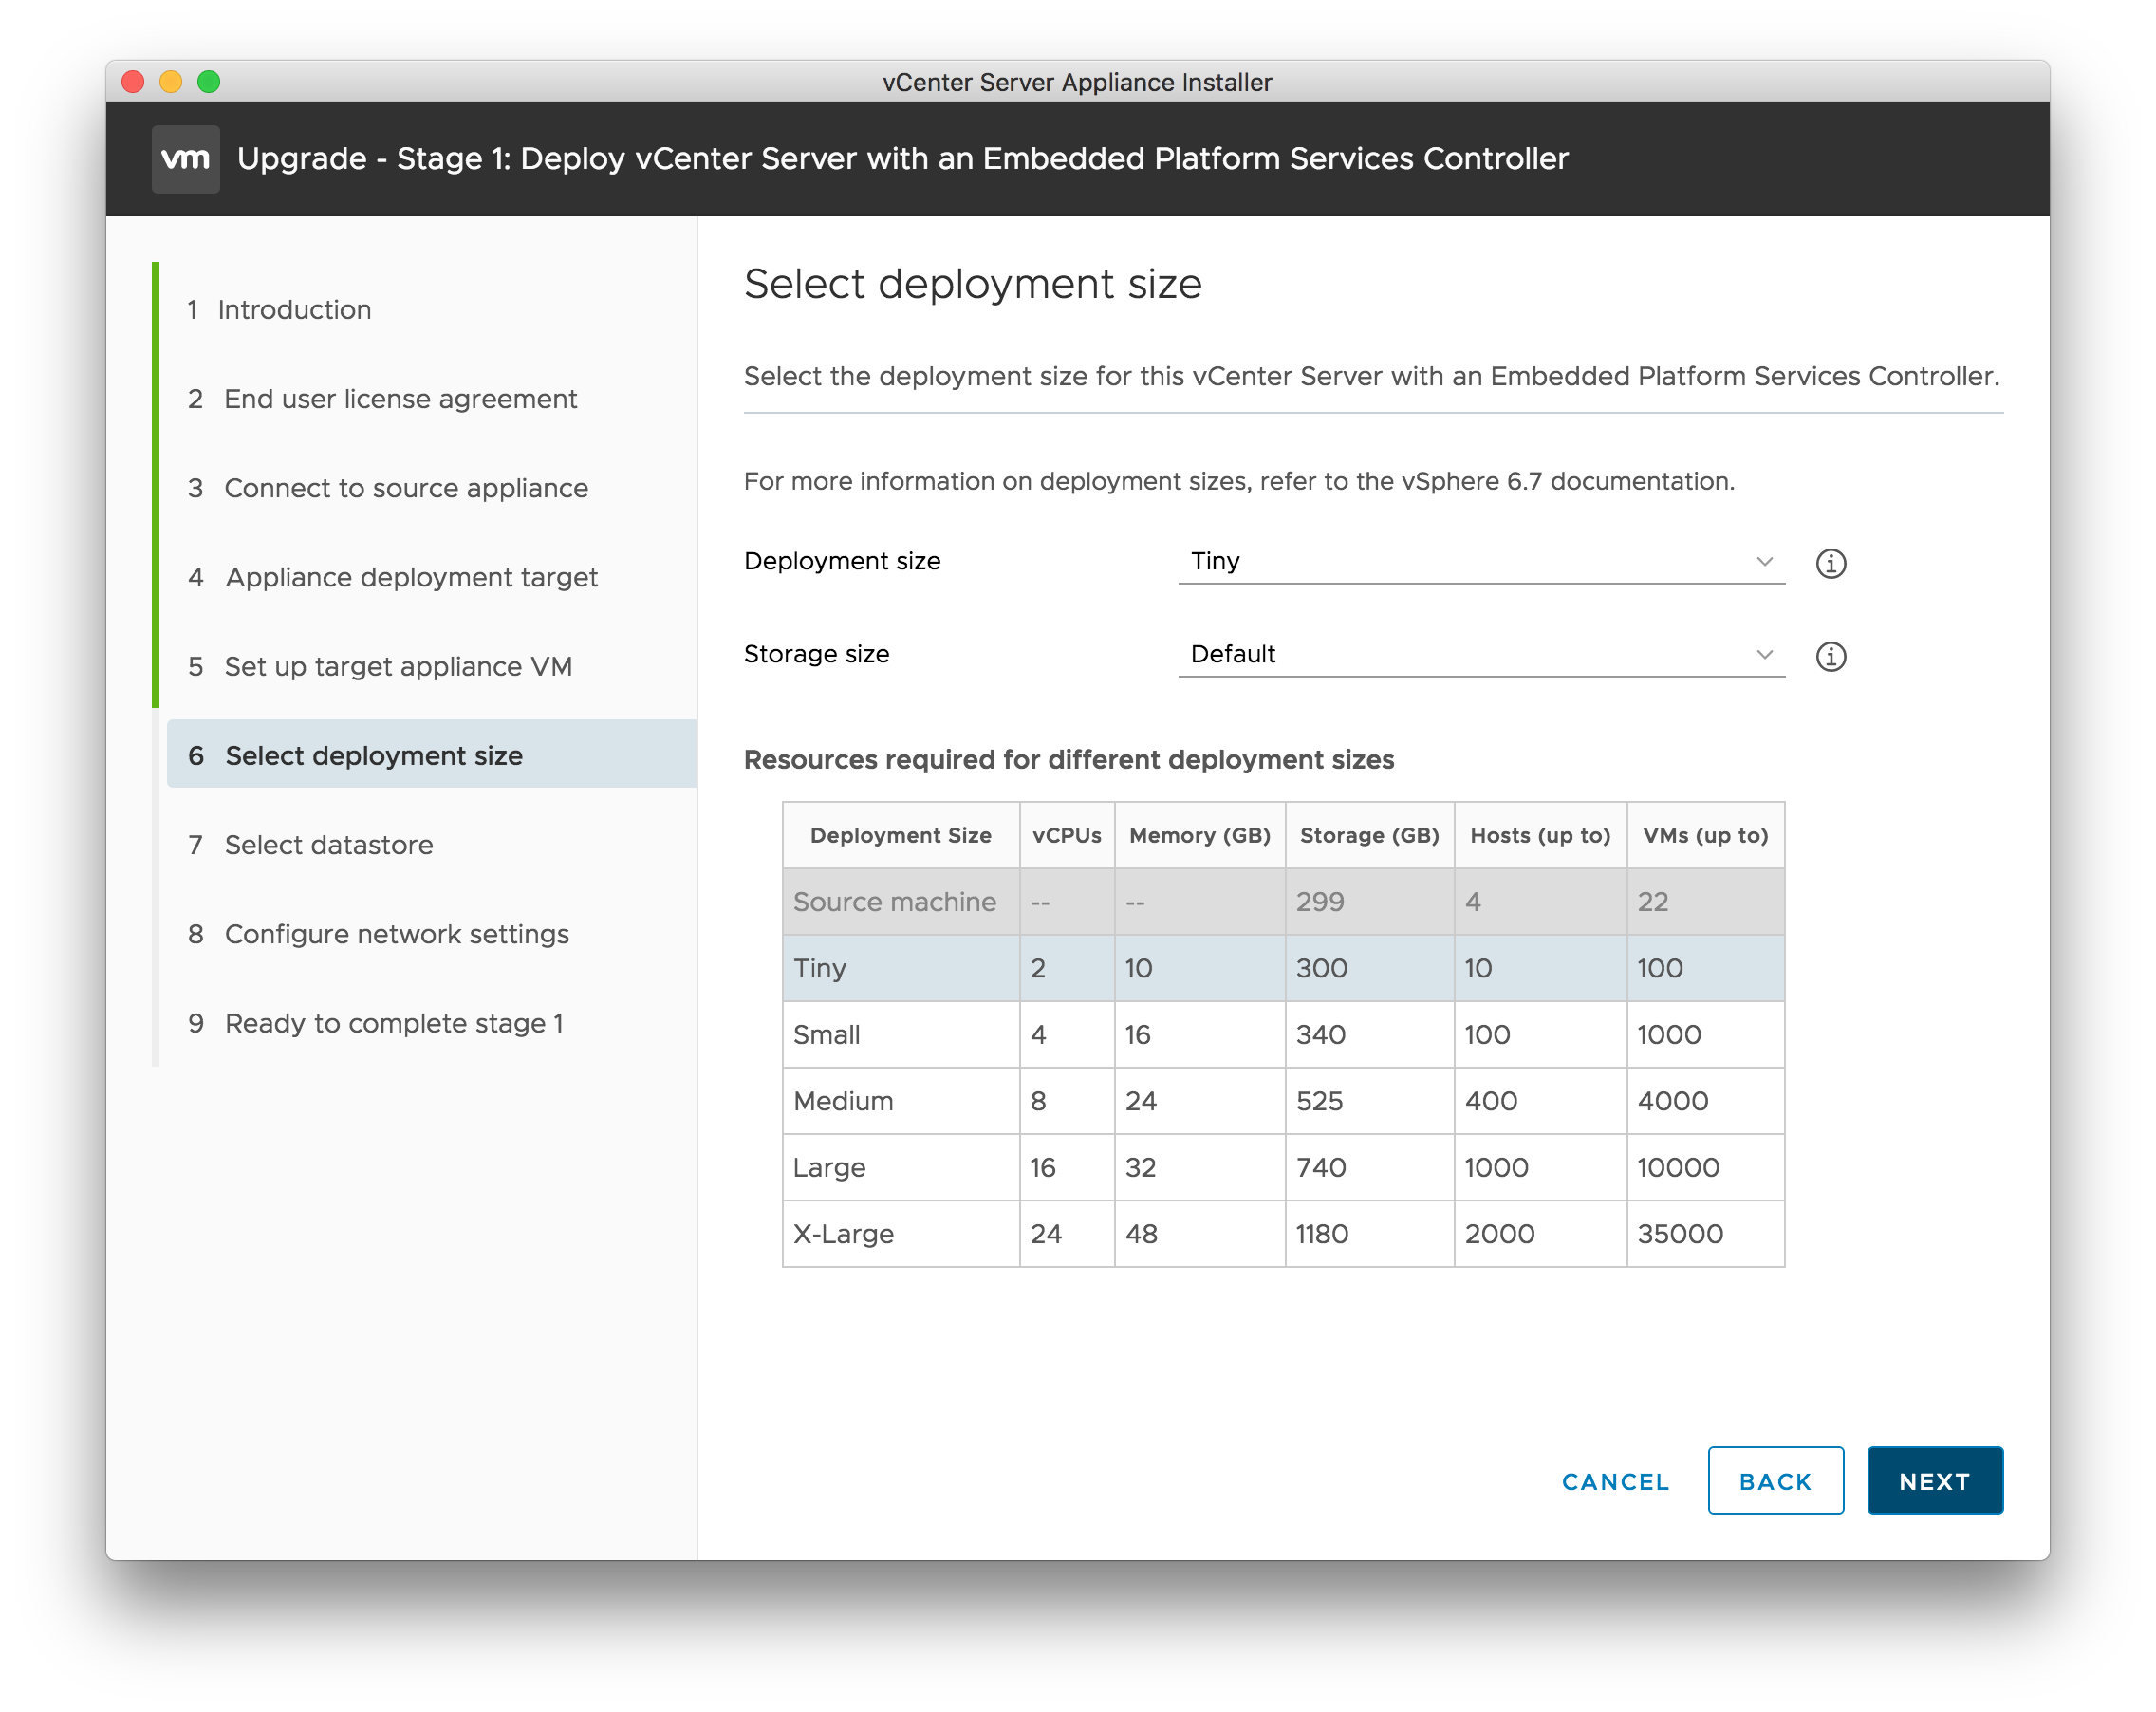
- Step 6: The deployment size depends on how many hosts or VMs will be managed by the vCenter. In my lab the tiny version is big enough :) With the dropdown for storage size you can increase the size of the virtual harddisk. Also the disk size could be set bigger if needed.
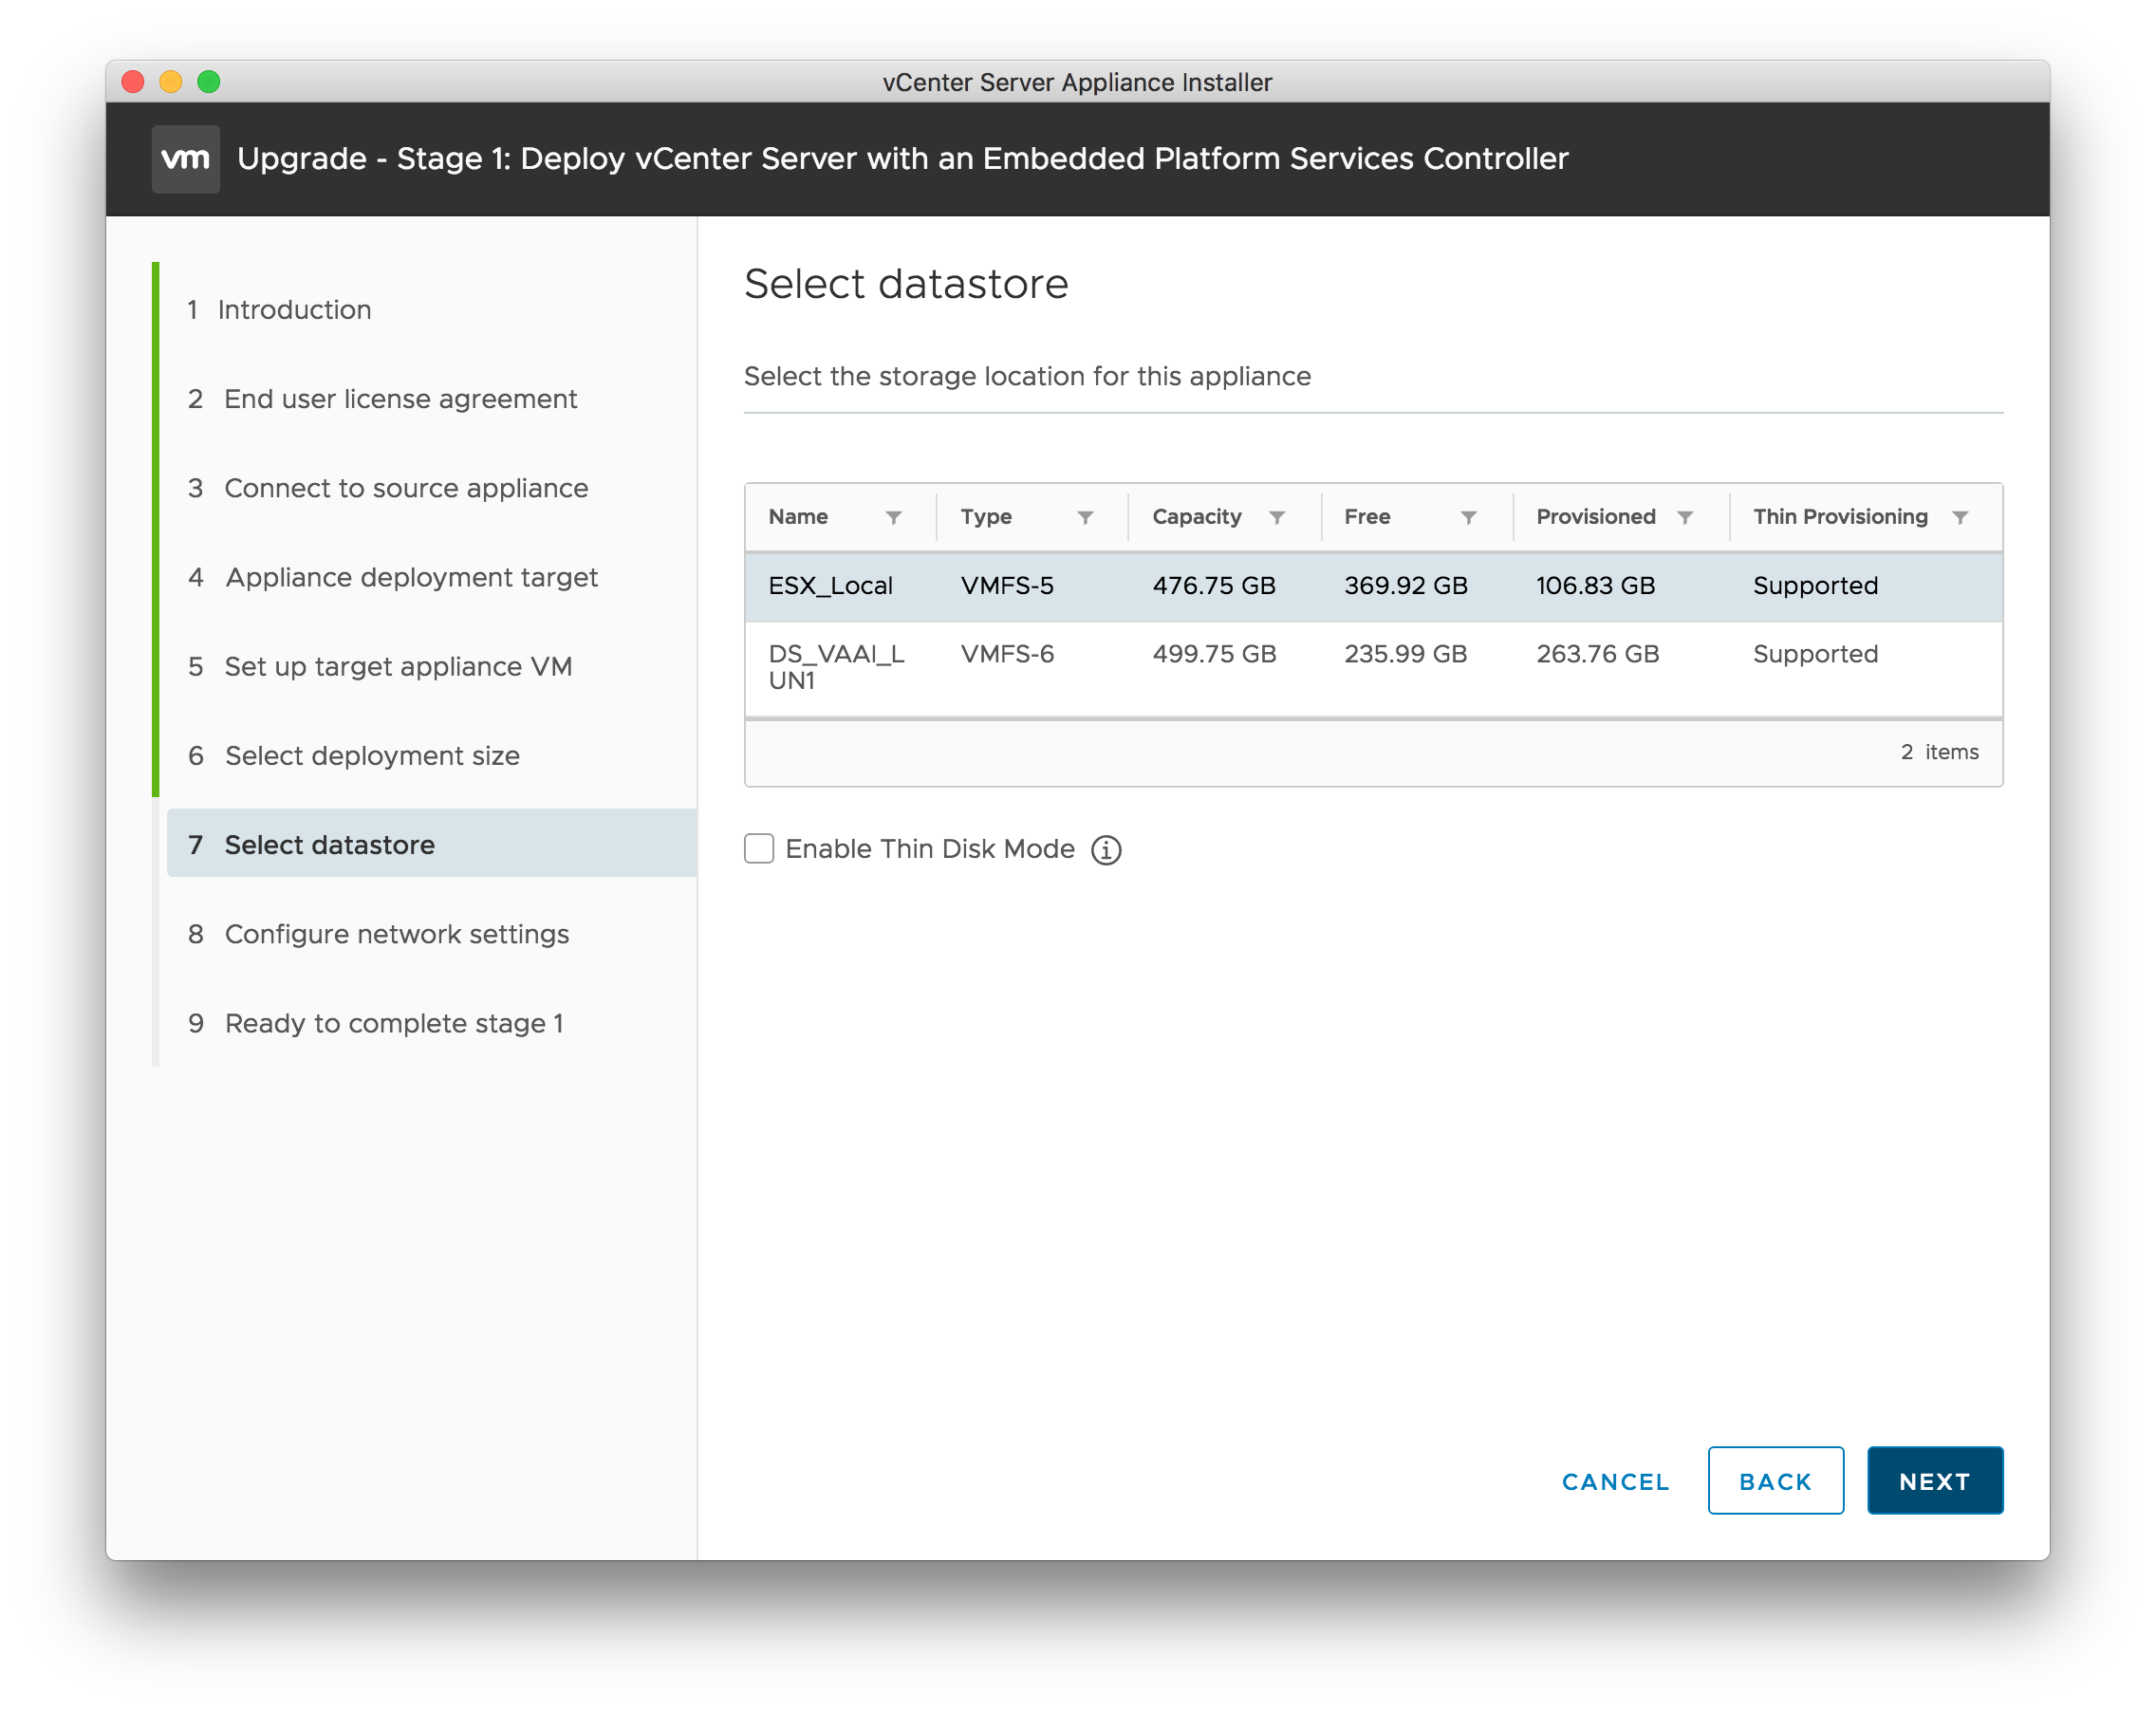
- Step 7: Select the datastore where the VM should be placed. You can select “Thin Disk Mode” so the disks will grow up with the data stored in the VM. I wouldn’t prefer this in production.
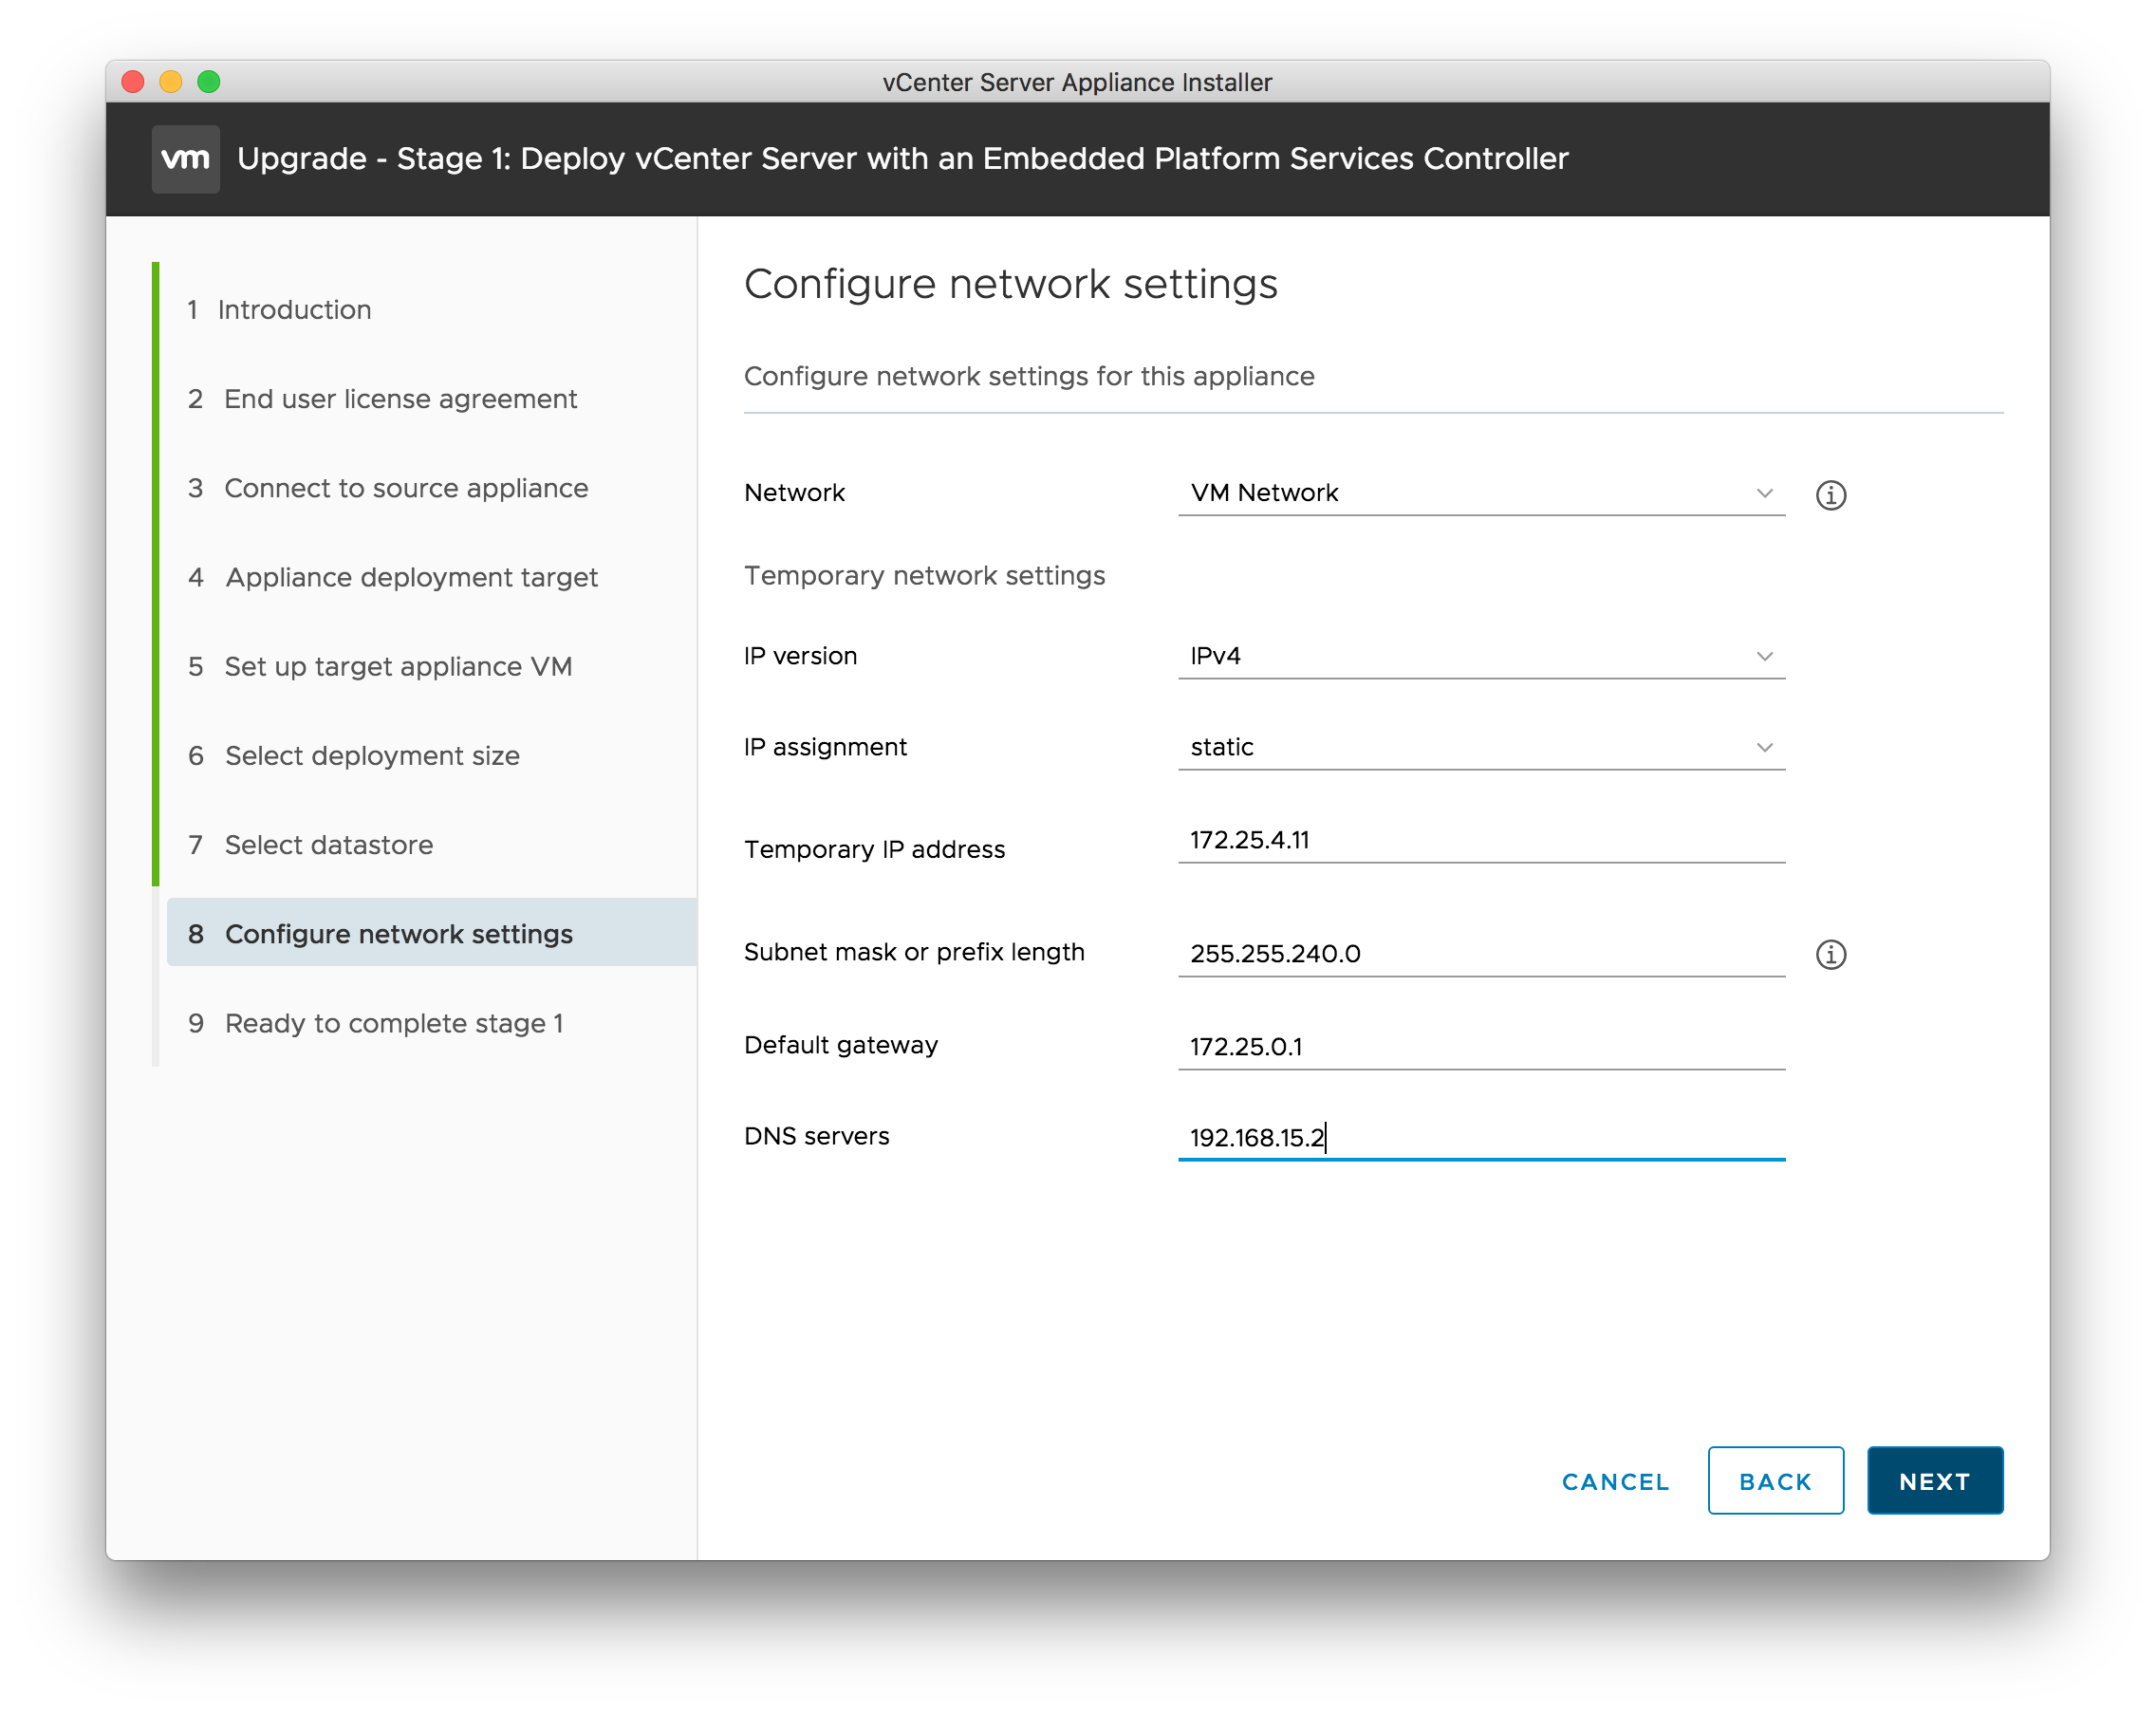
- Step 8: Now you have to set temporary network settings. You should put the new VCSA into the same virtual network and give it a temporary IP address. This is needed because the old and new VCSA will communicate within the migration.
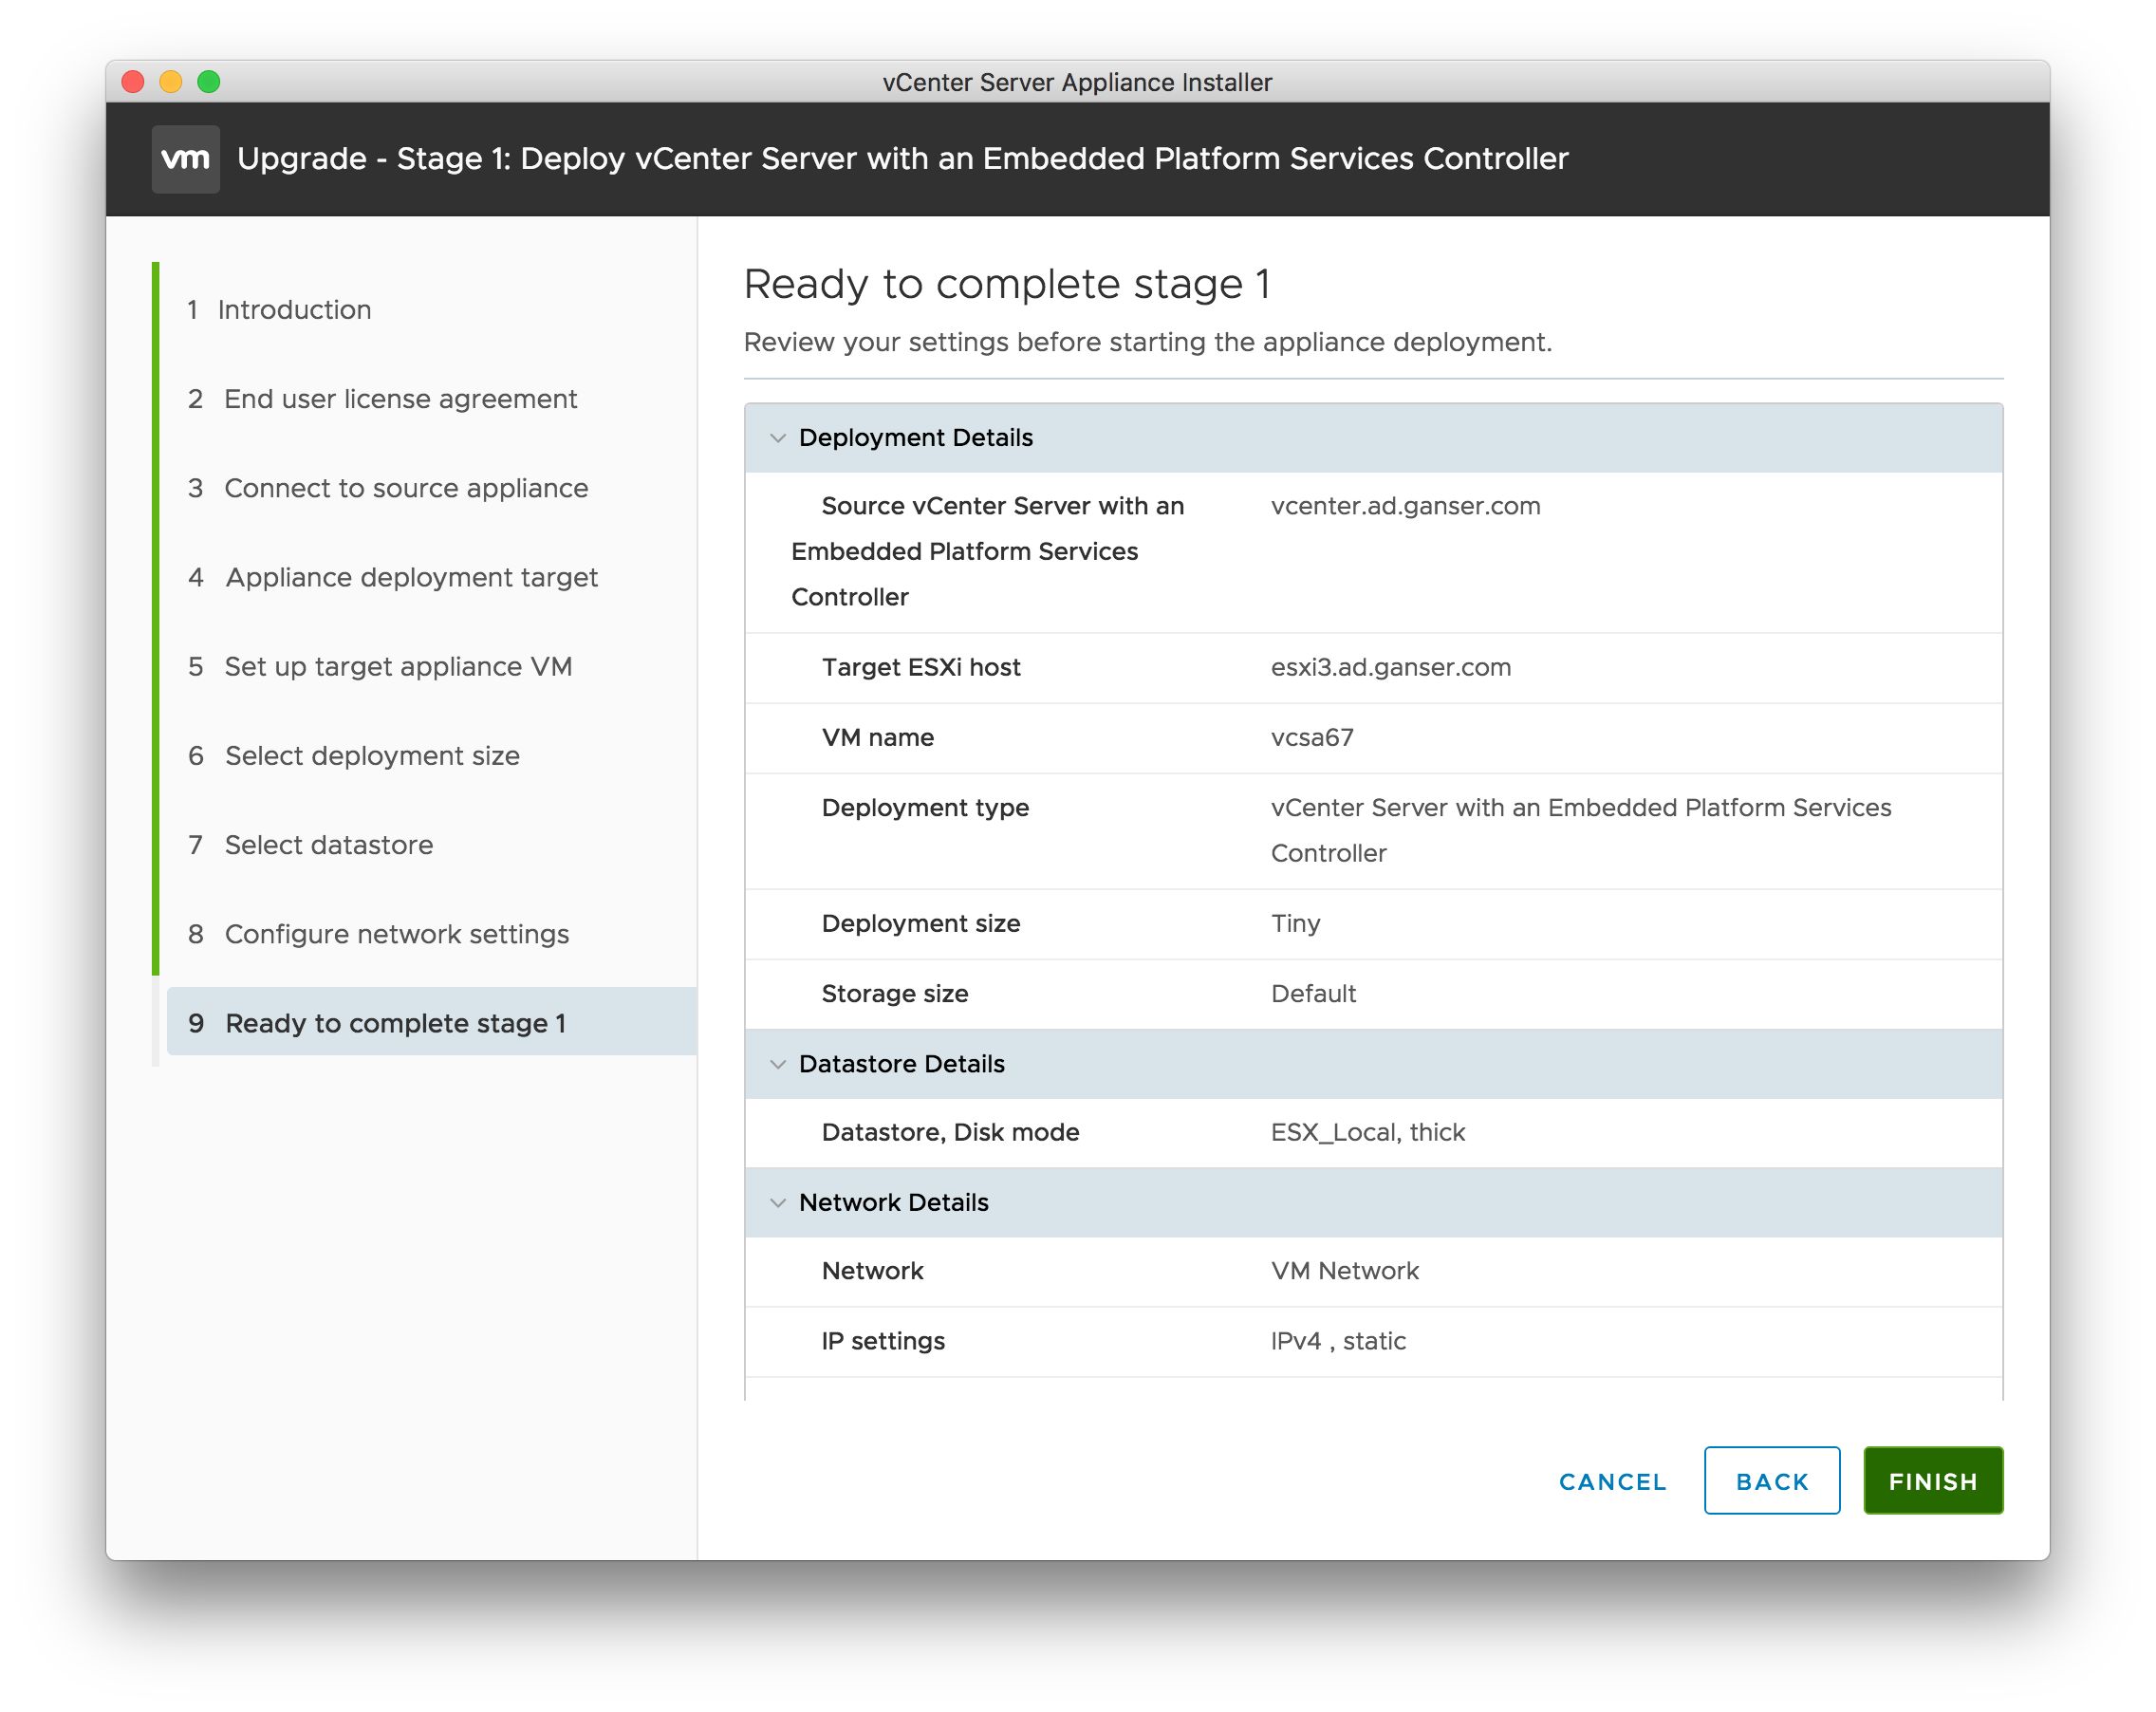
- Step 9: Review your settings and complete “Stage 1” by clicking on Finish.
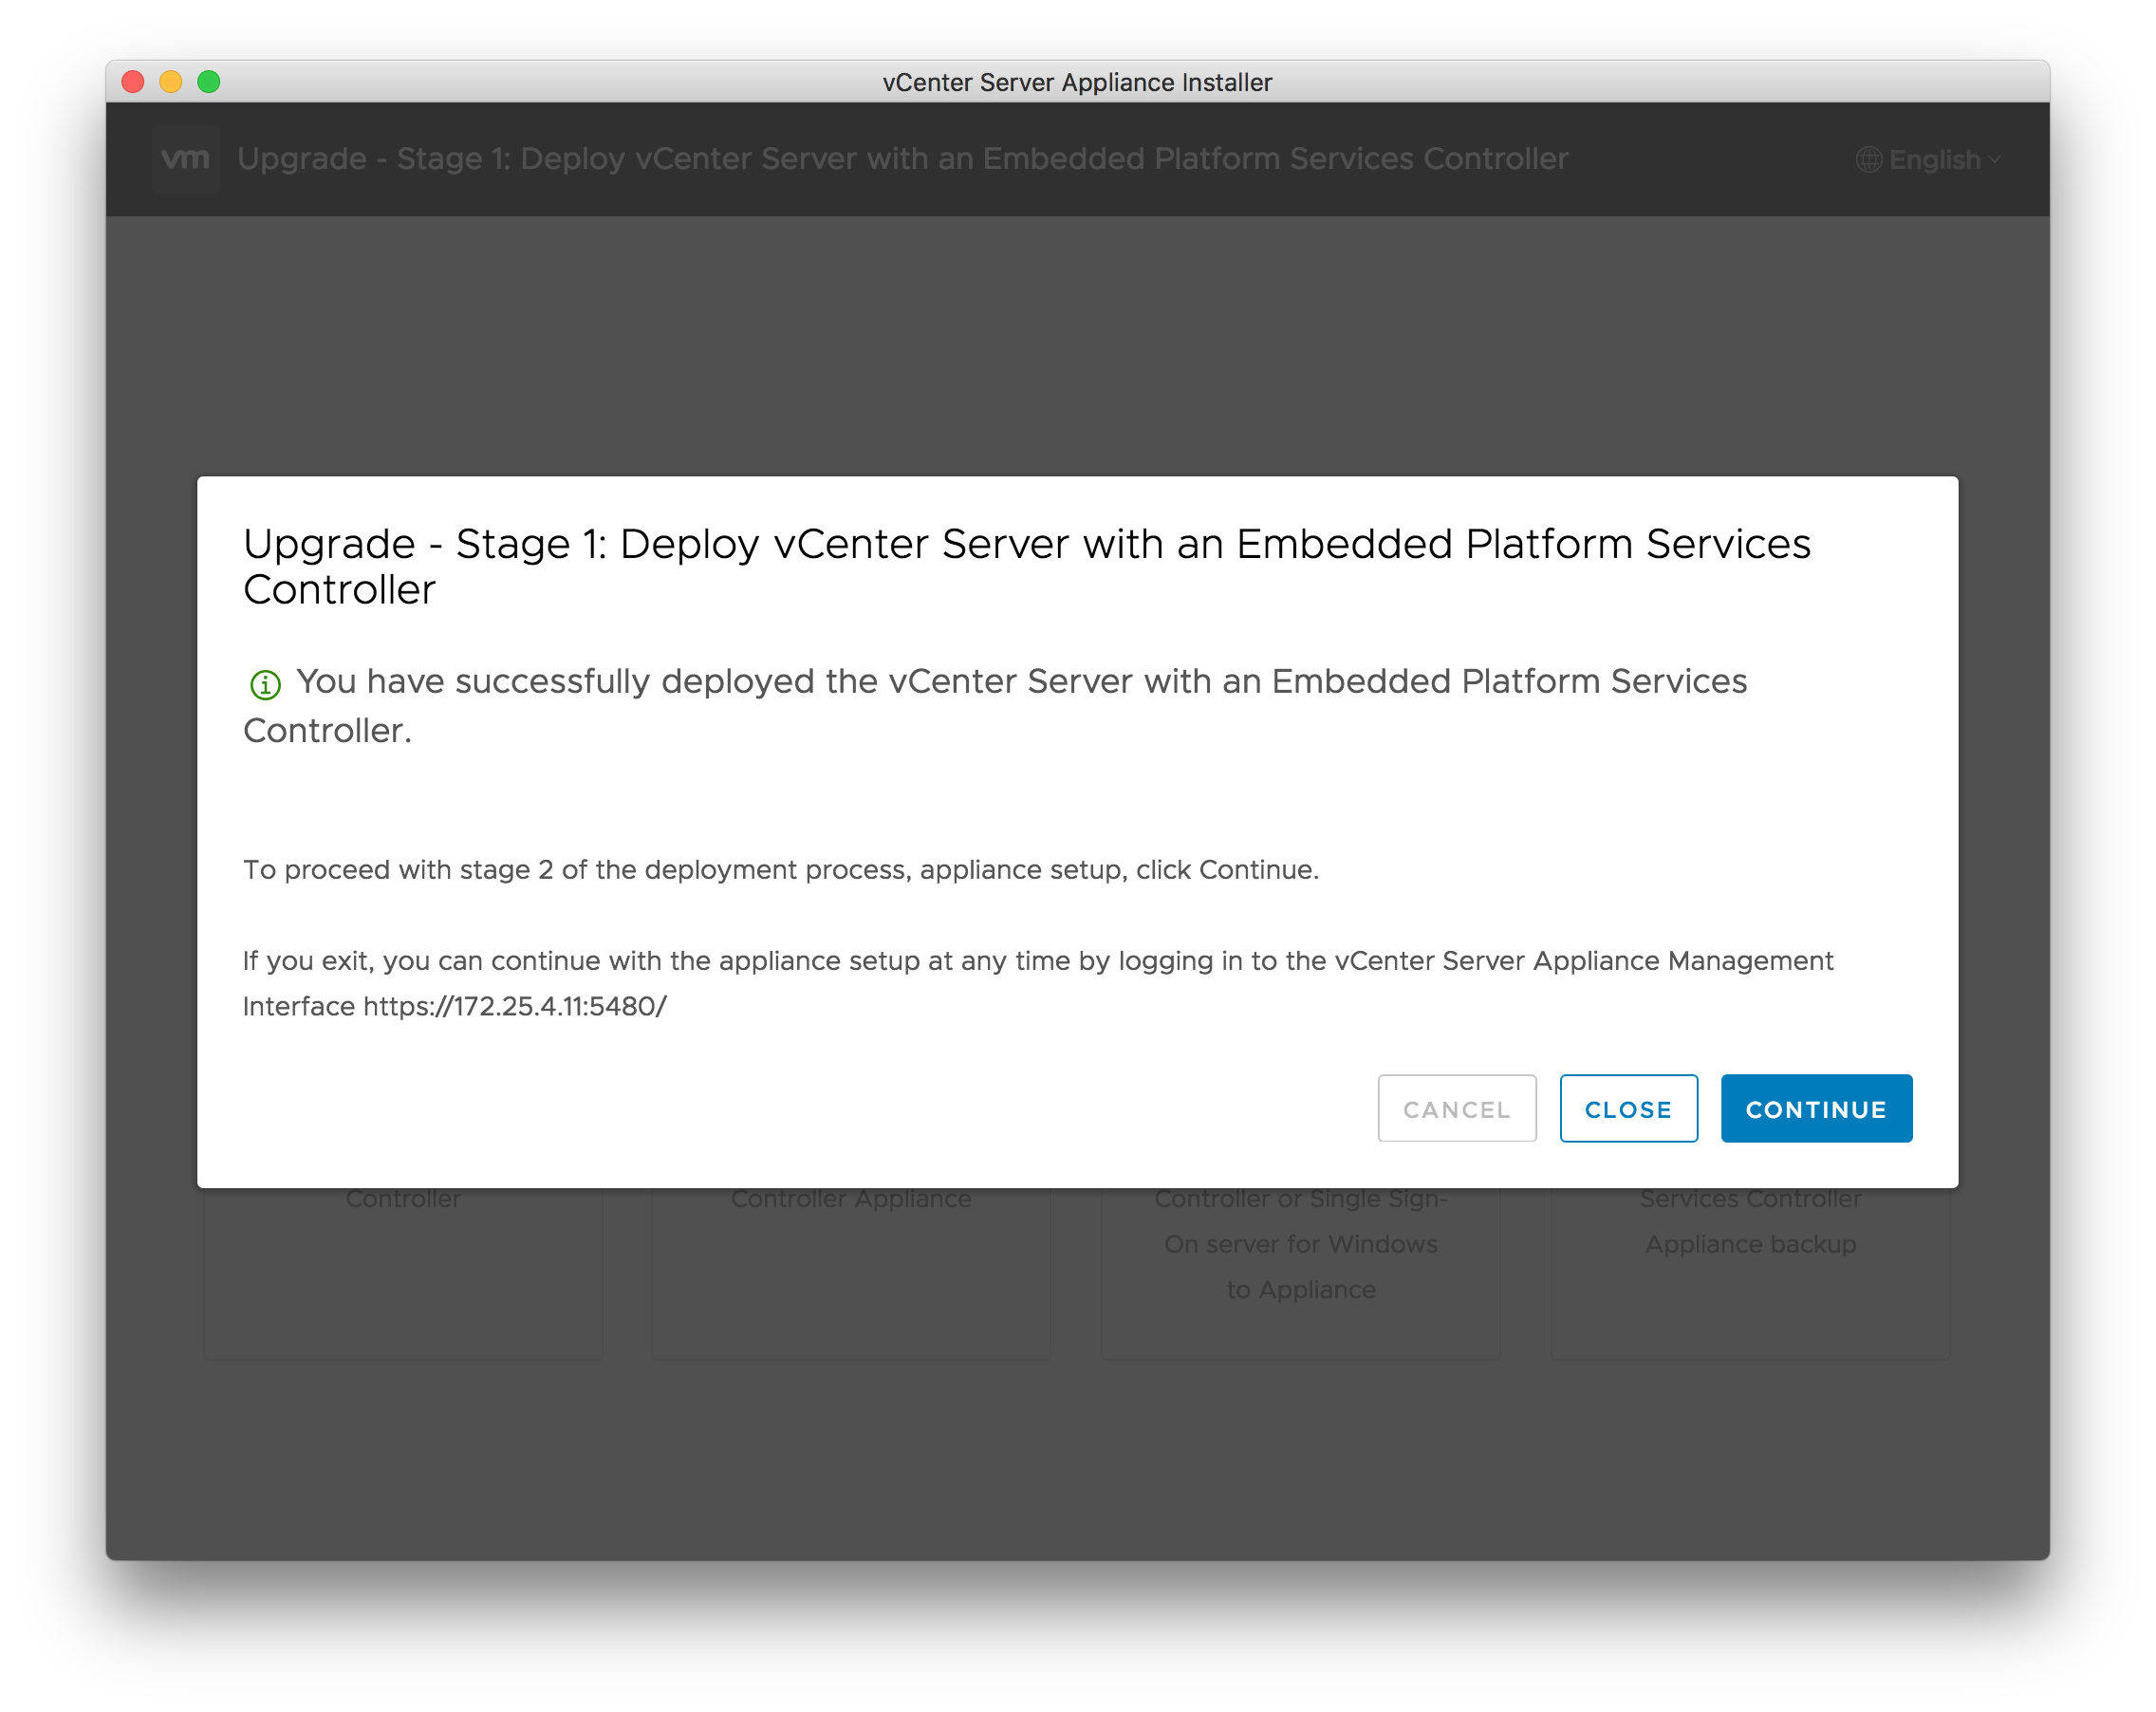
- Now the new VCSA will be deployed and starts with your settings. This will take a while. Once you see the final screen which means that the new VCSA is deployed, up and running do not click on Continue. Try to ping the machine (temporary IP) from your workstation. I’ve had the problem that the gateway address from the configurator wasn’t used. If you can ping the device everything is fine. If not, open the VM console from the destination ESXi and edit the management network to add the gateway address. After that you can click on Continue and start with “Stage 2”
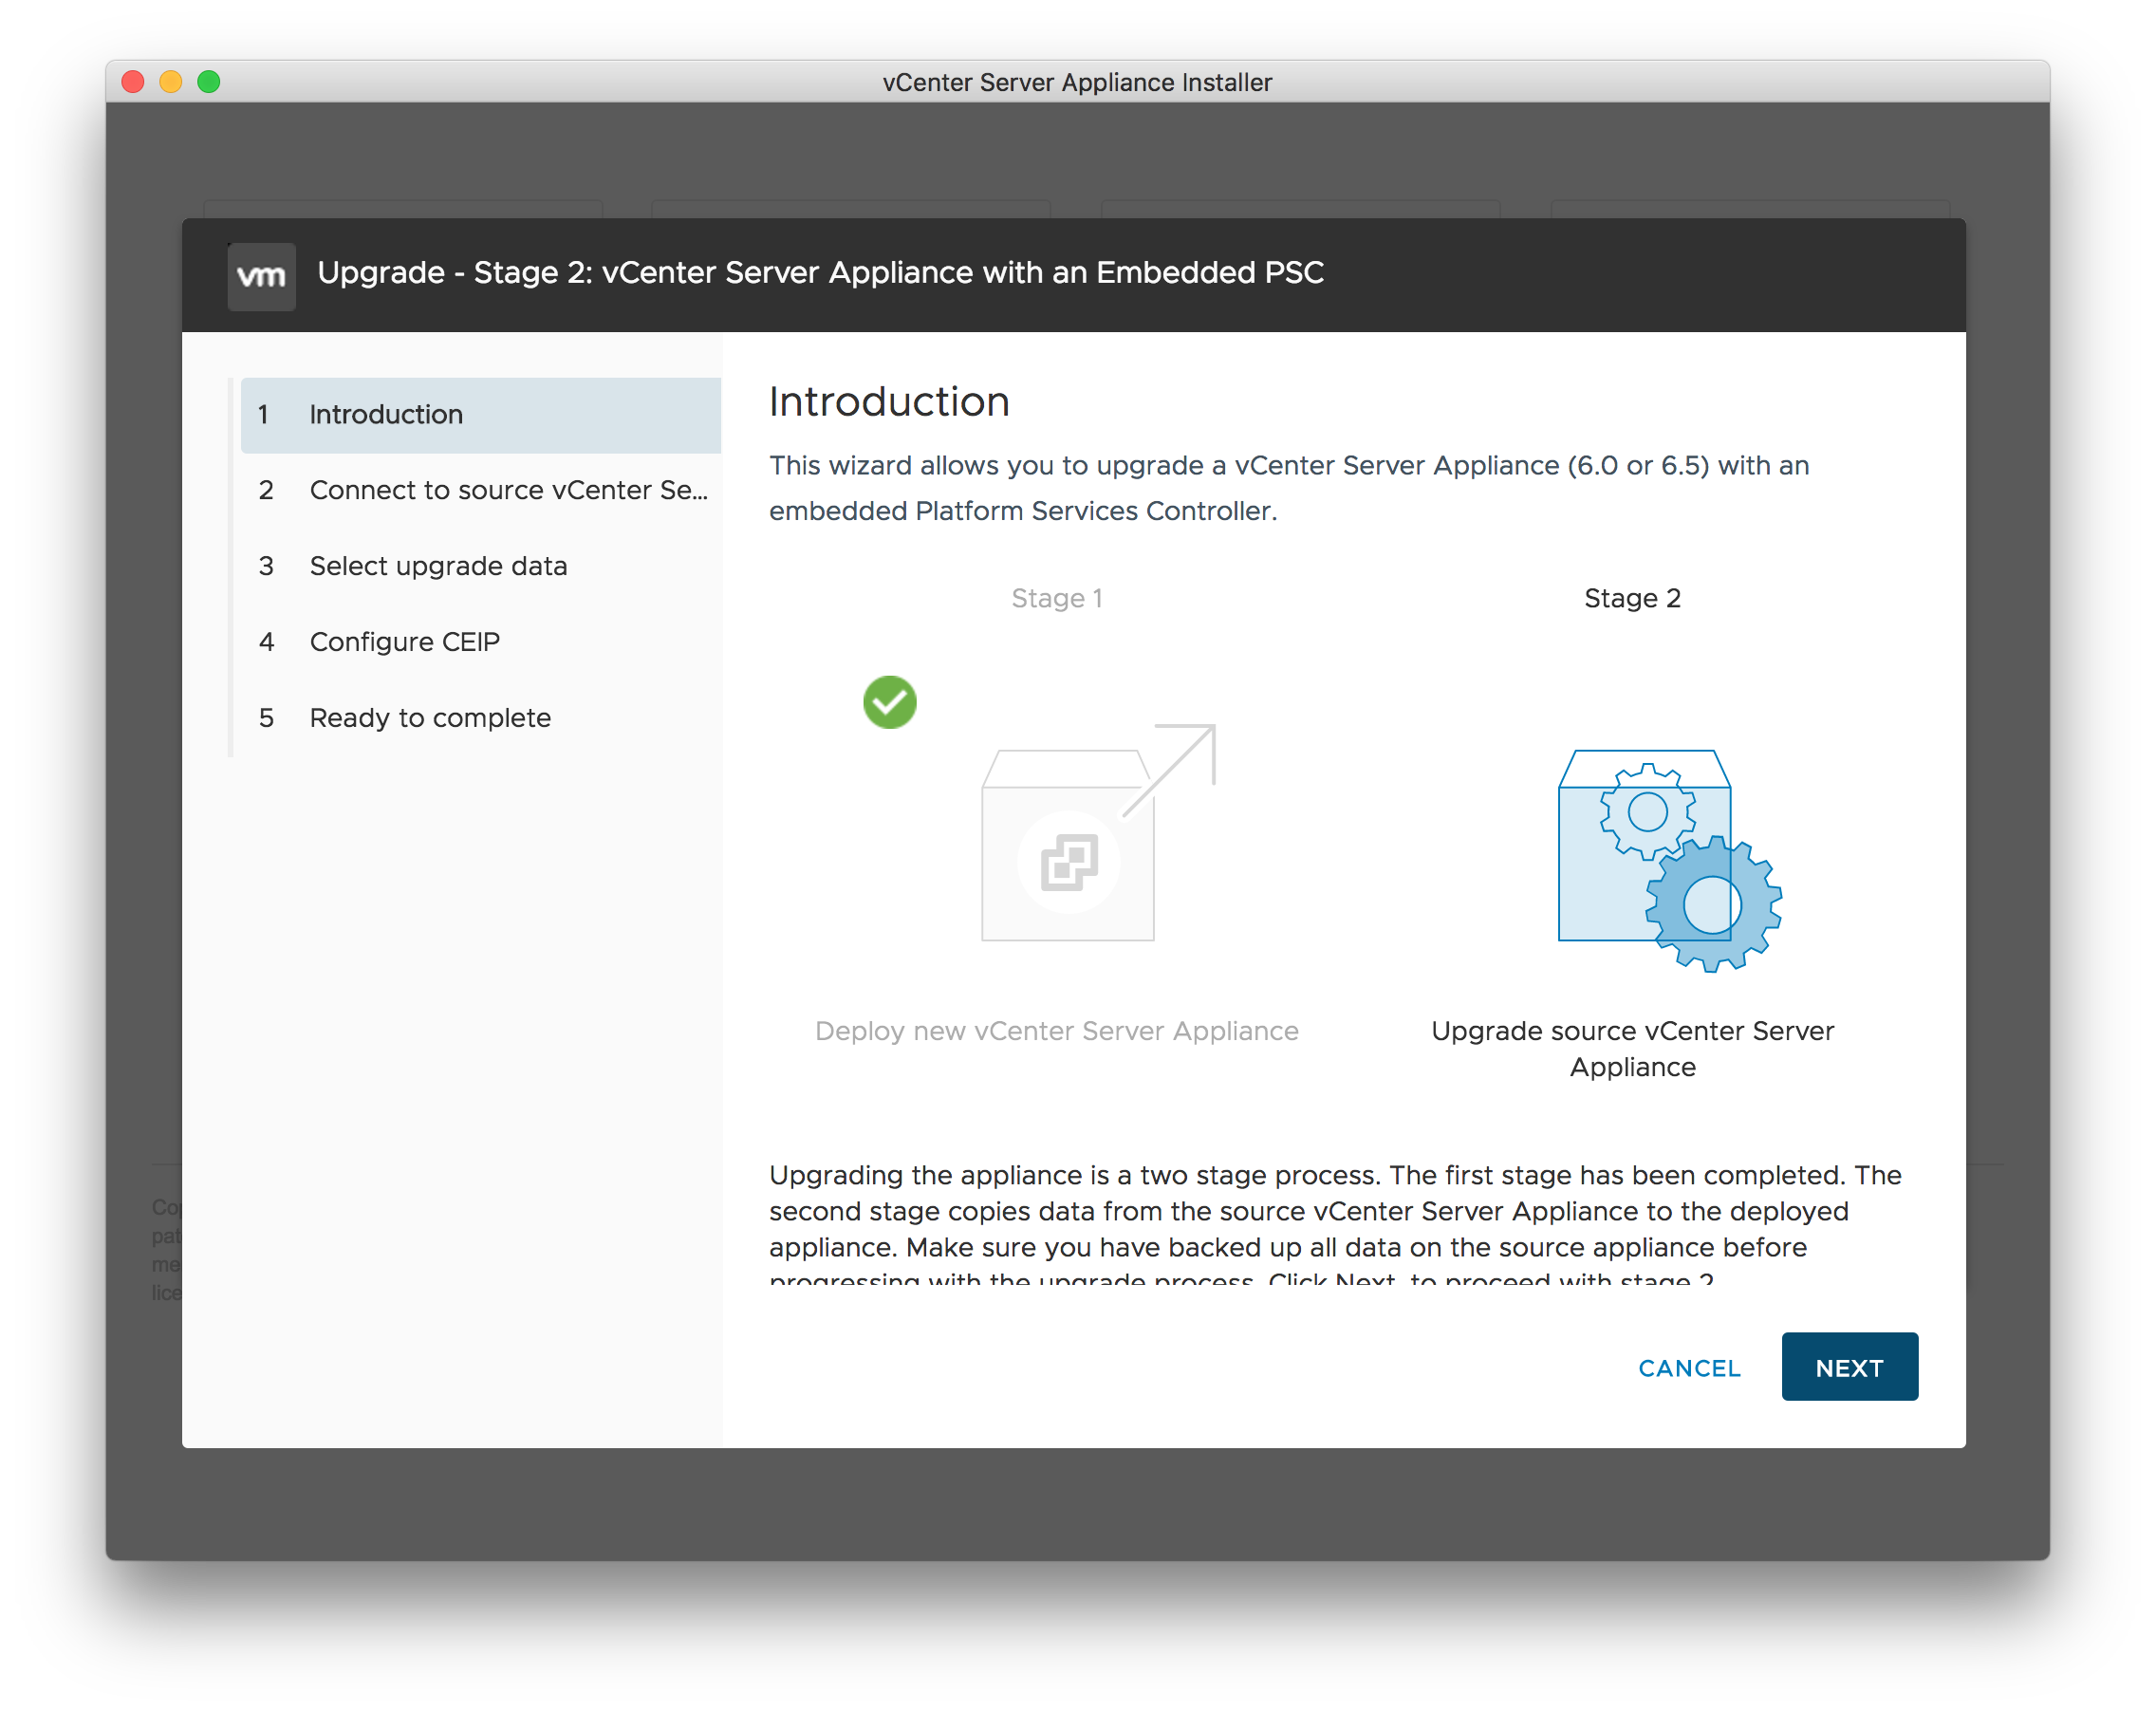
- Stage 2: This stage connects to the source vCenter and you will select which data should be migrated.
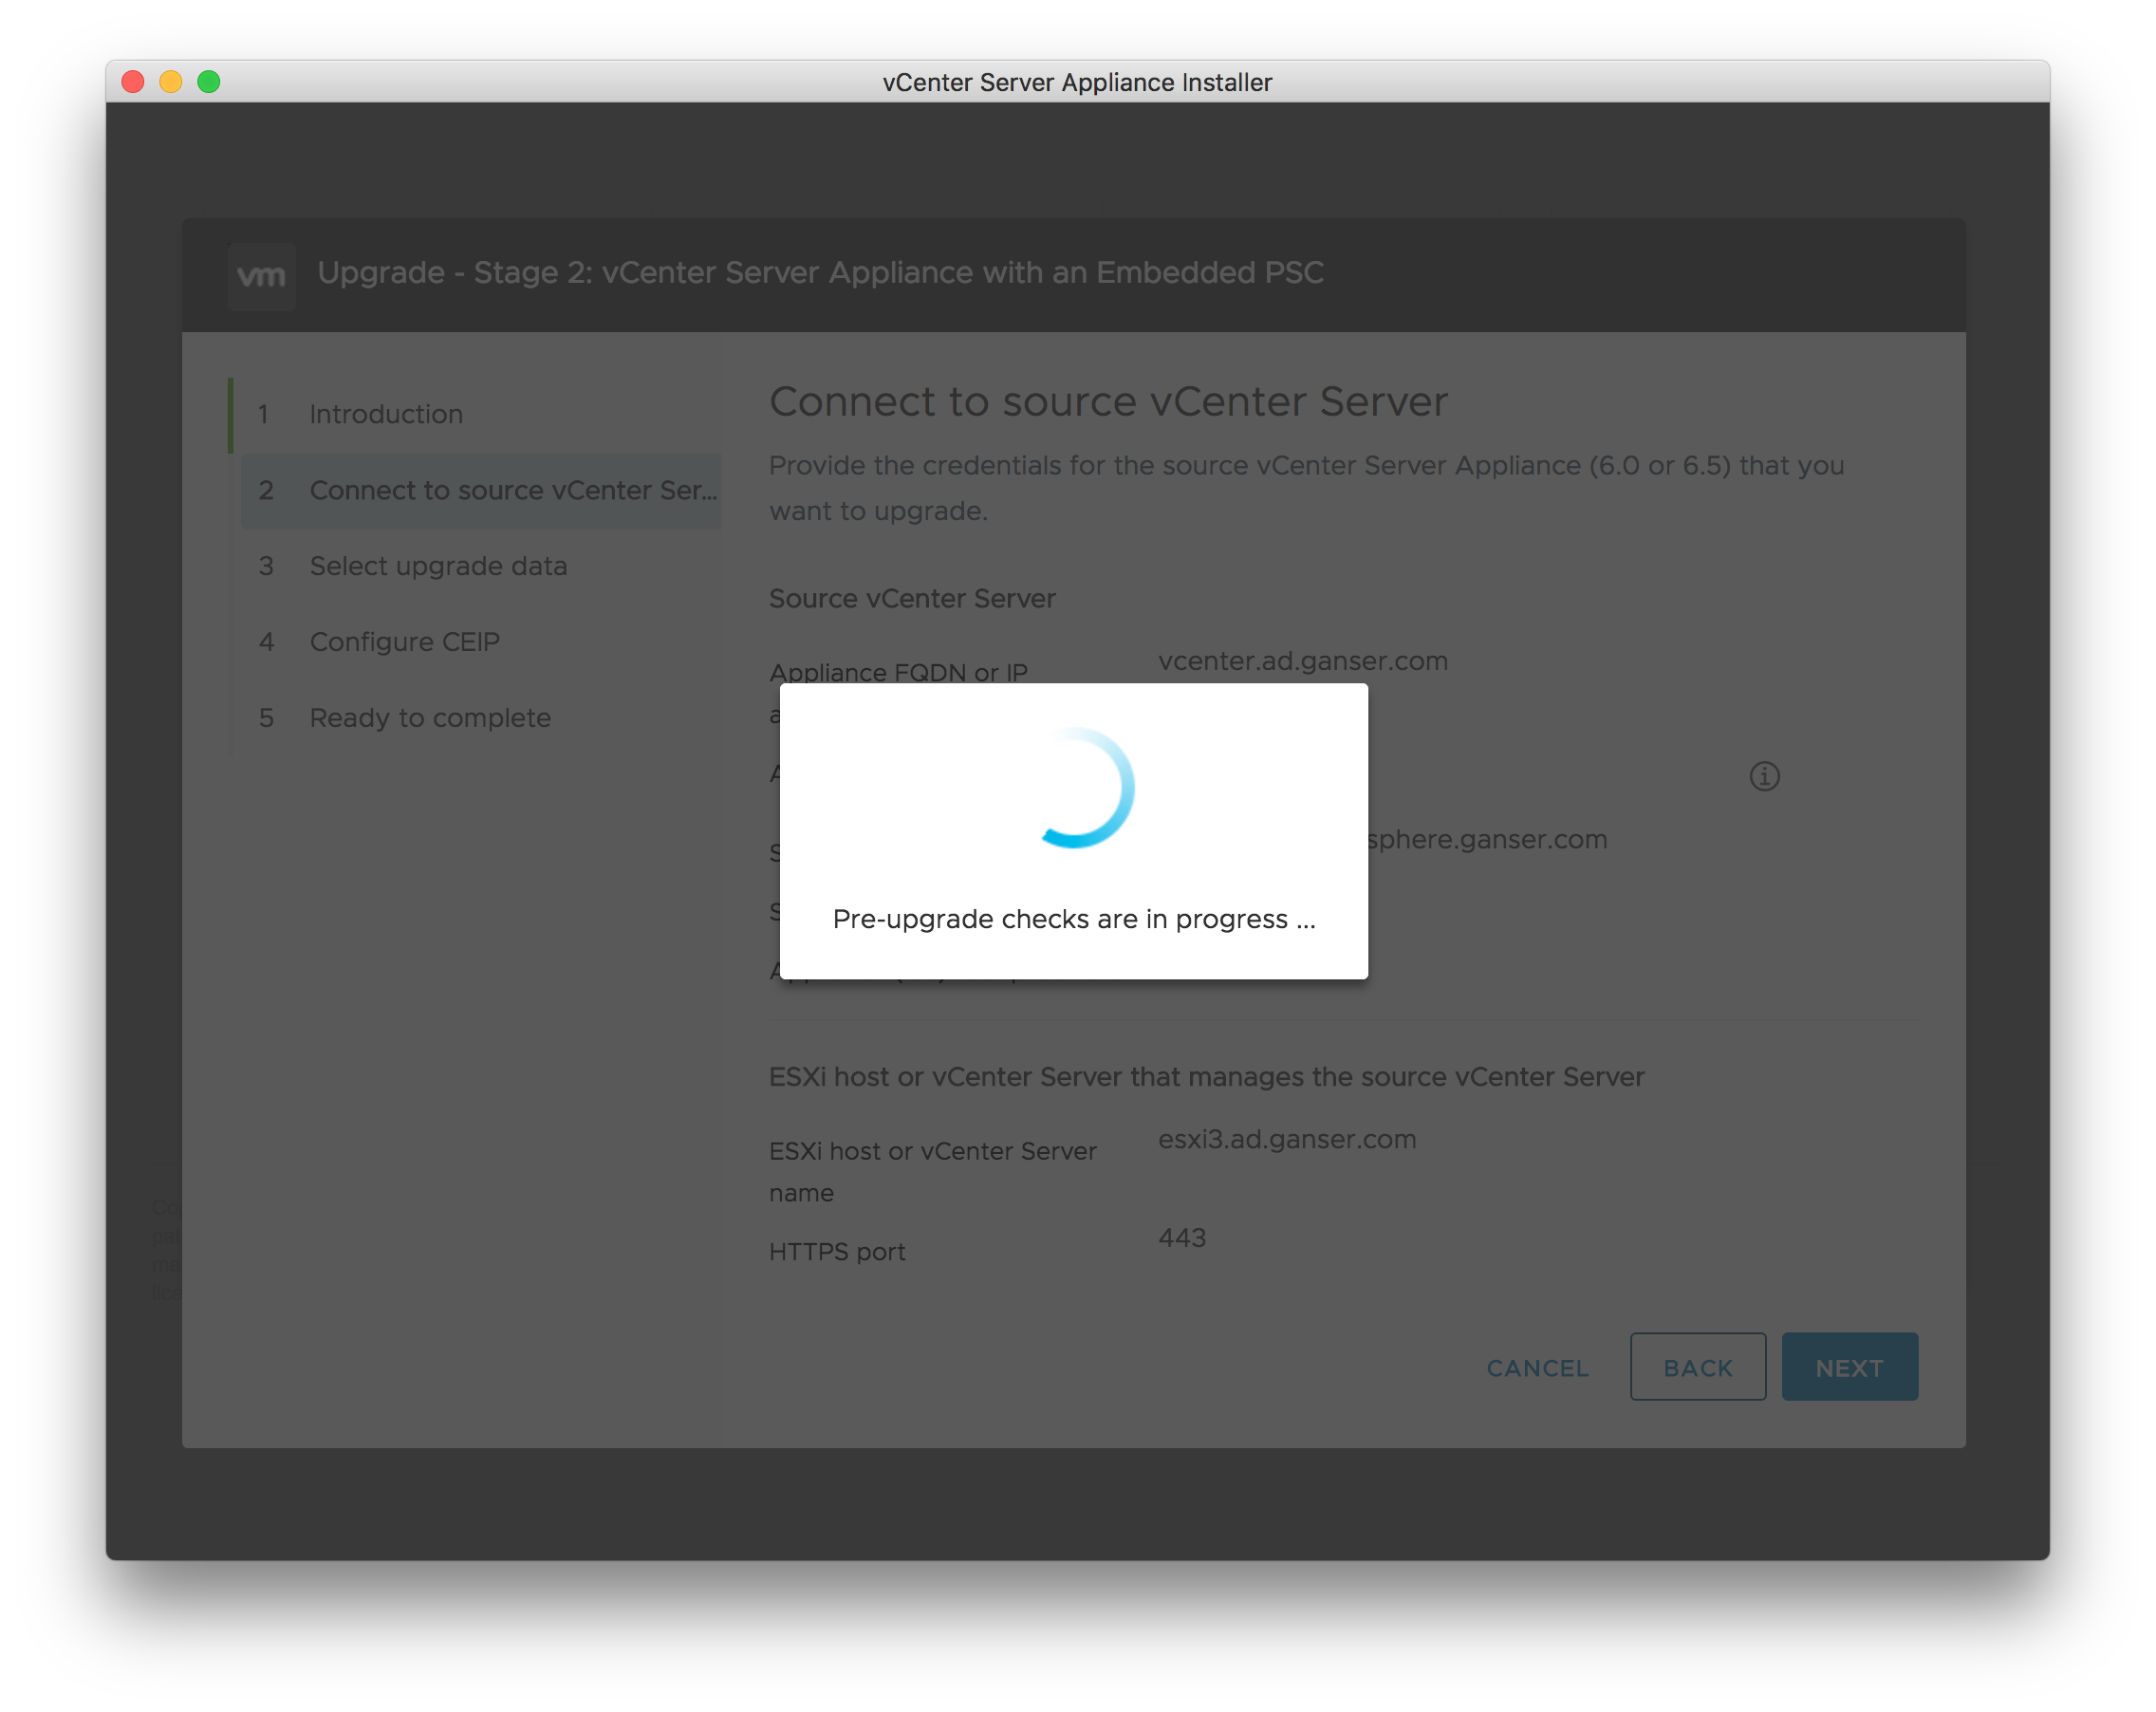
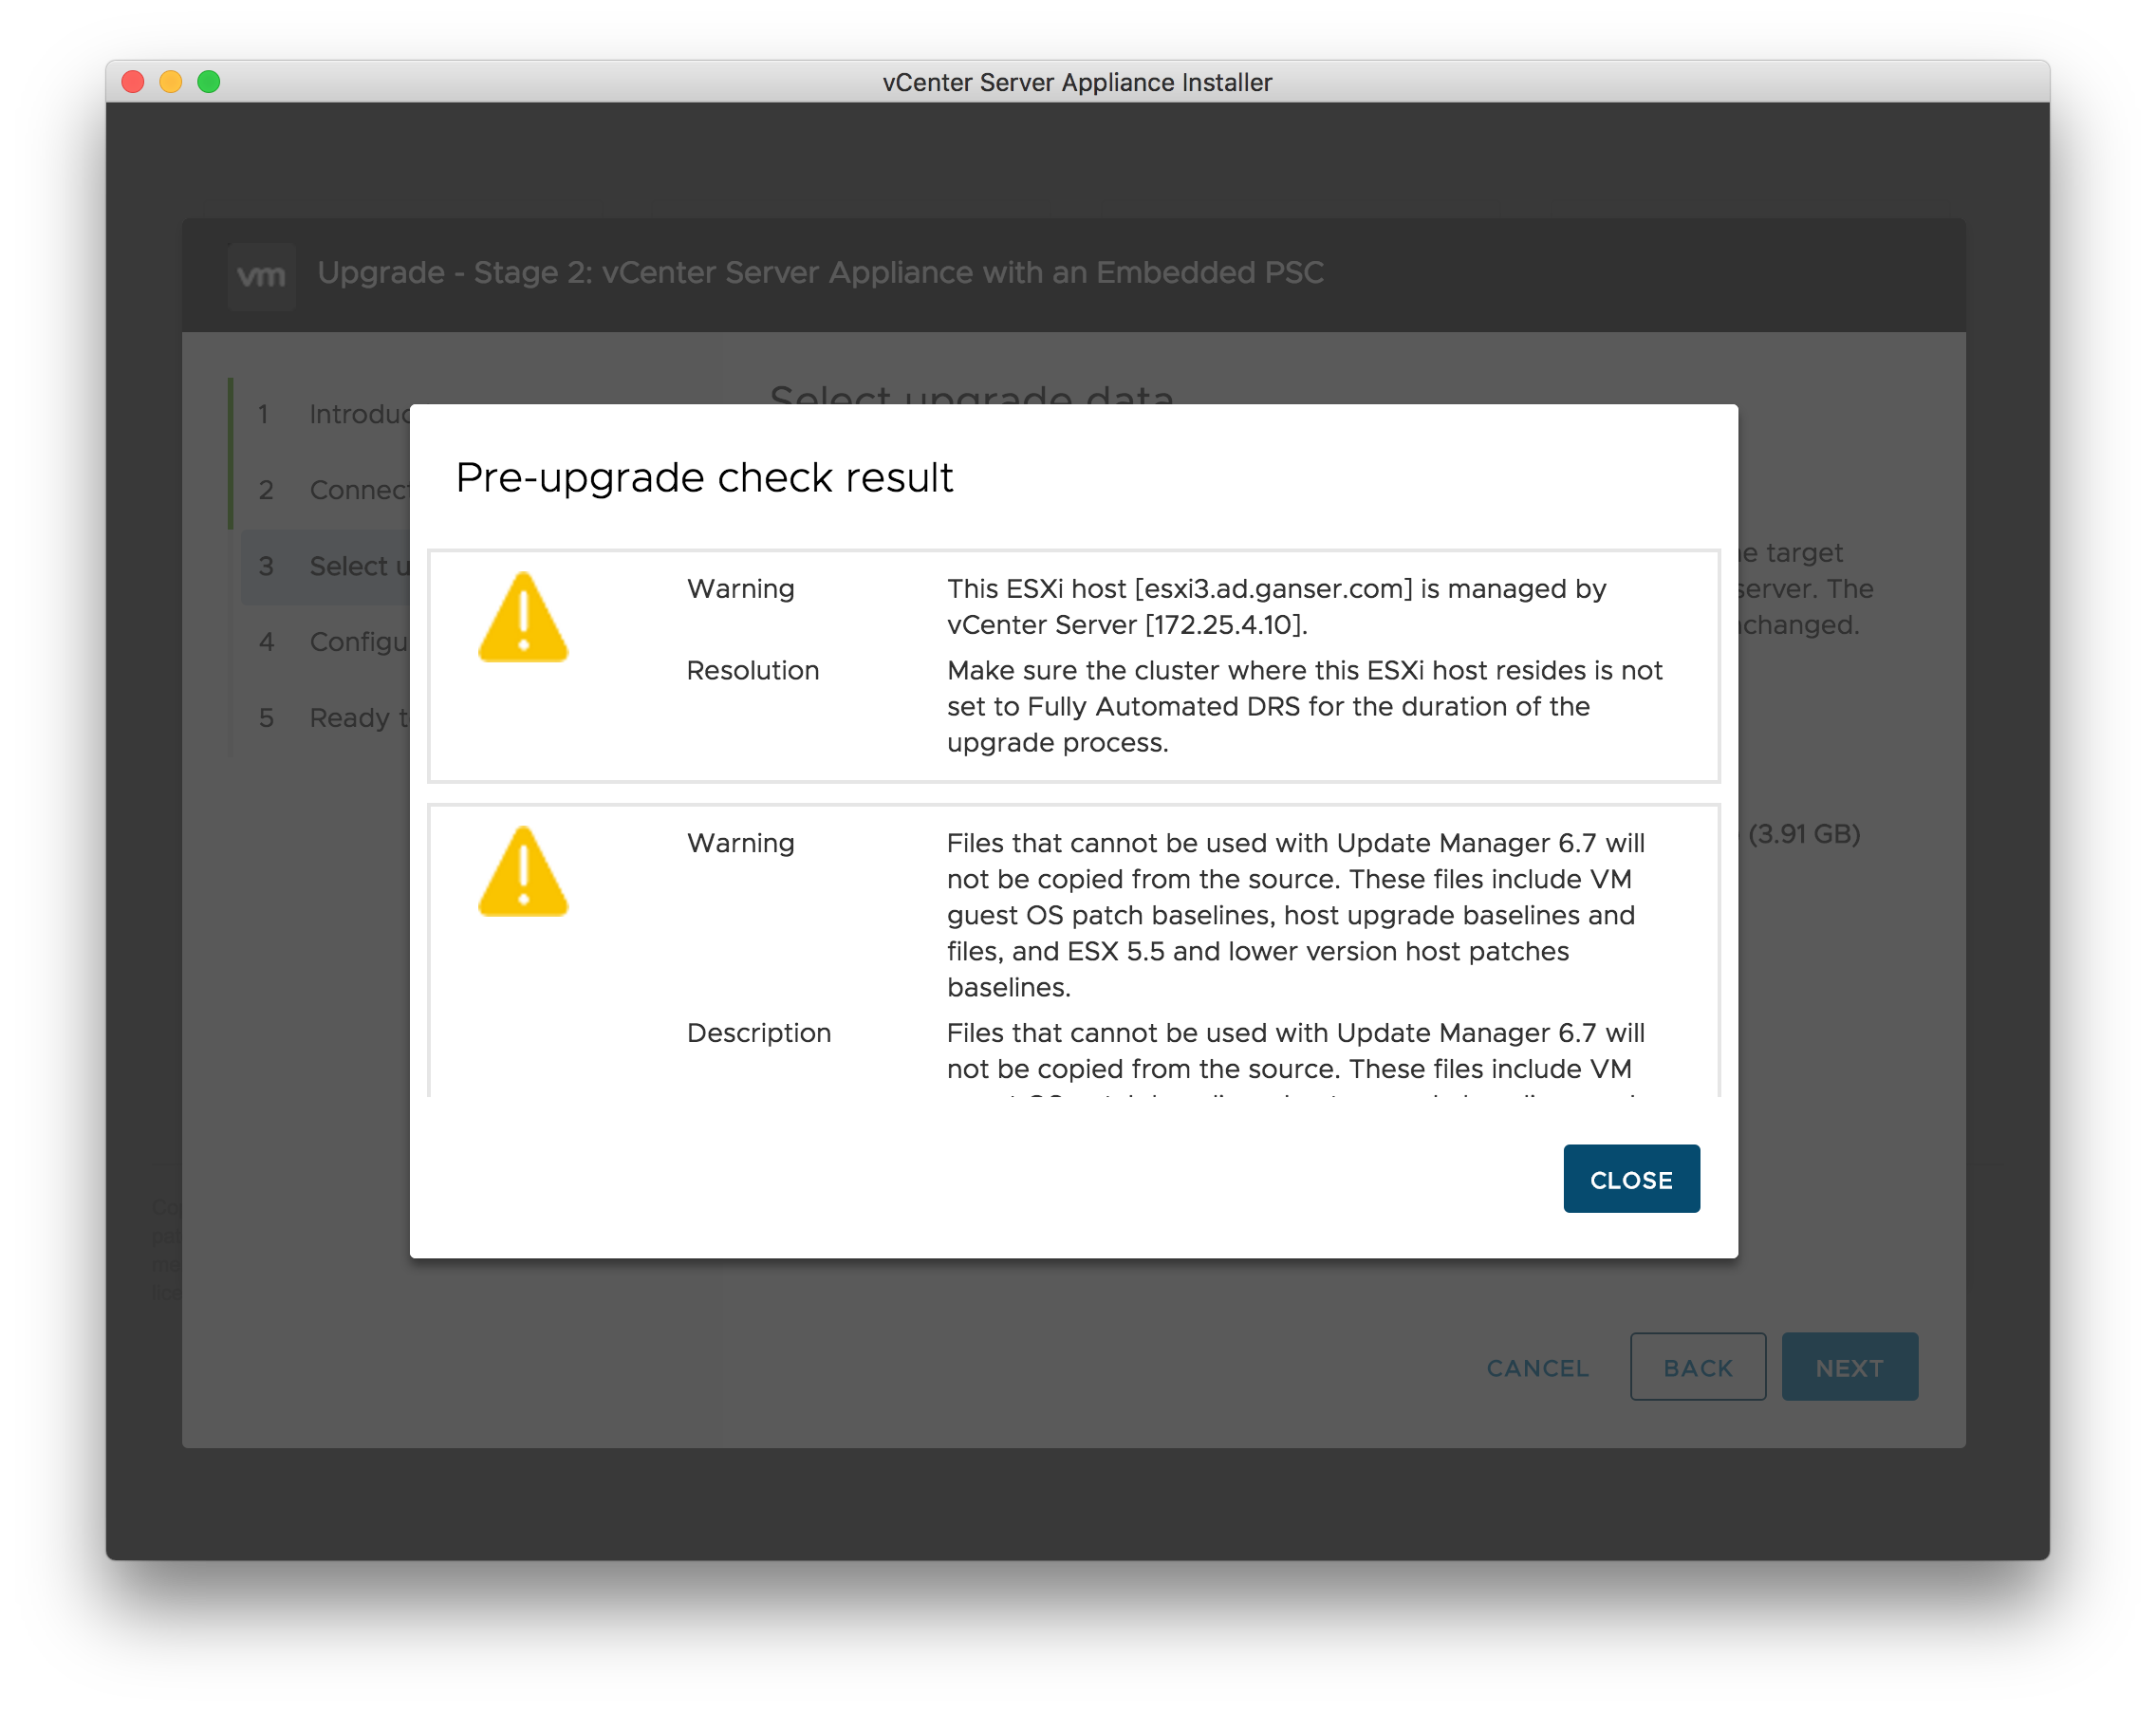
- Step 2: The installer connects to the source vCenter and runs pre-upgrade checks. I’ve got some warnings but nothing dramatically. But read them please!
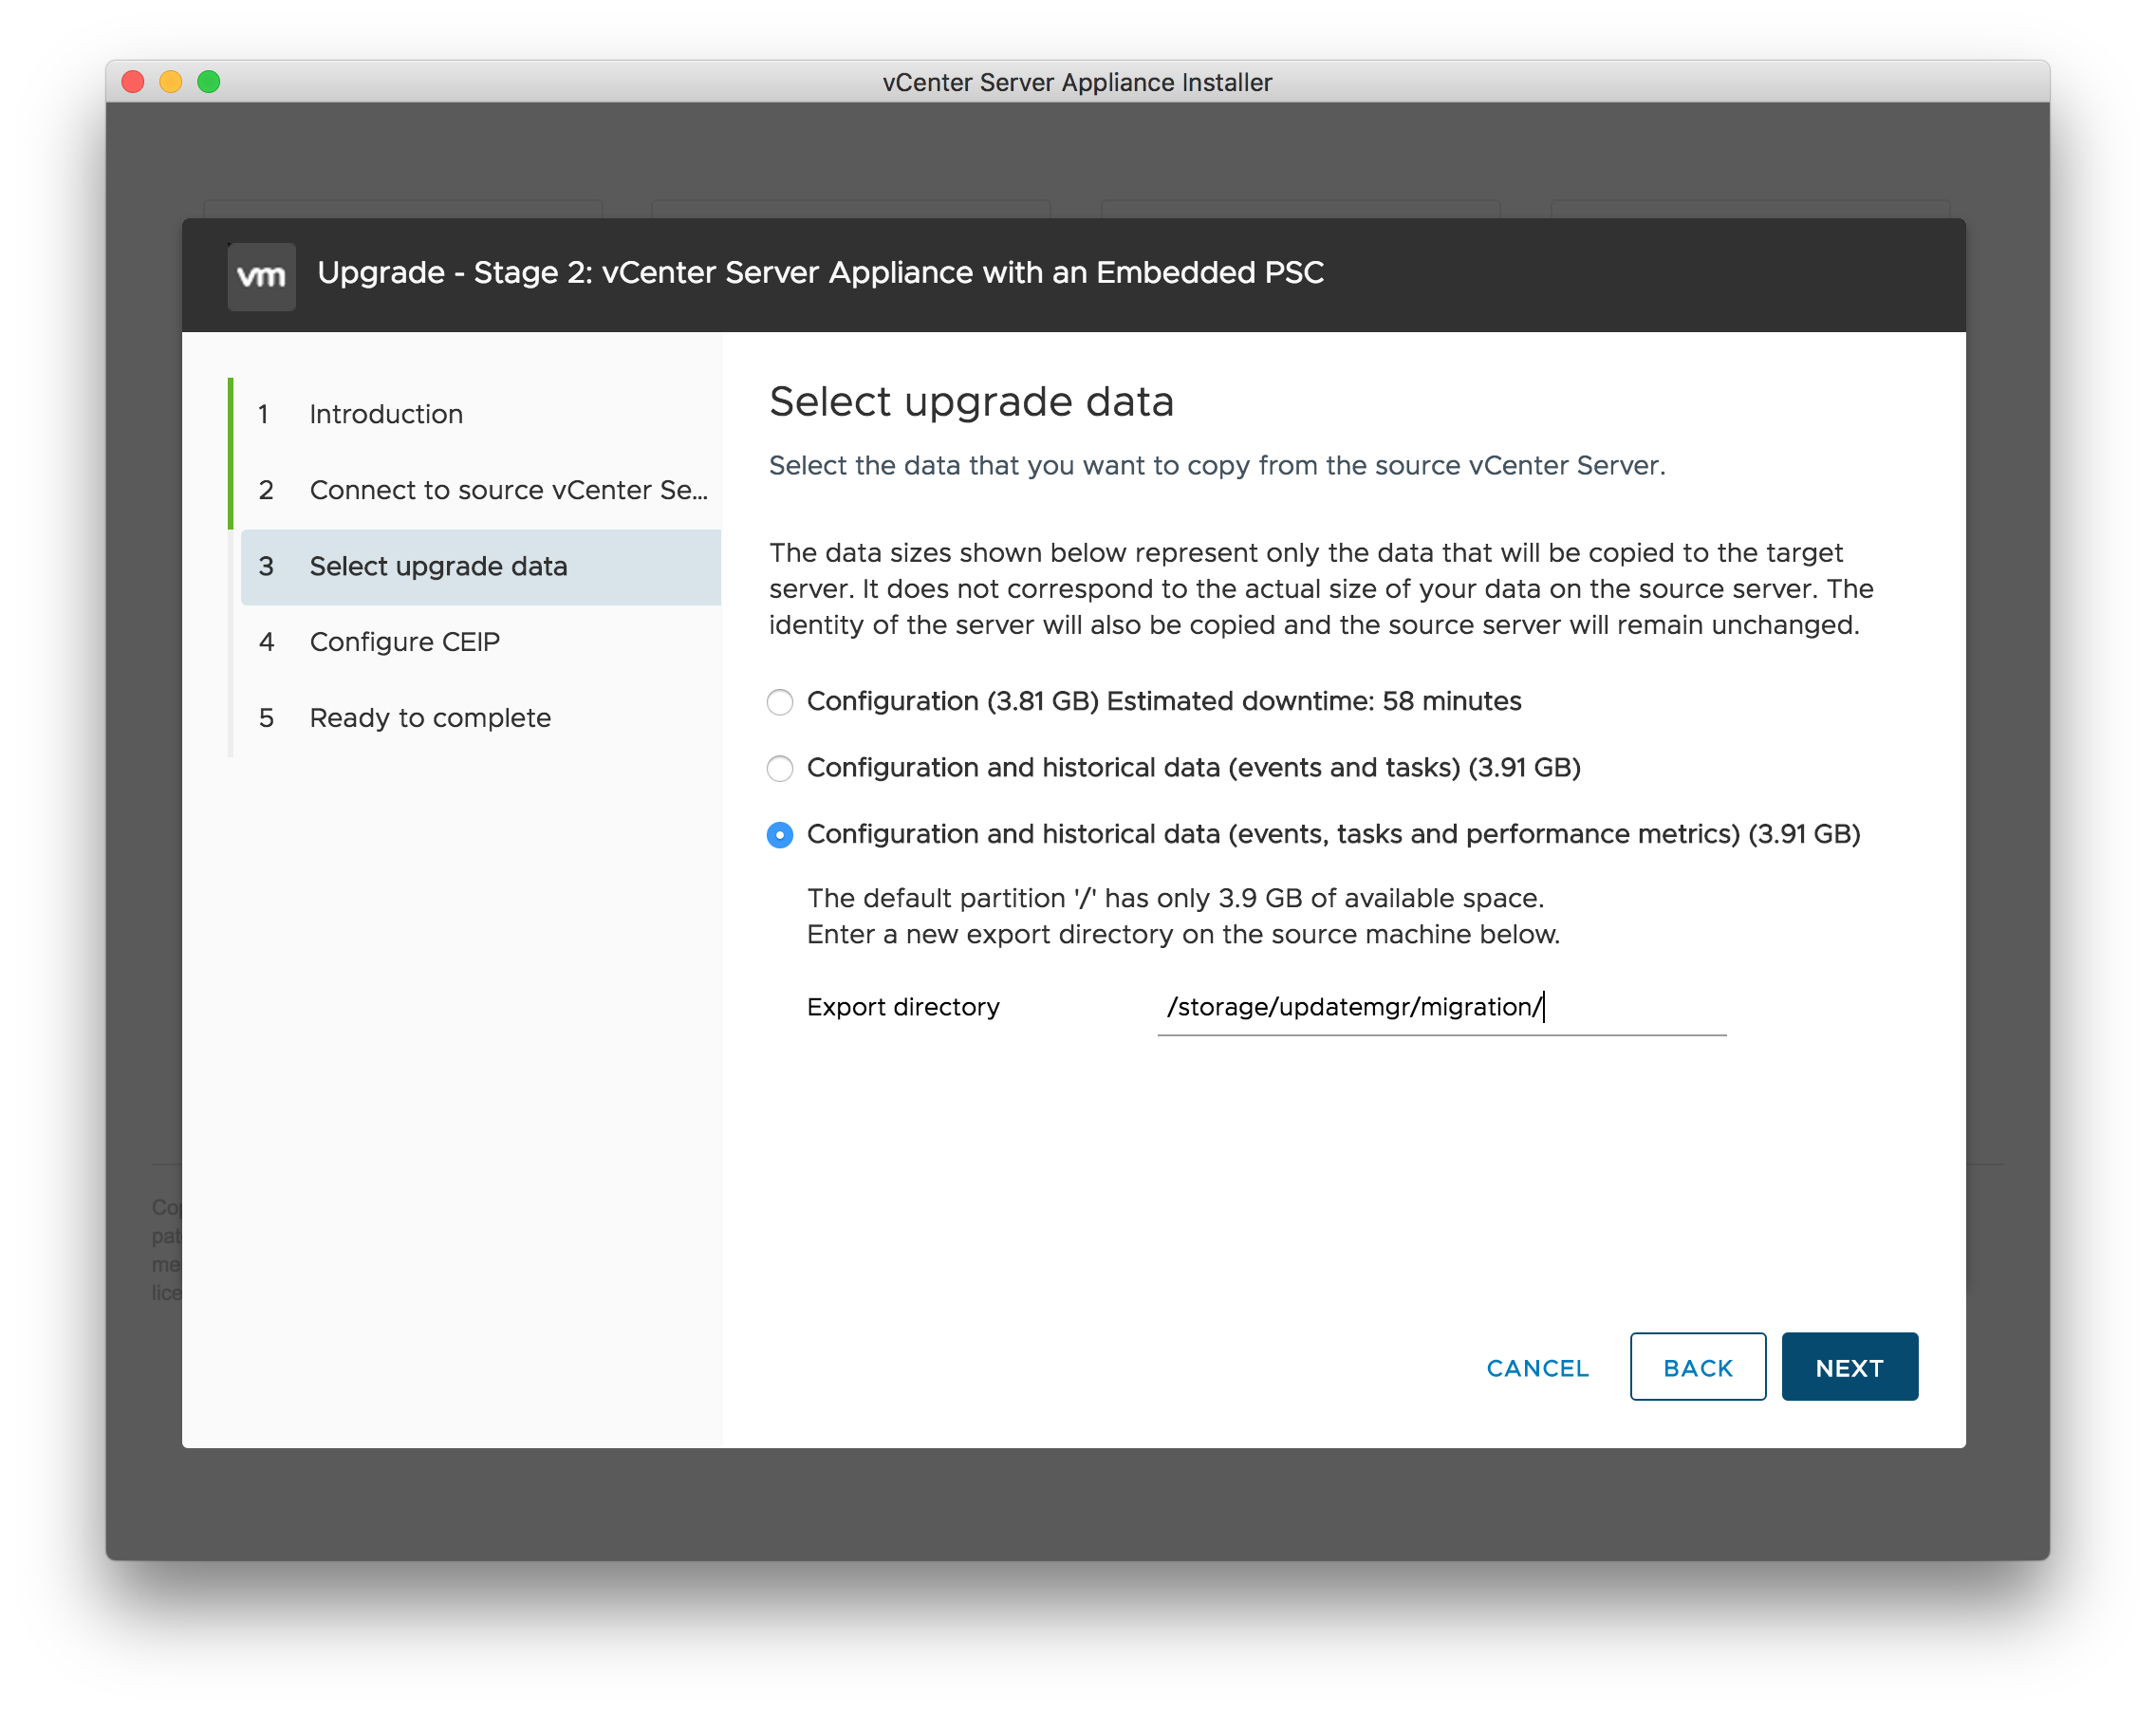
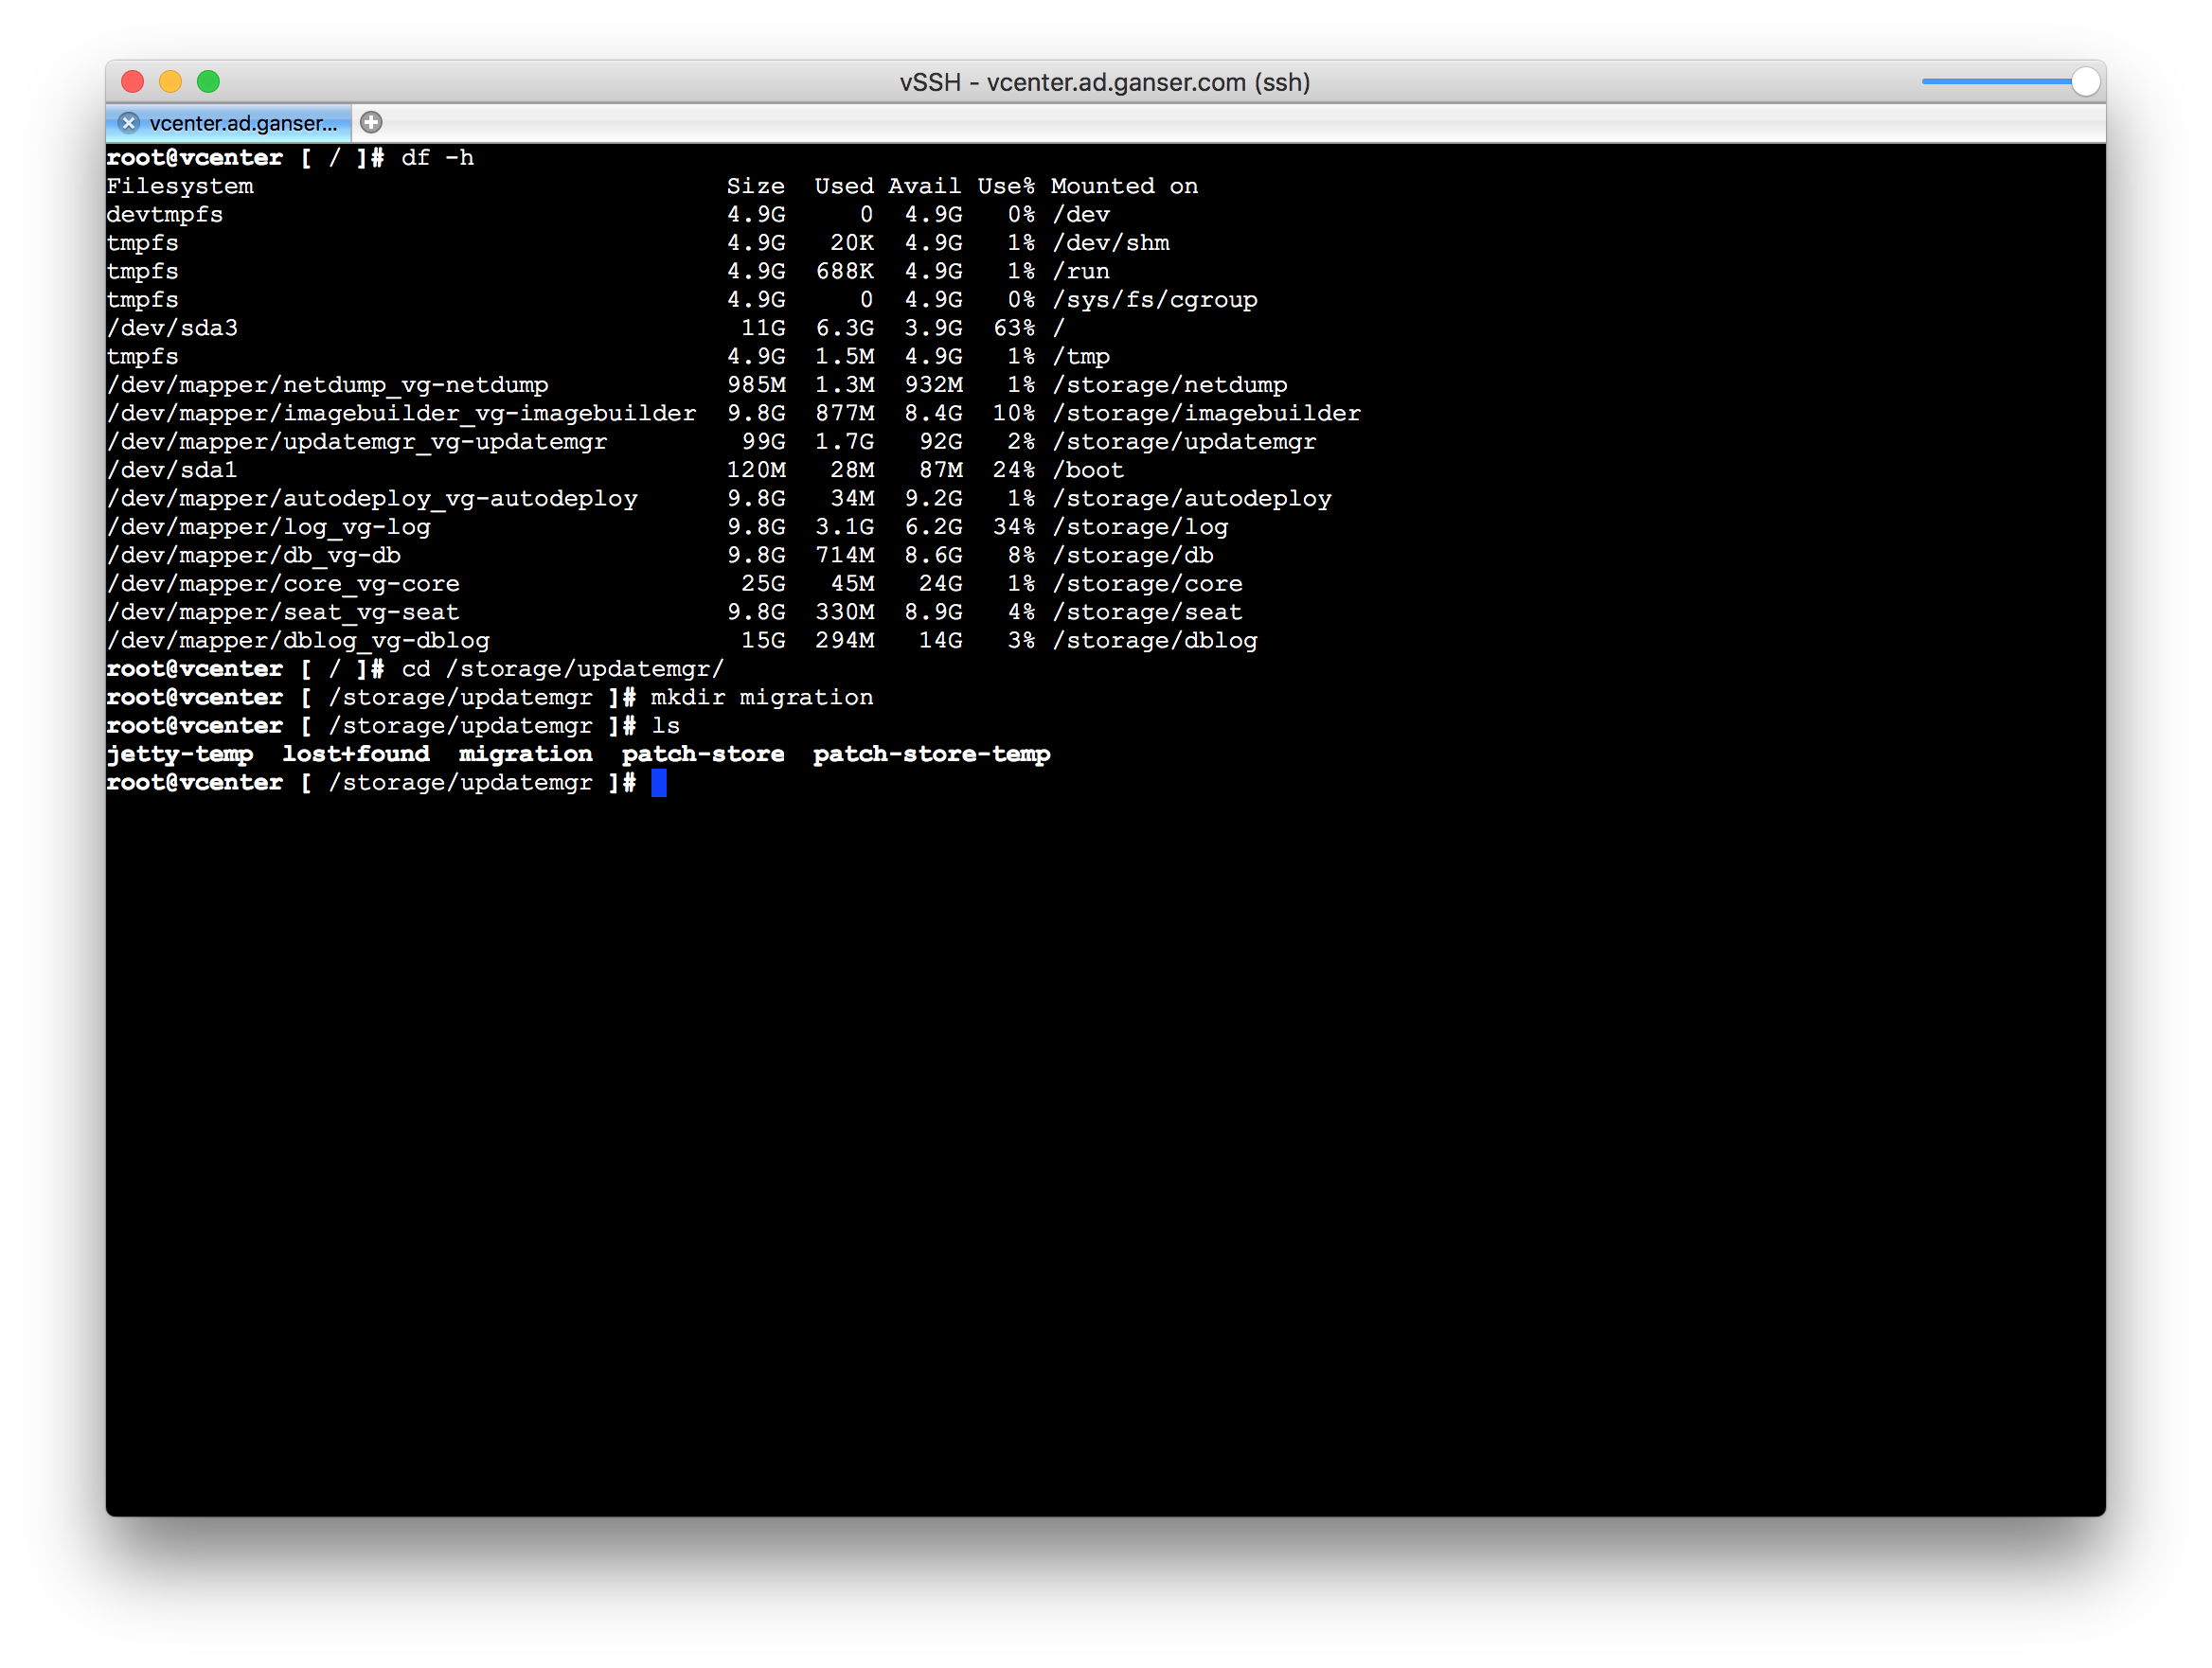
- Step3: In the next screen you select the data to be migrated. You can choose configuration only, configuration and historical data (events and tasks) or configuration and historical data (events, tasks and performance metrics). Here was the second problem I’ve had with the migration. As you can see on the second screen my vCenter had 3.9 GB free on / the installer need 3.81 GB for migration. Only by selecting more data I get the notification to select a different directory for migration data. For me it was okay to migration only the configuration. But the migrator needs more space and fails with an error. So I’ve put some bigger files into the root partition to come under 3.8 GB free space in / the wizard now wants the alternate path for configuration only migration. I’ve create a new directory in /storage/updatemgr/ called migration and used it in the wizard.
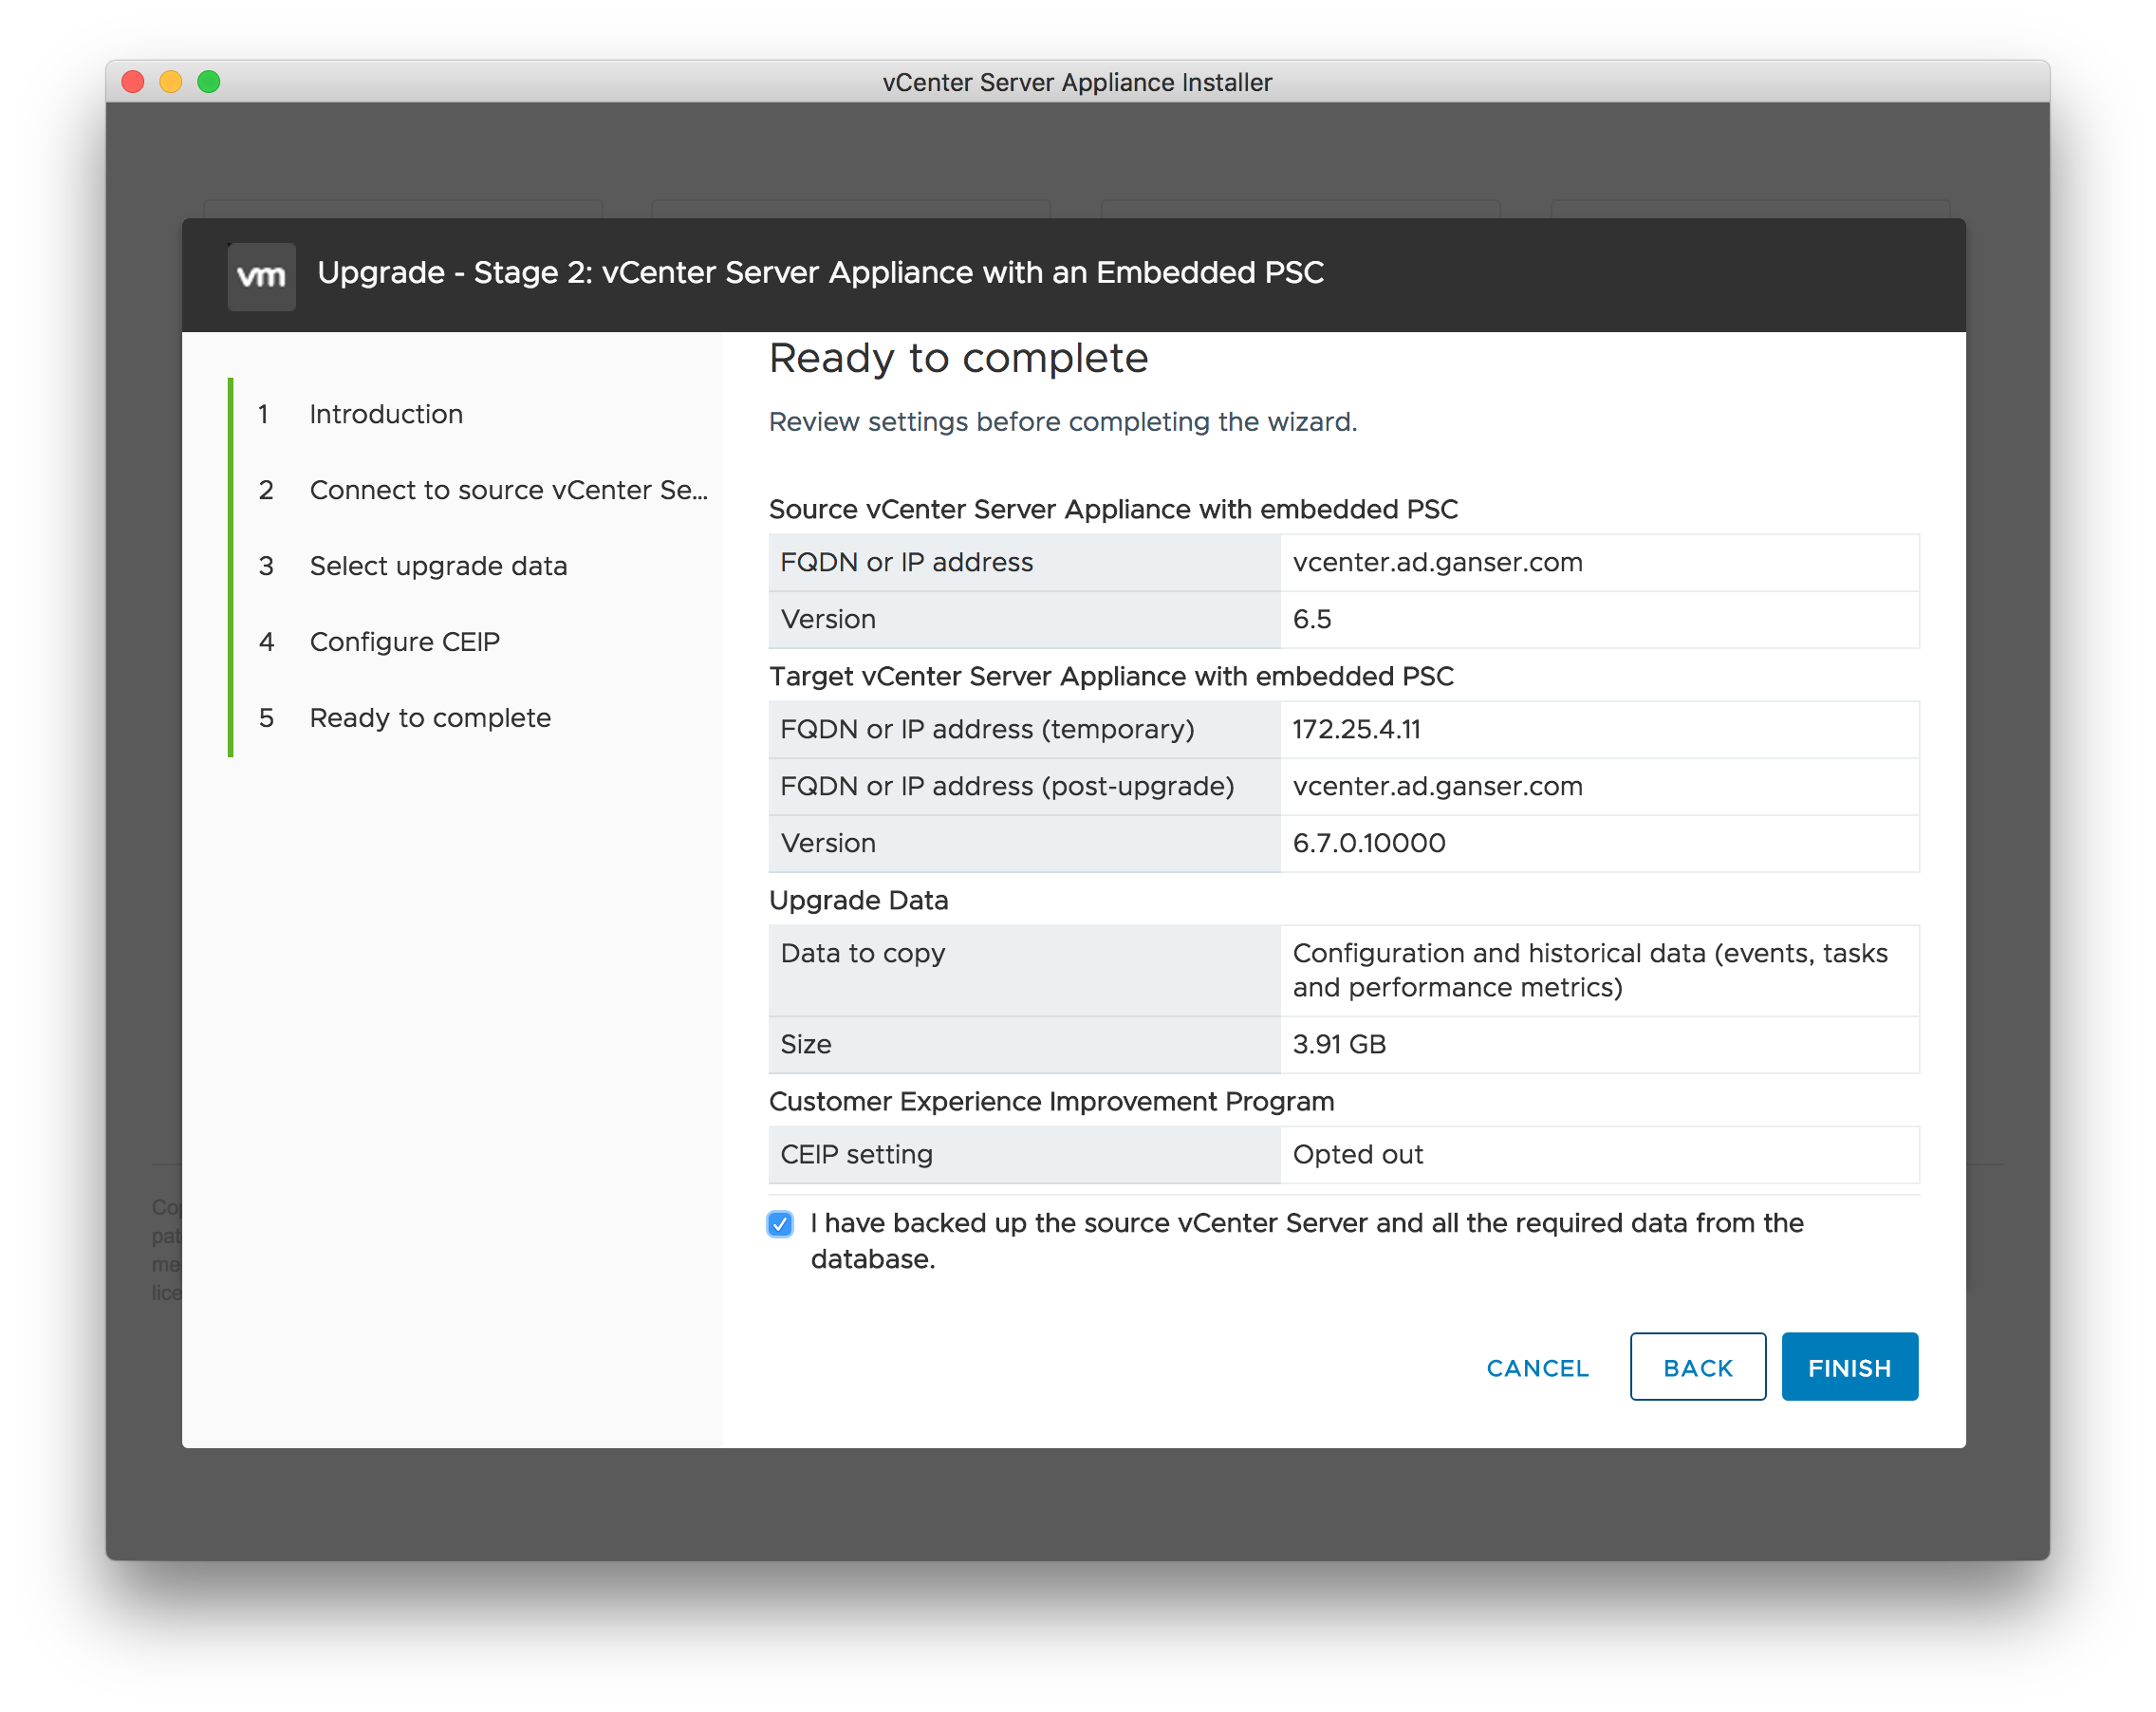
- Step 4: Last step before migration is to join (or not) to the CEIP and review your settings. By clicking Finish the migration will start. You will get a warning that the old vCenter will be shut down in this process.


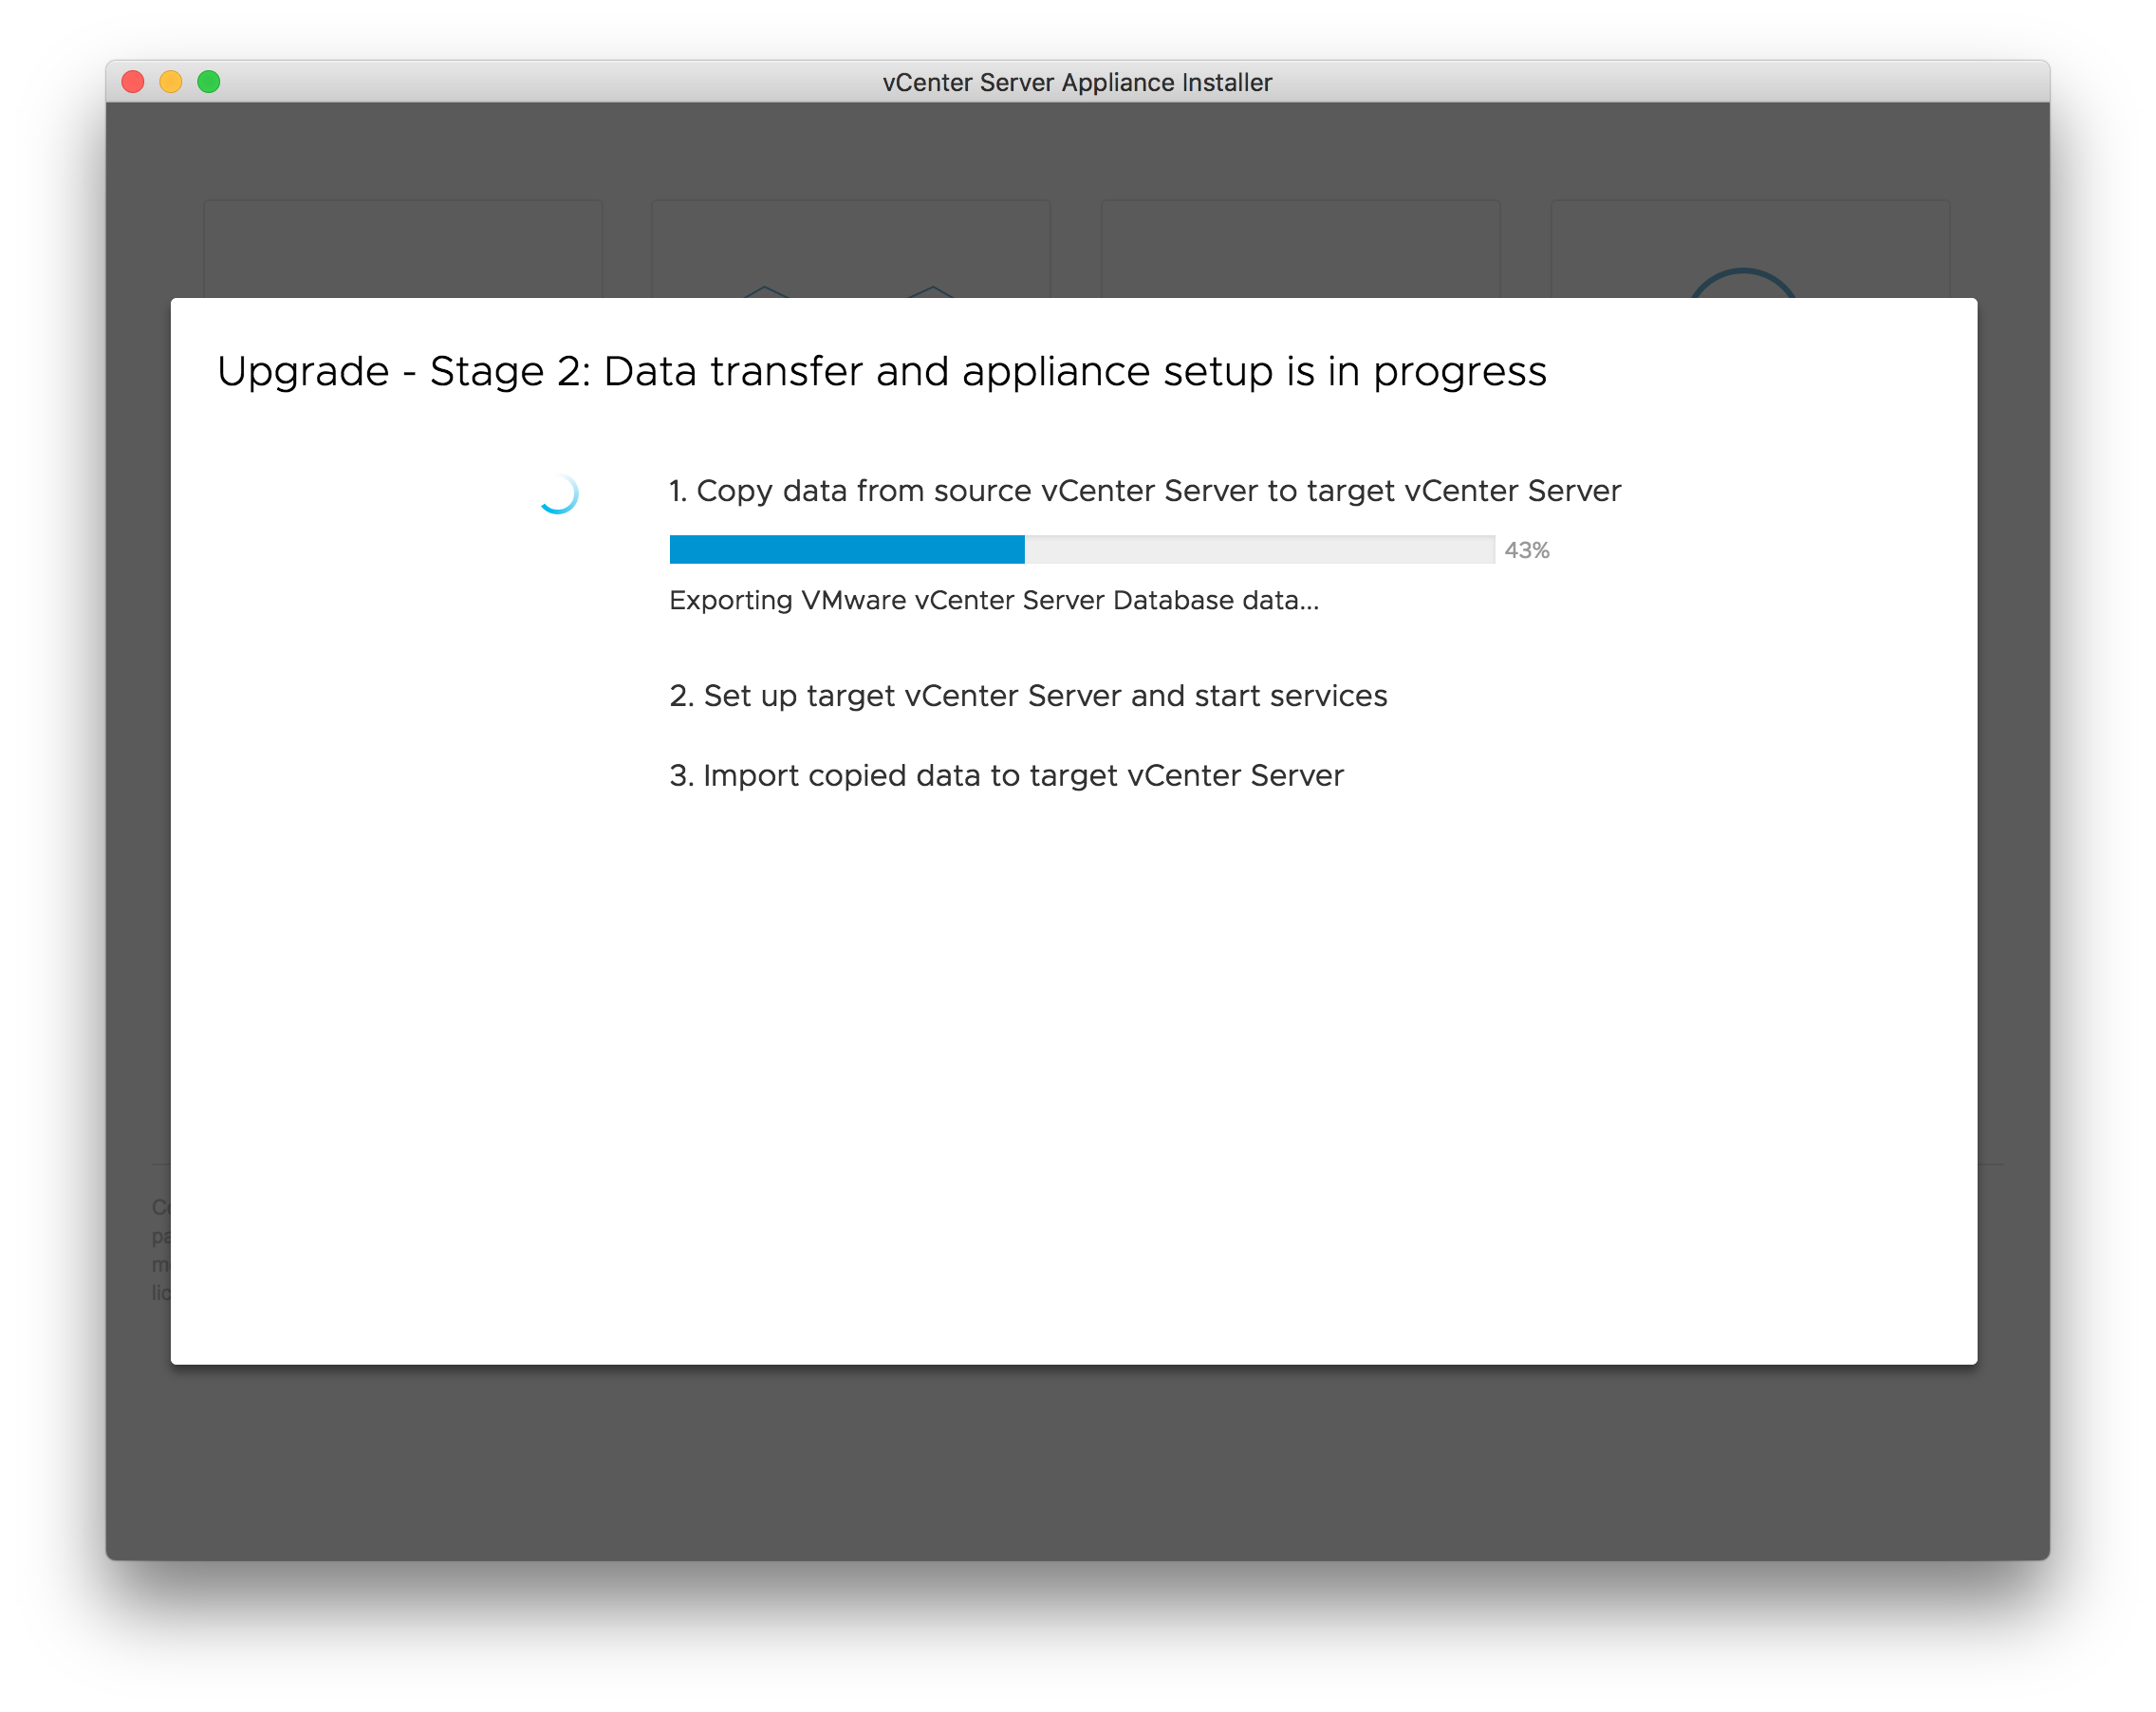
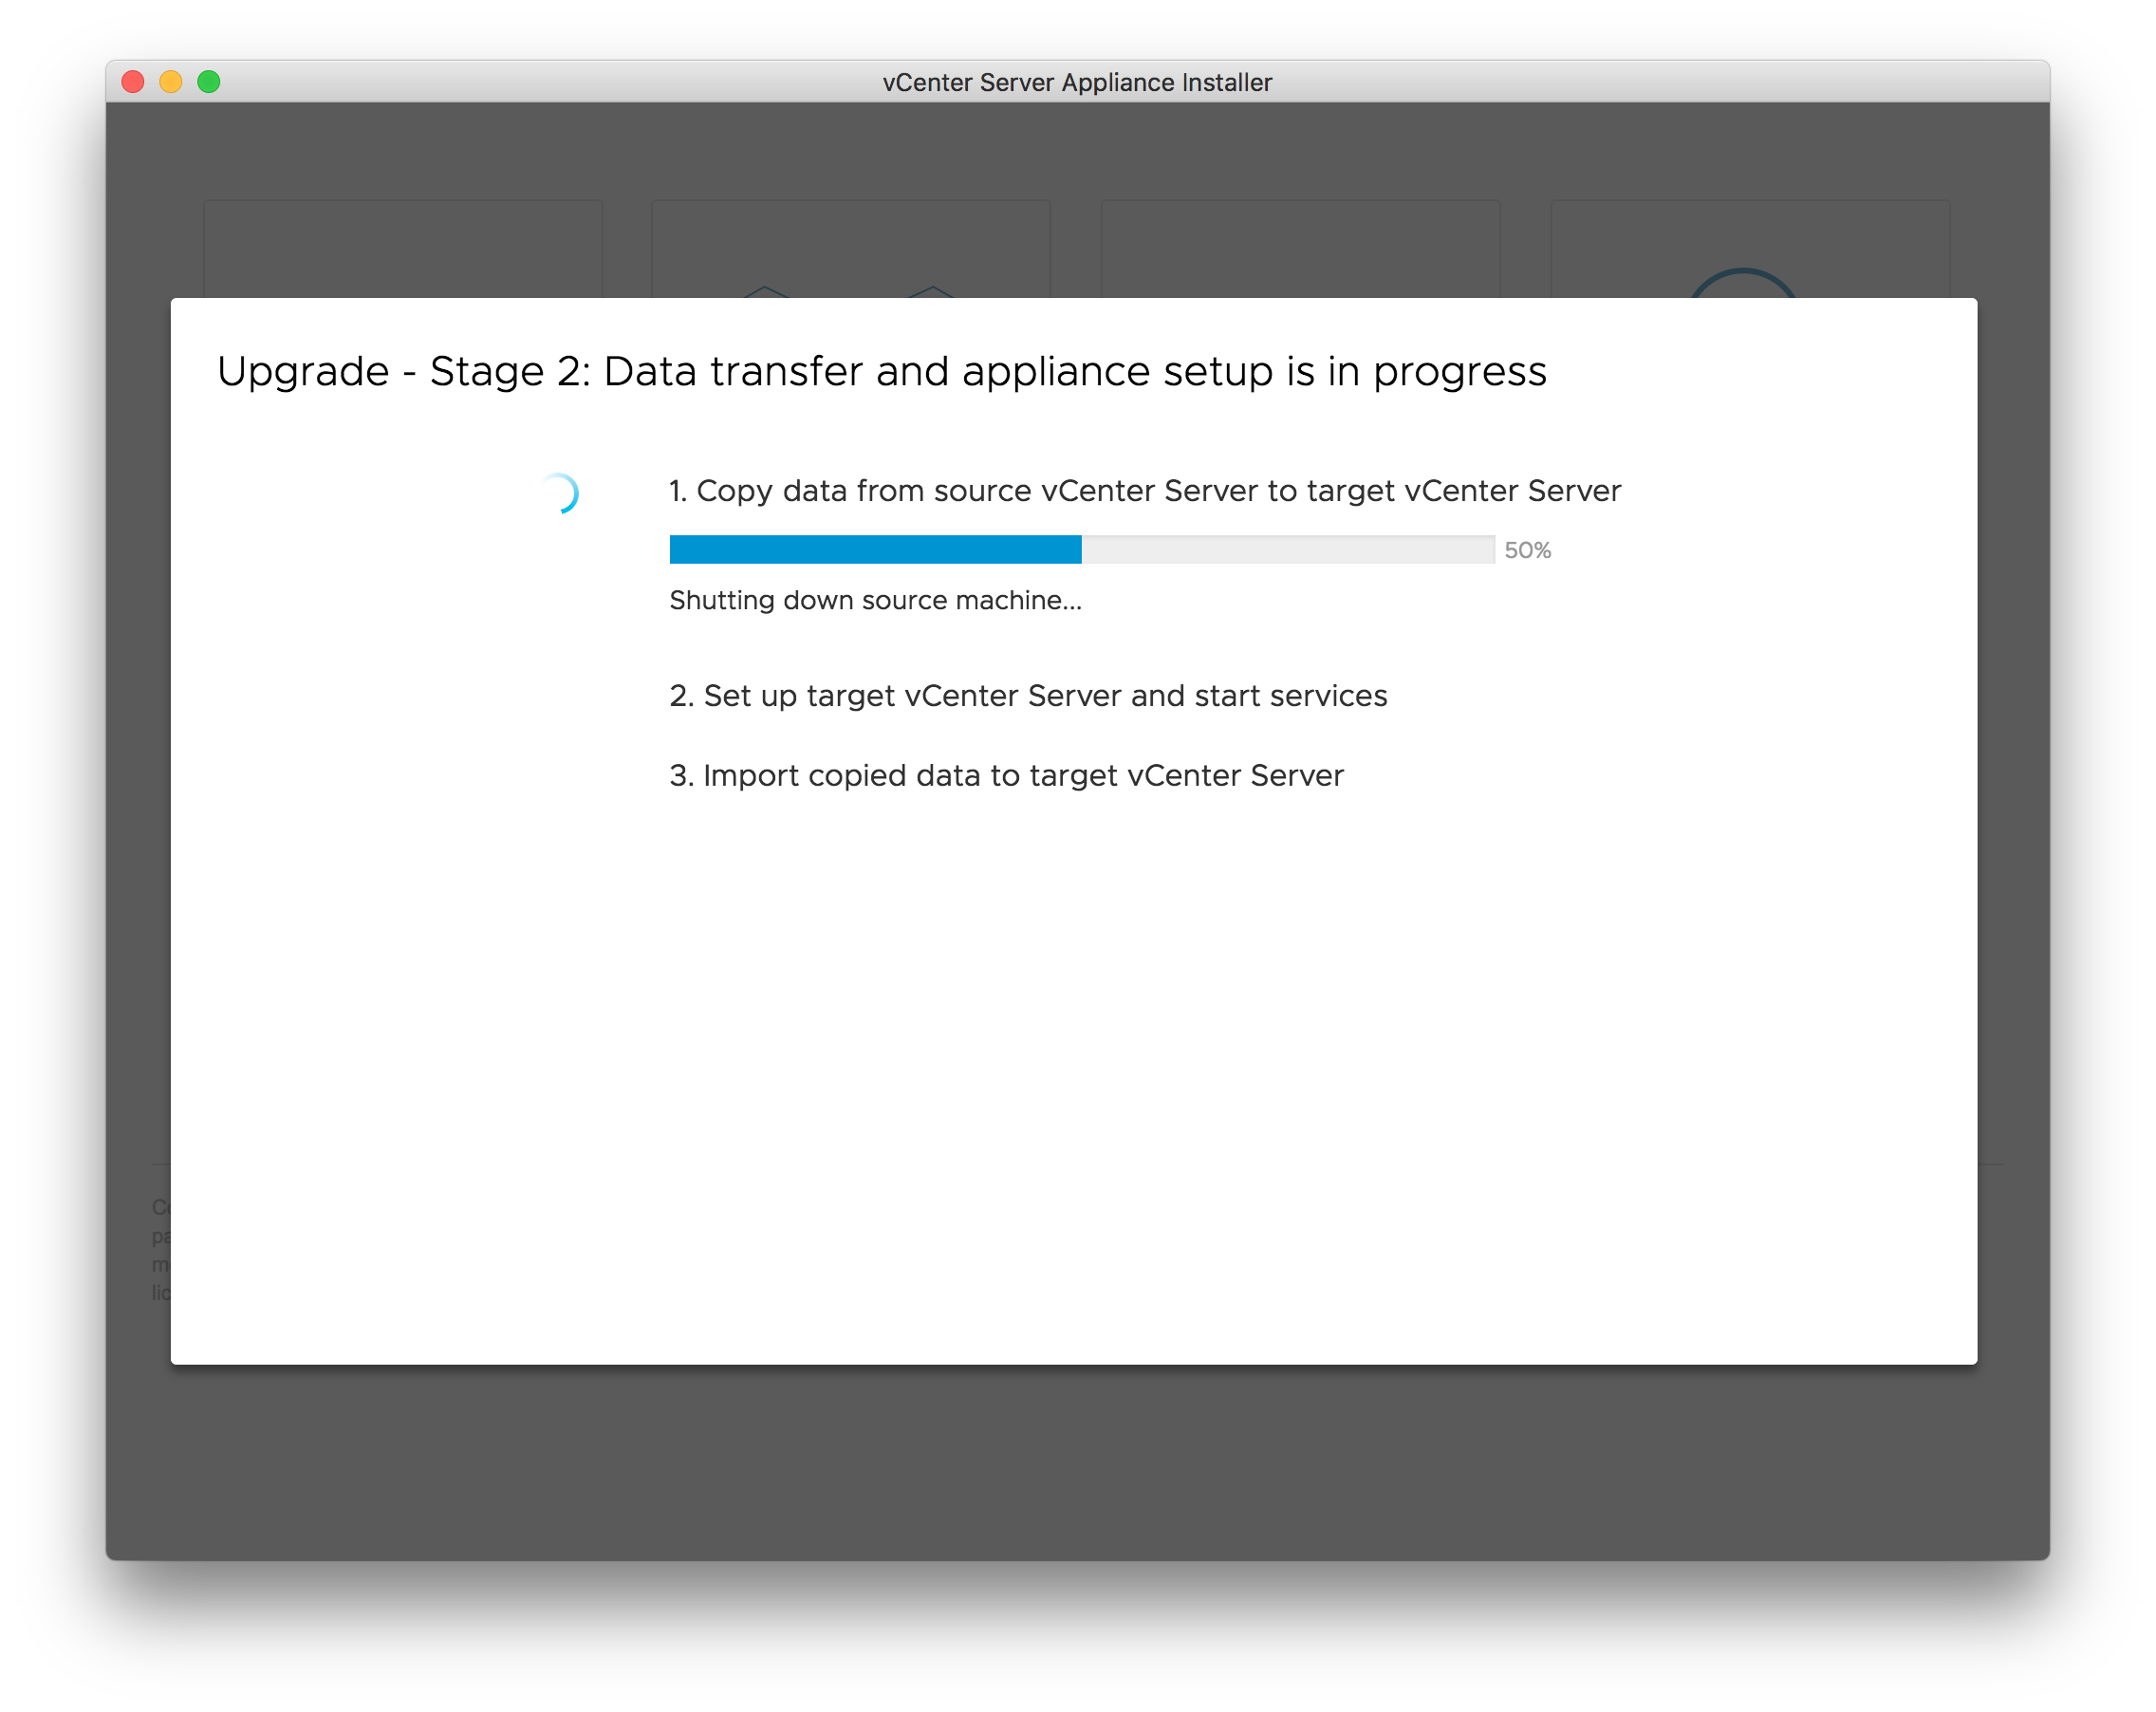
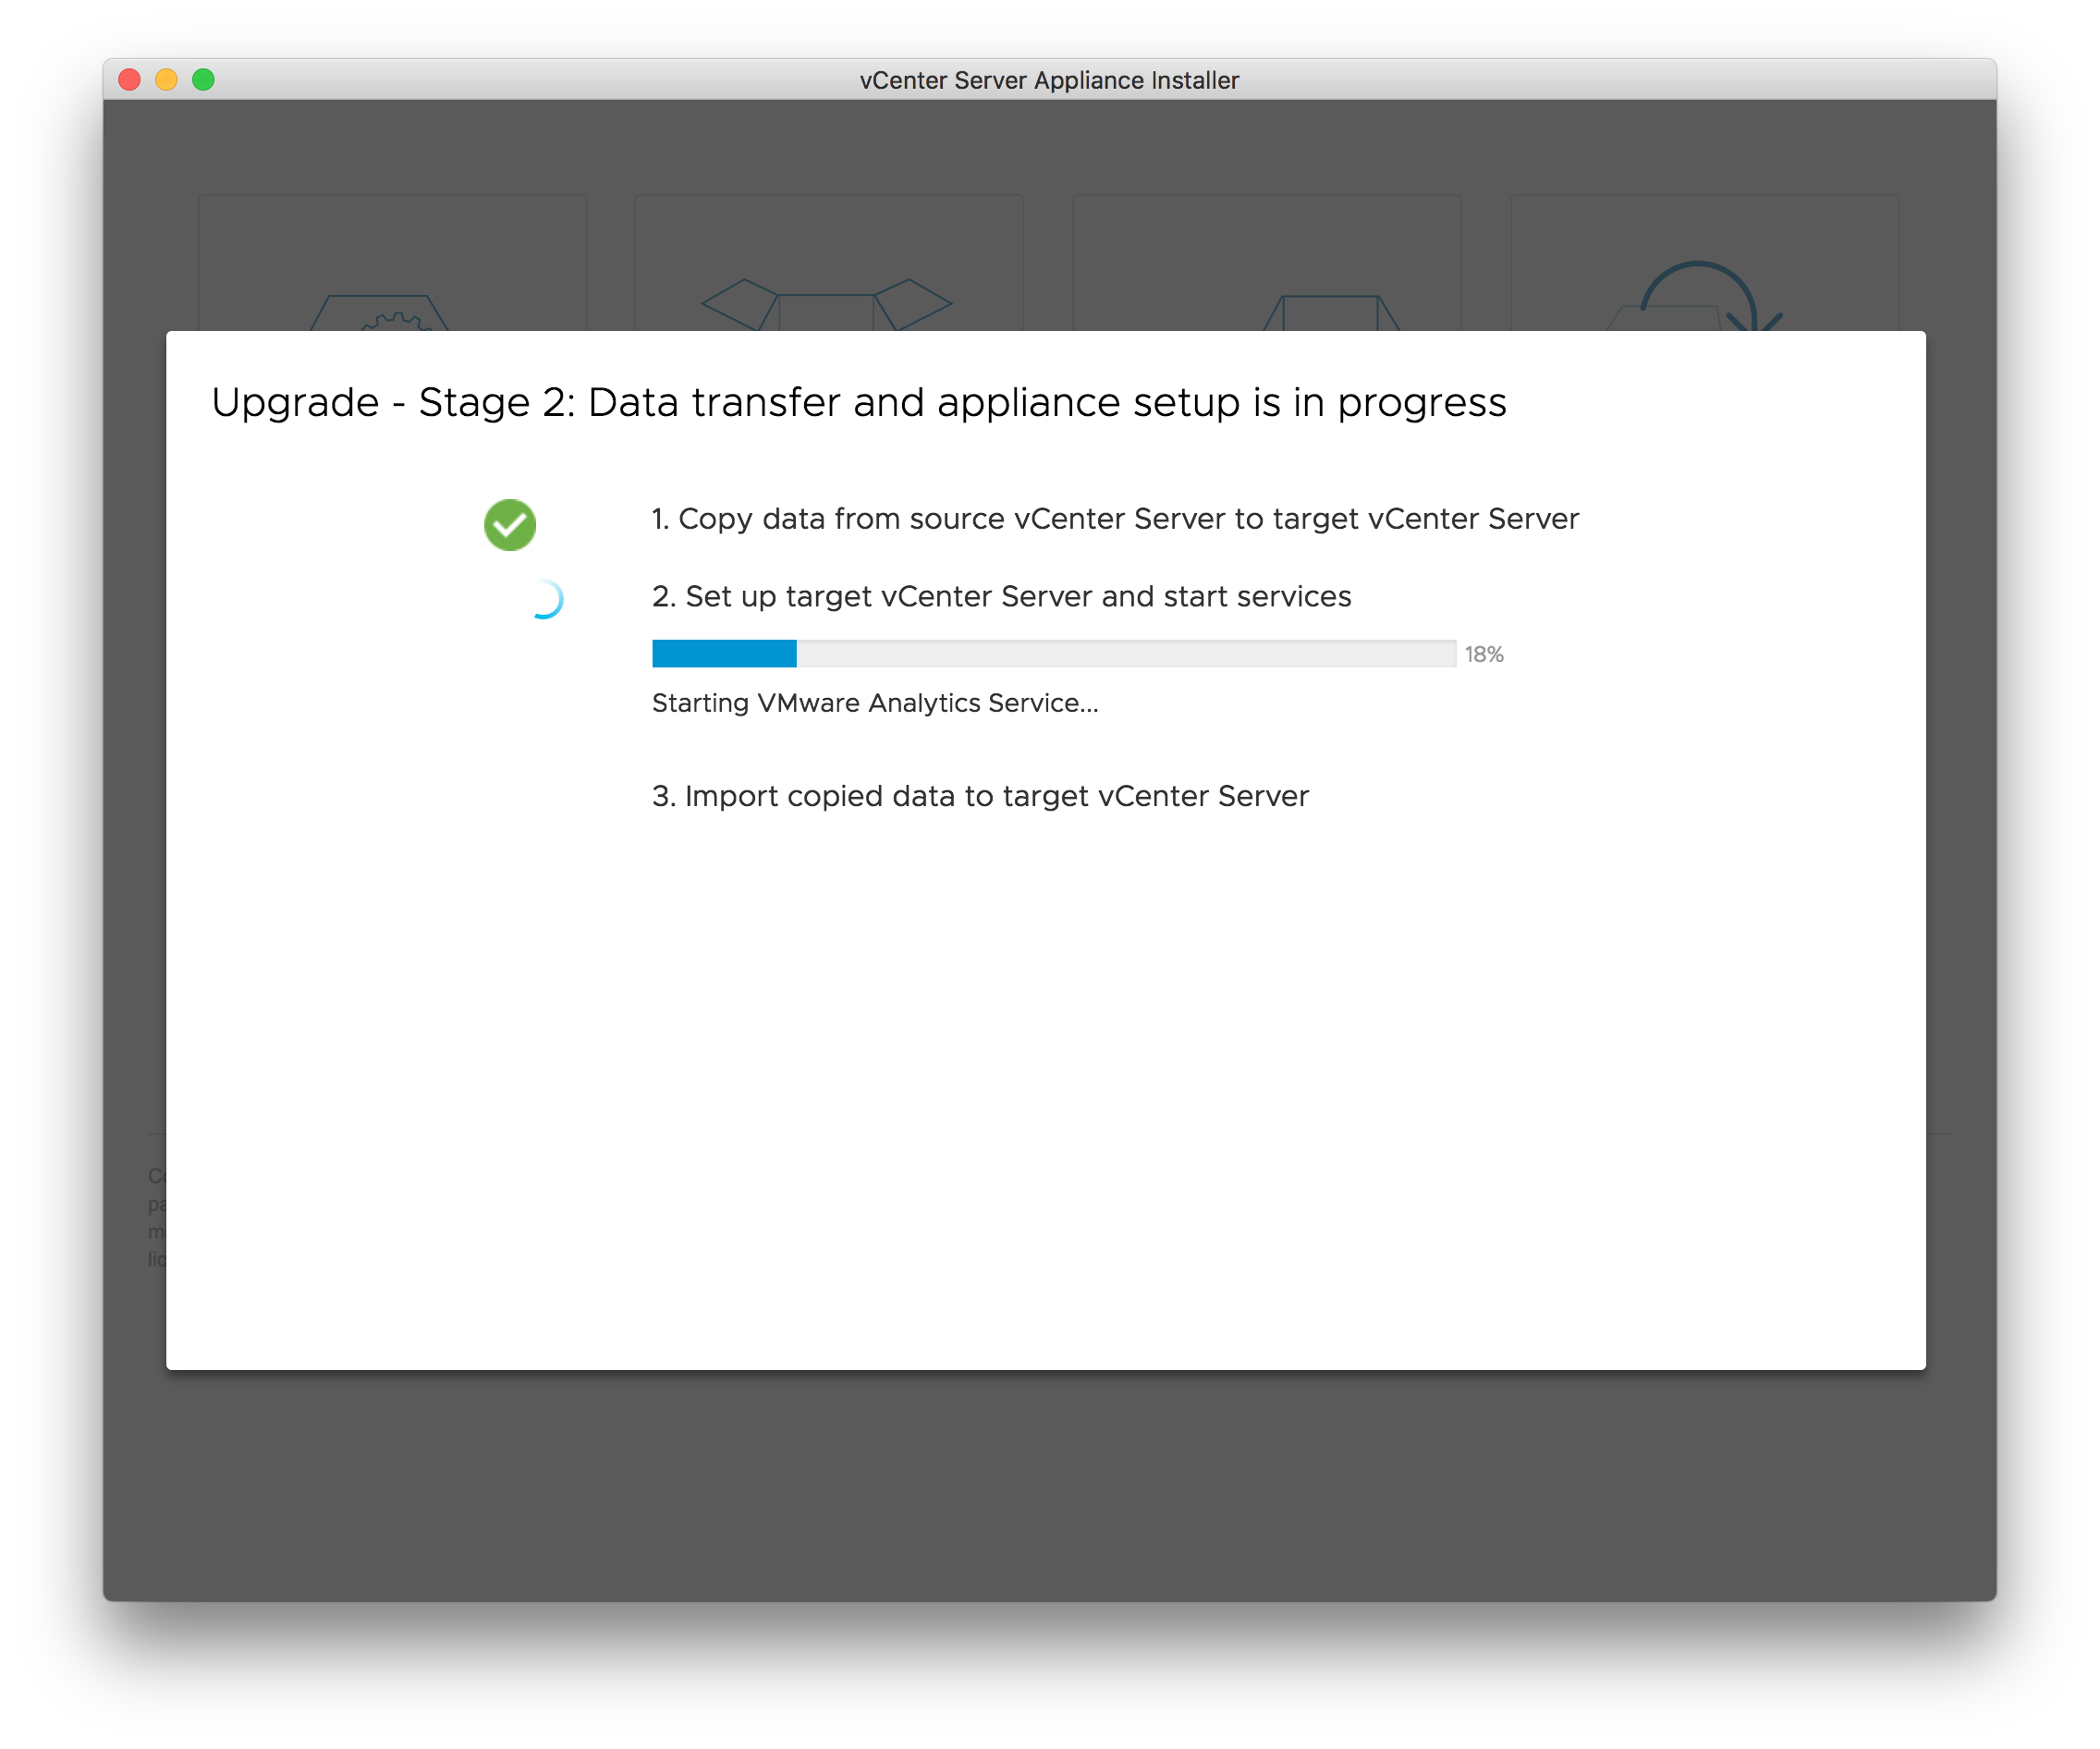
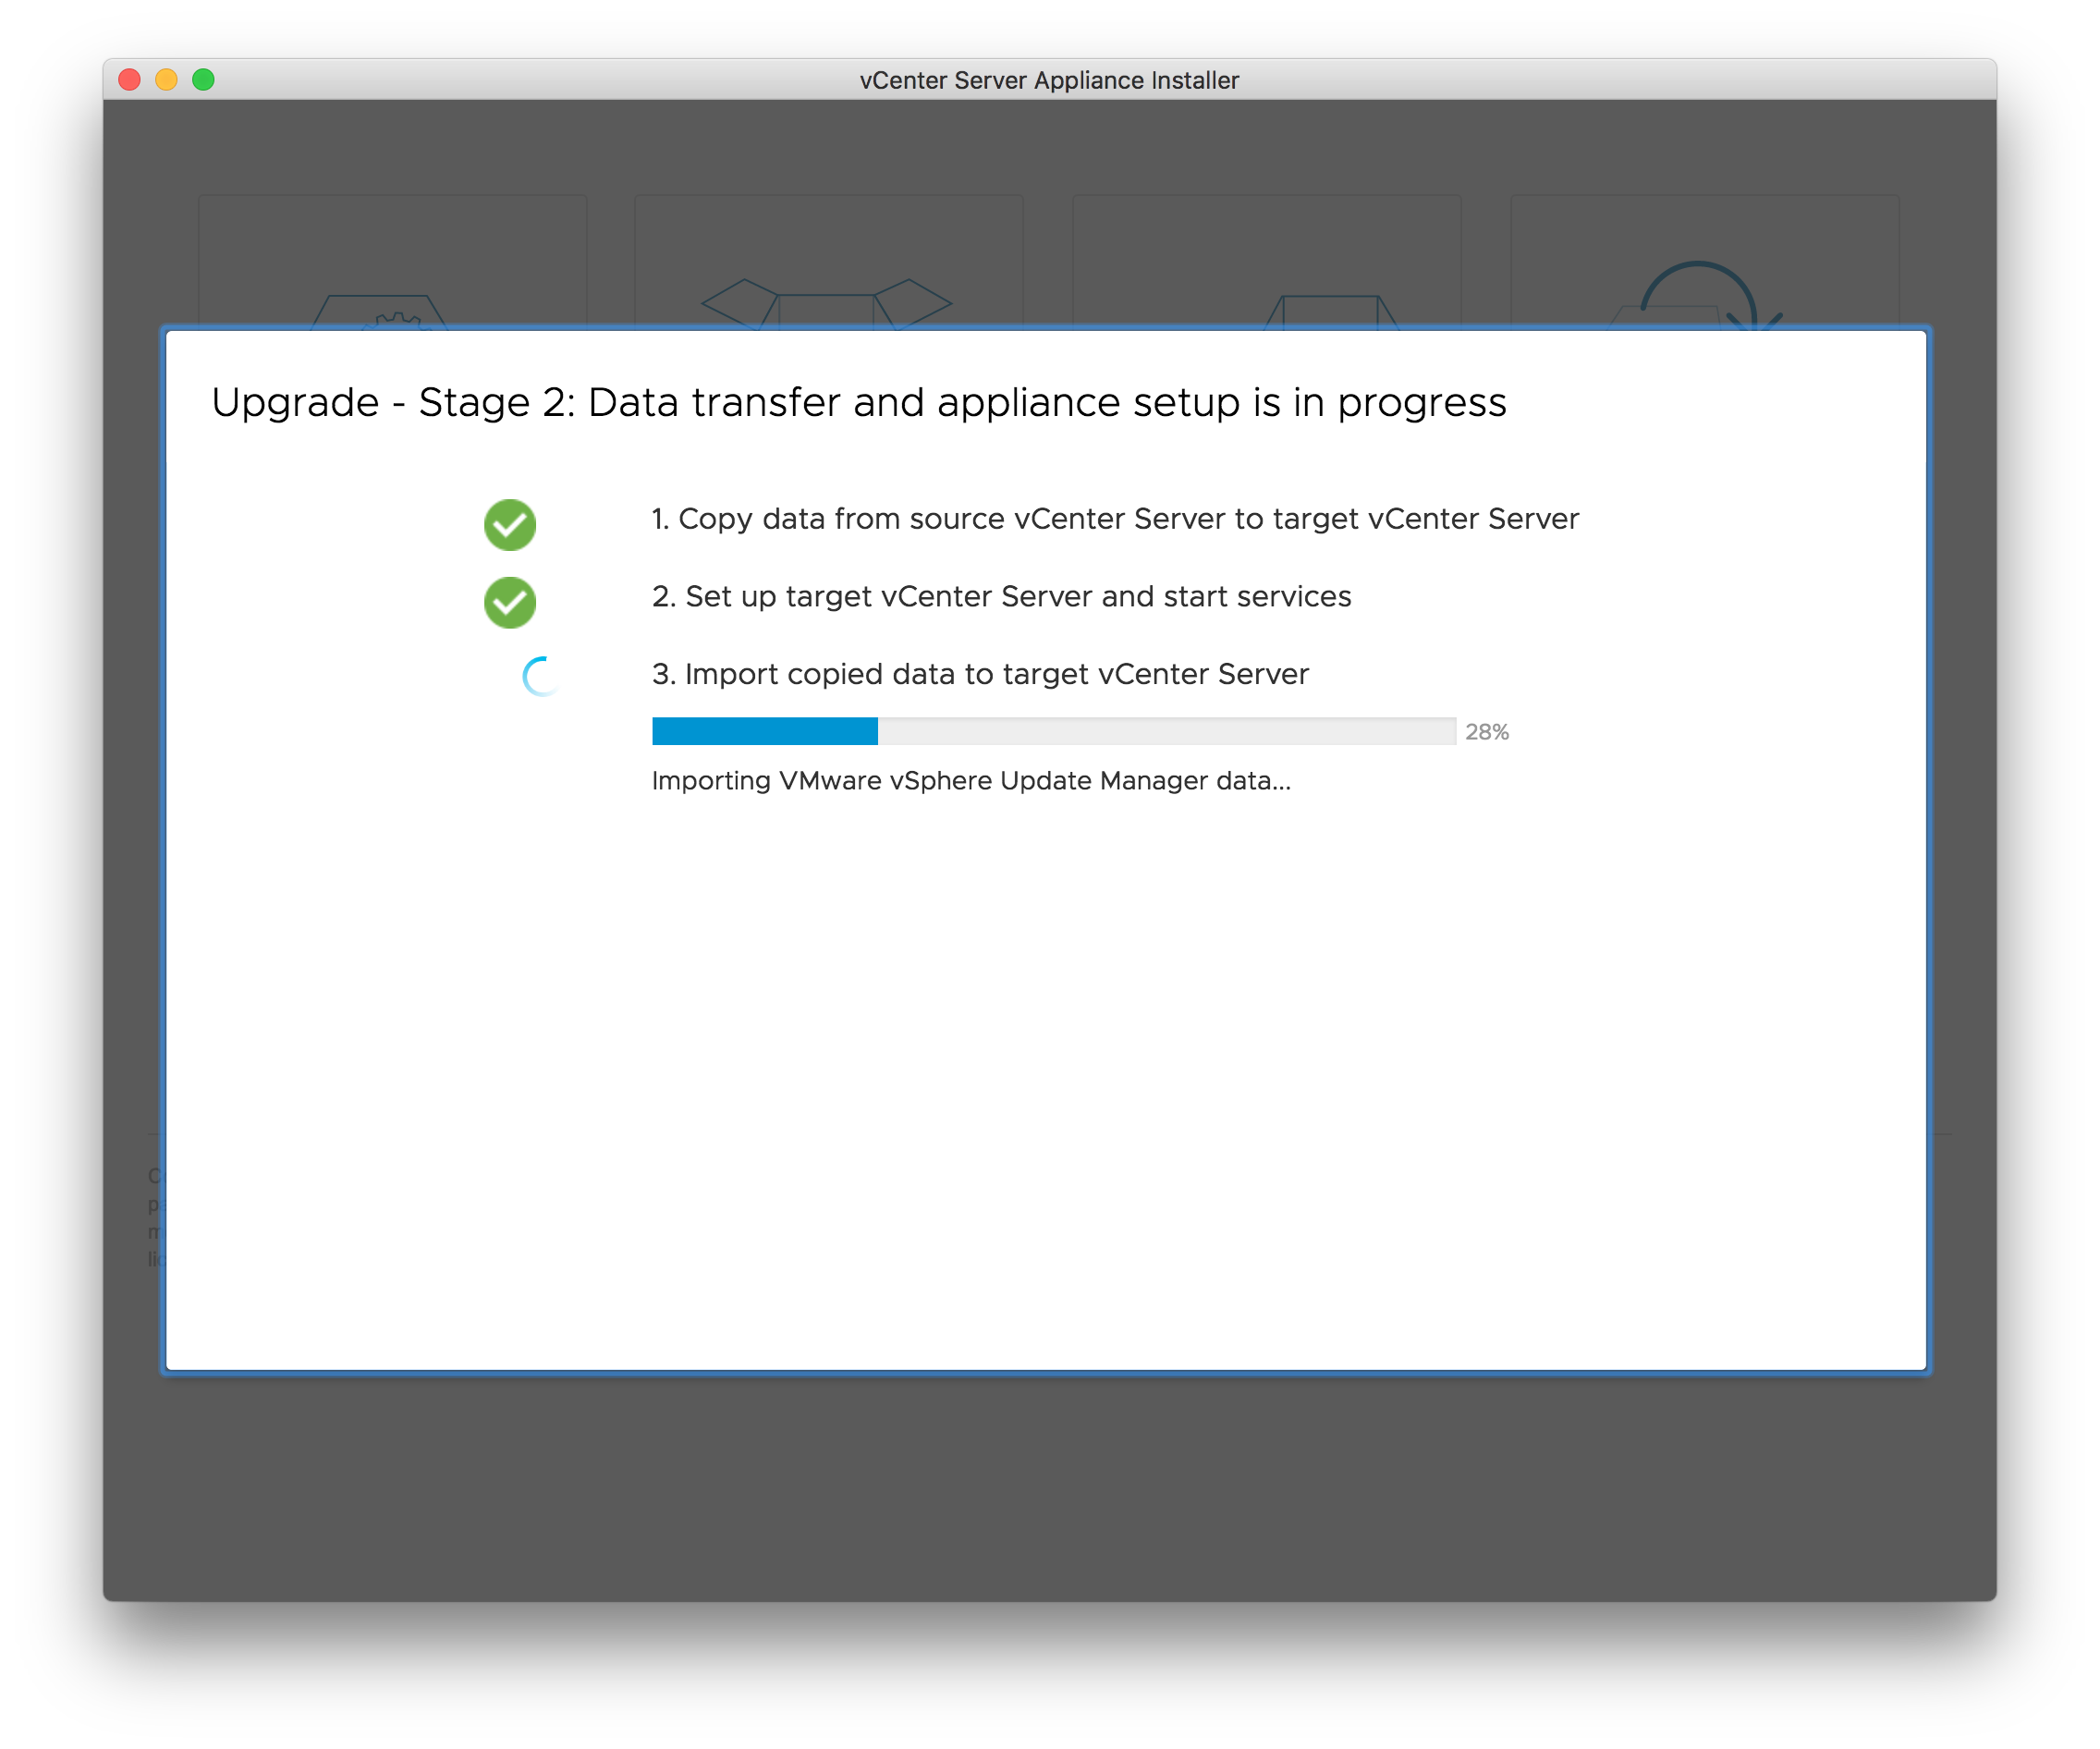
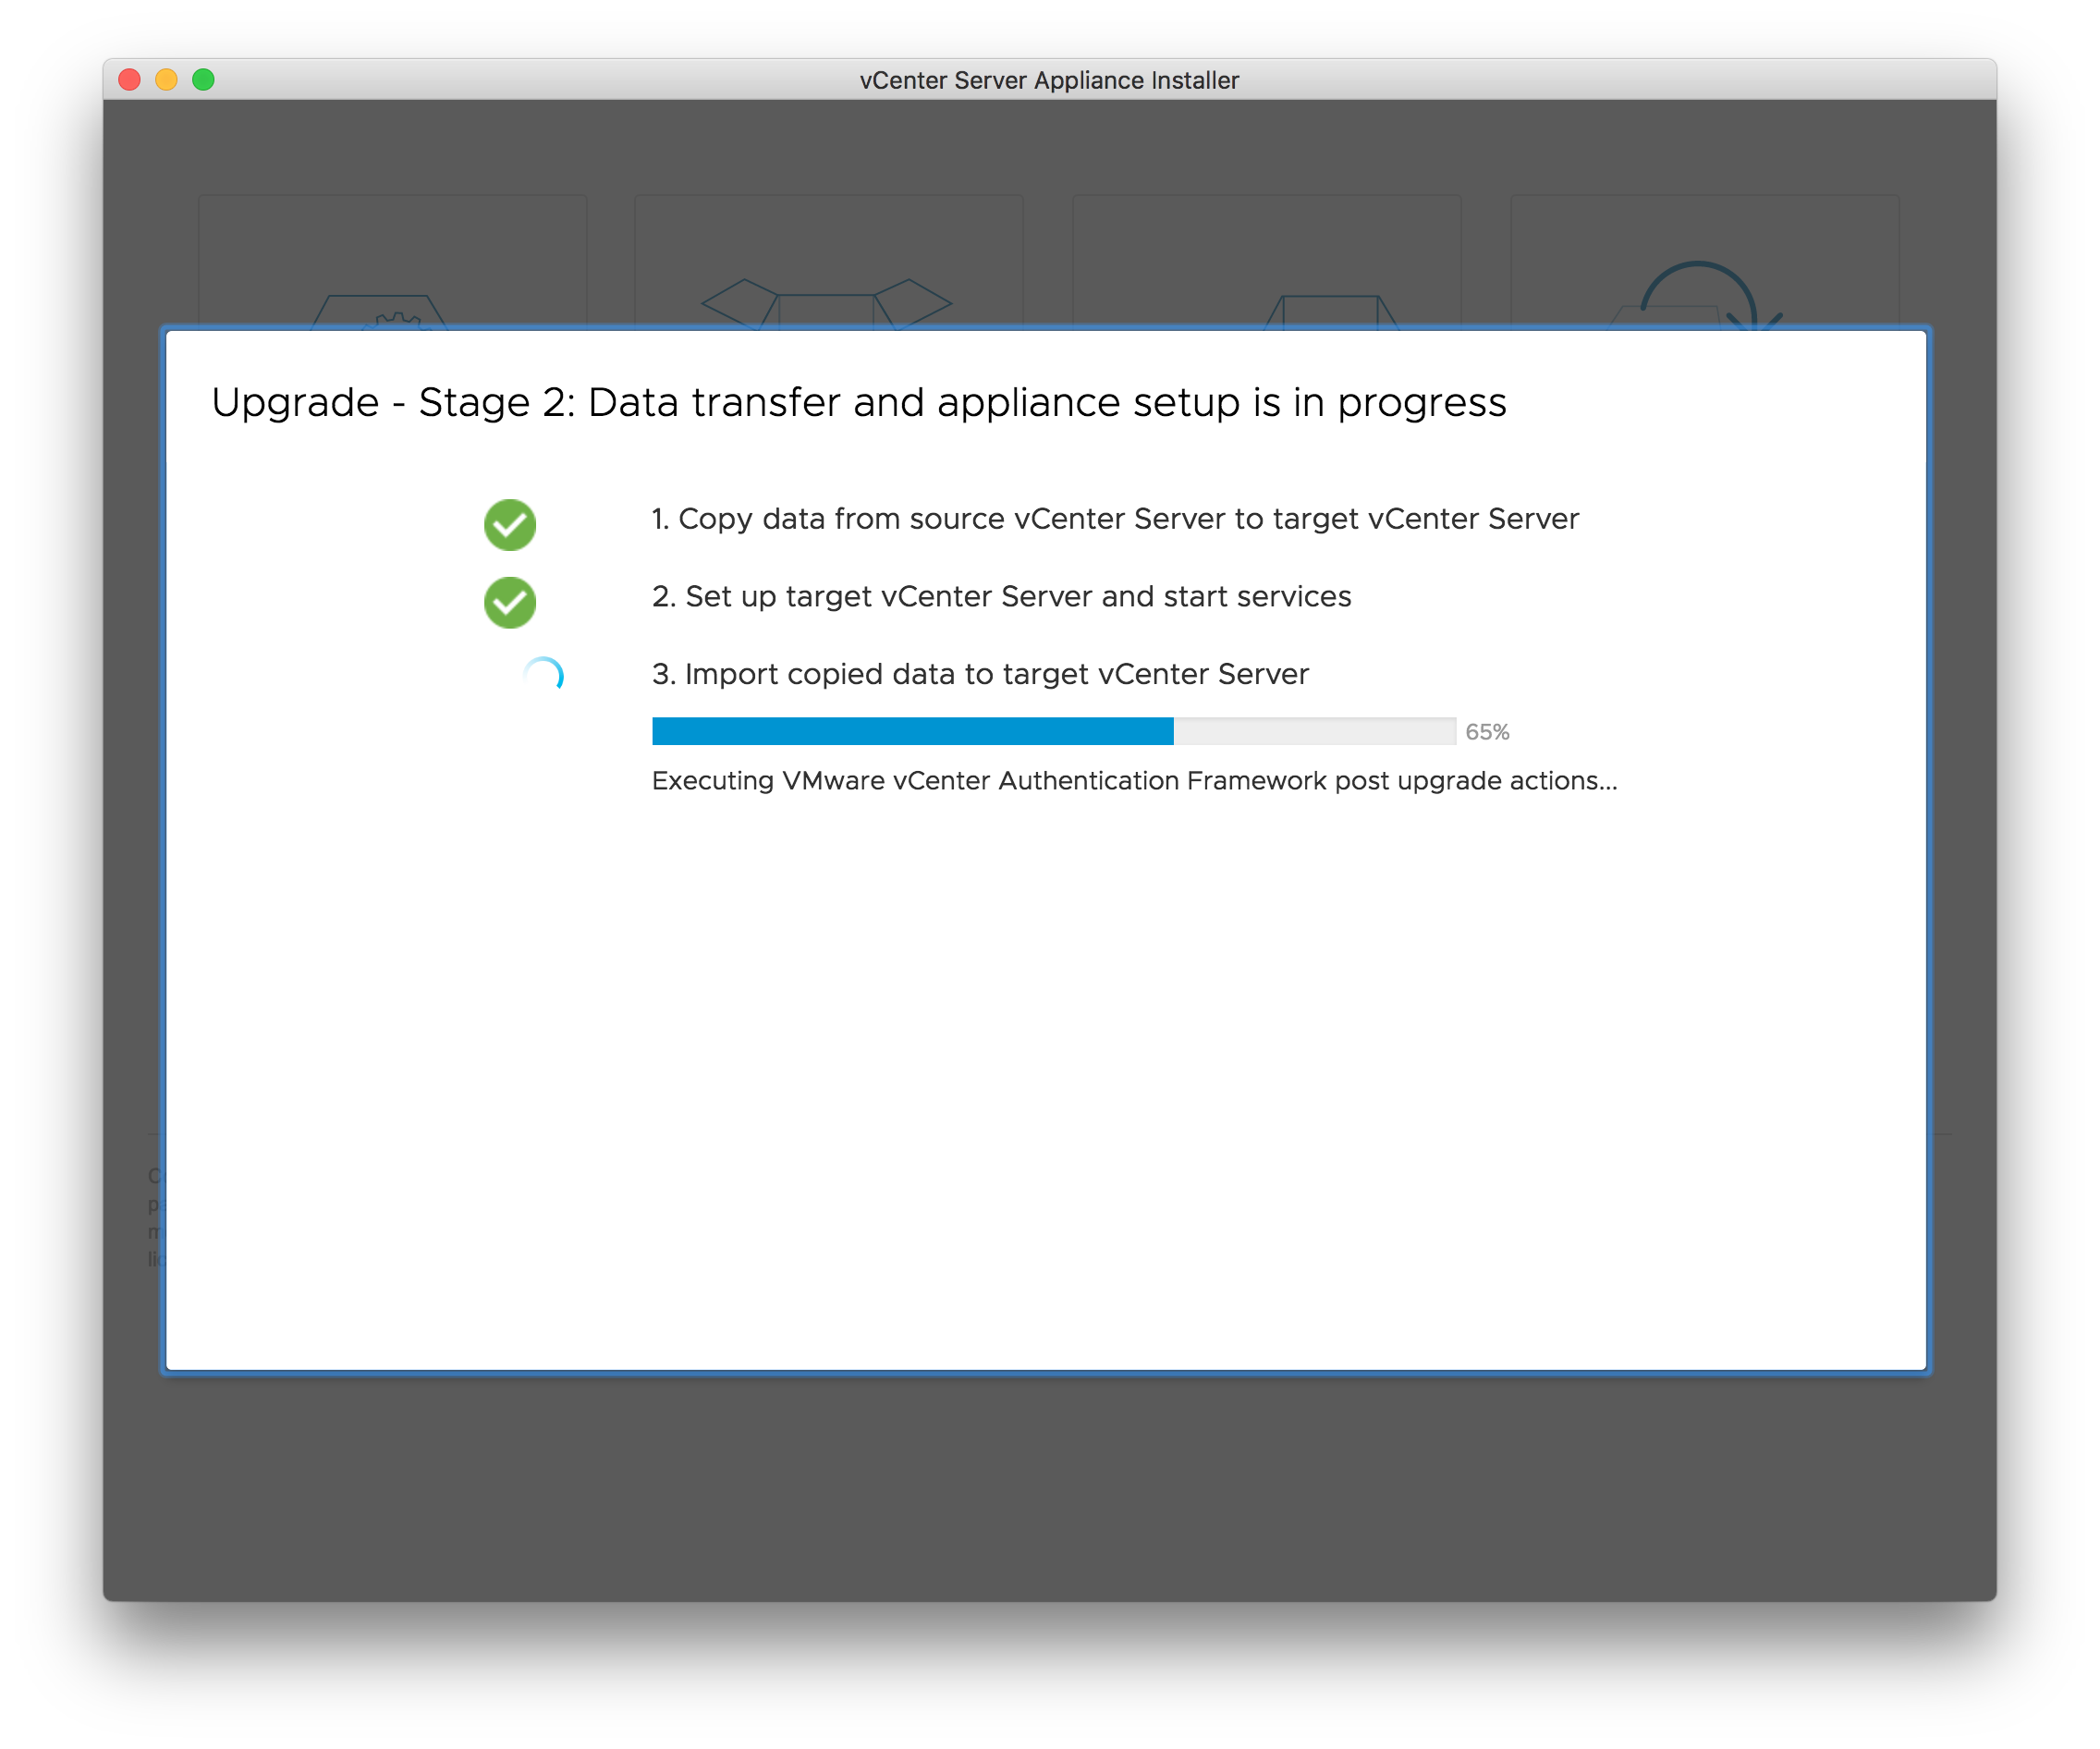
- The migration will run now for a while. First all data on the source VCSA will be collected and transferred. After that the old VCSA will be powered off and the new one starts the services, import all data and restart.


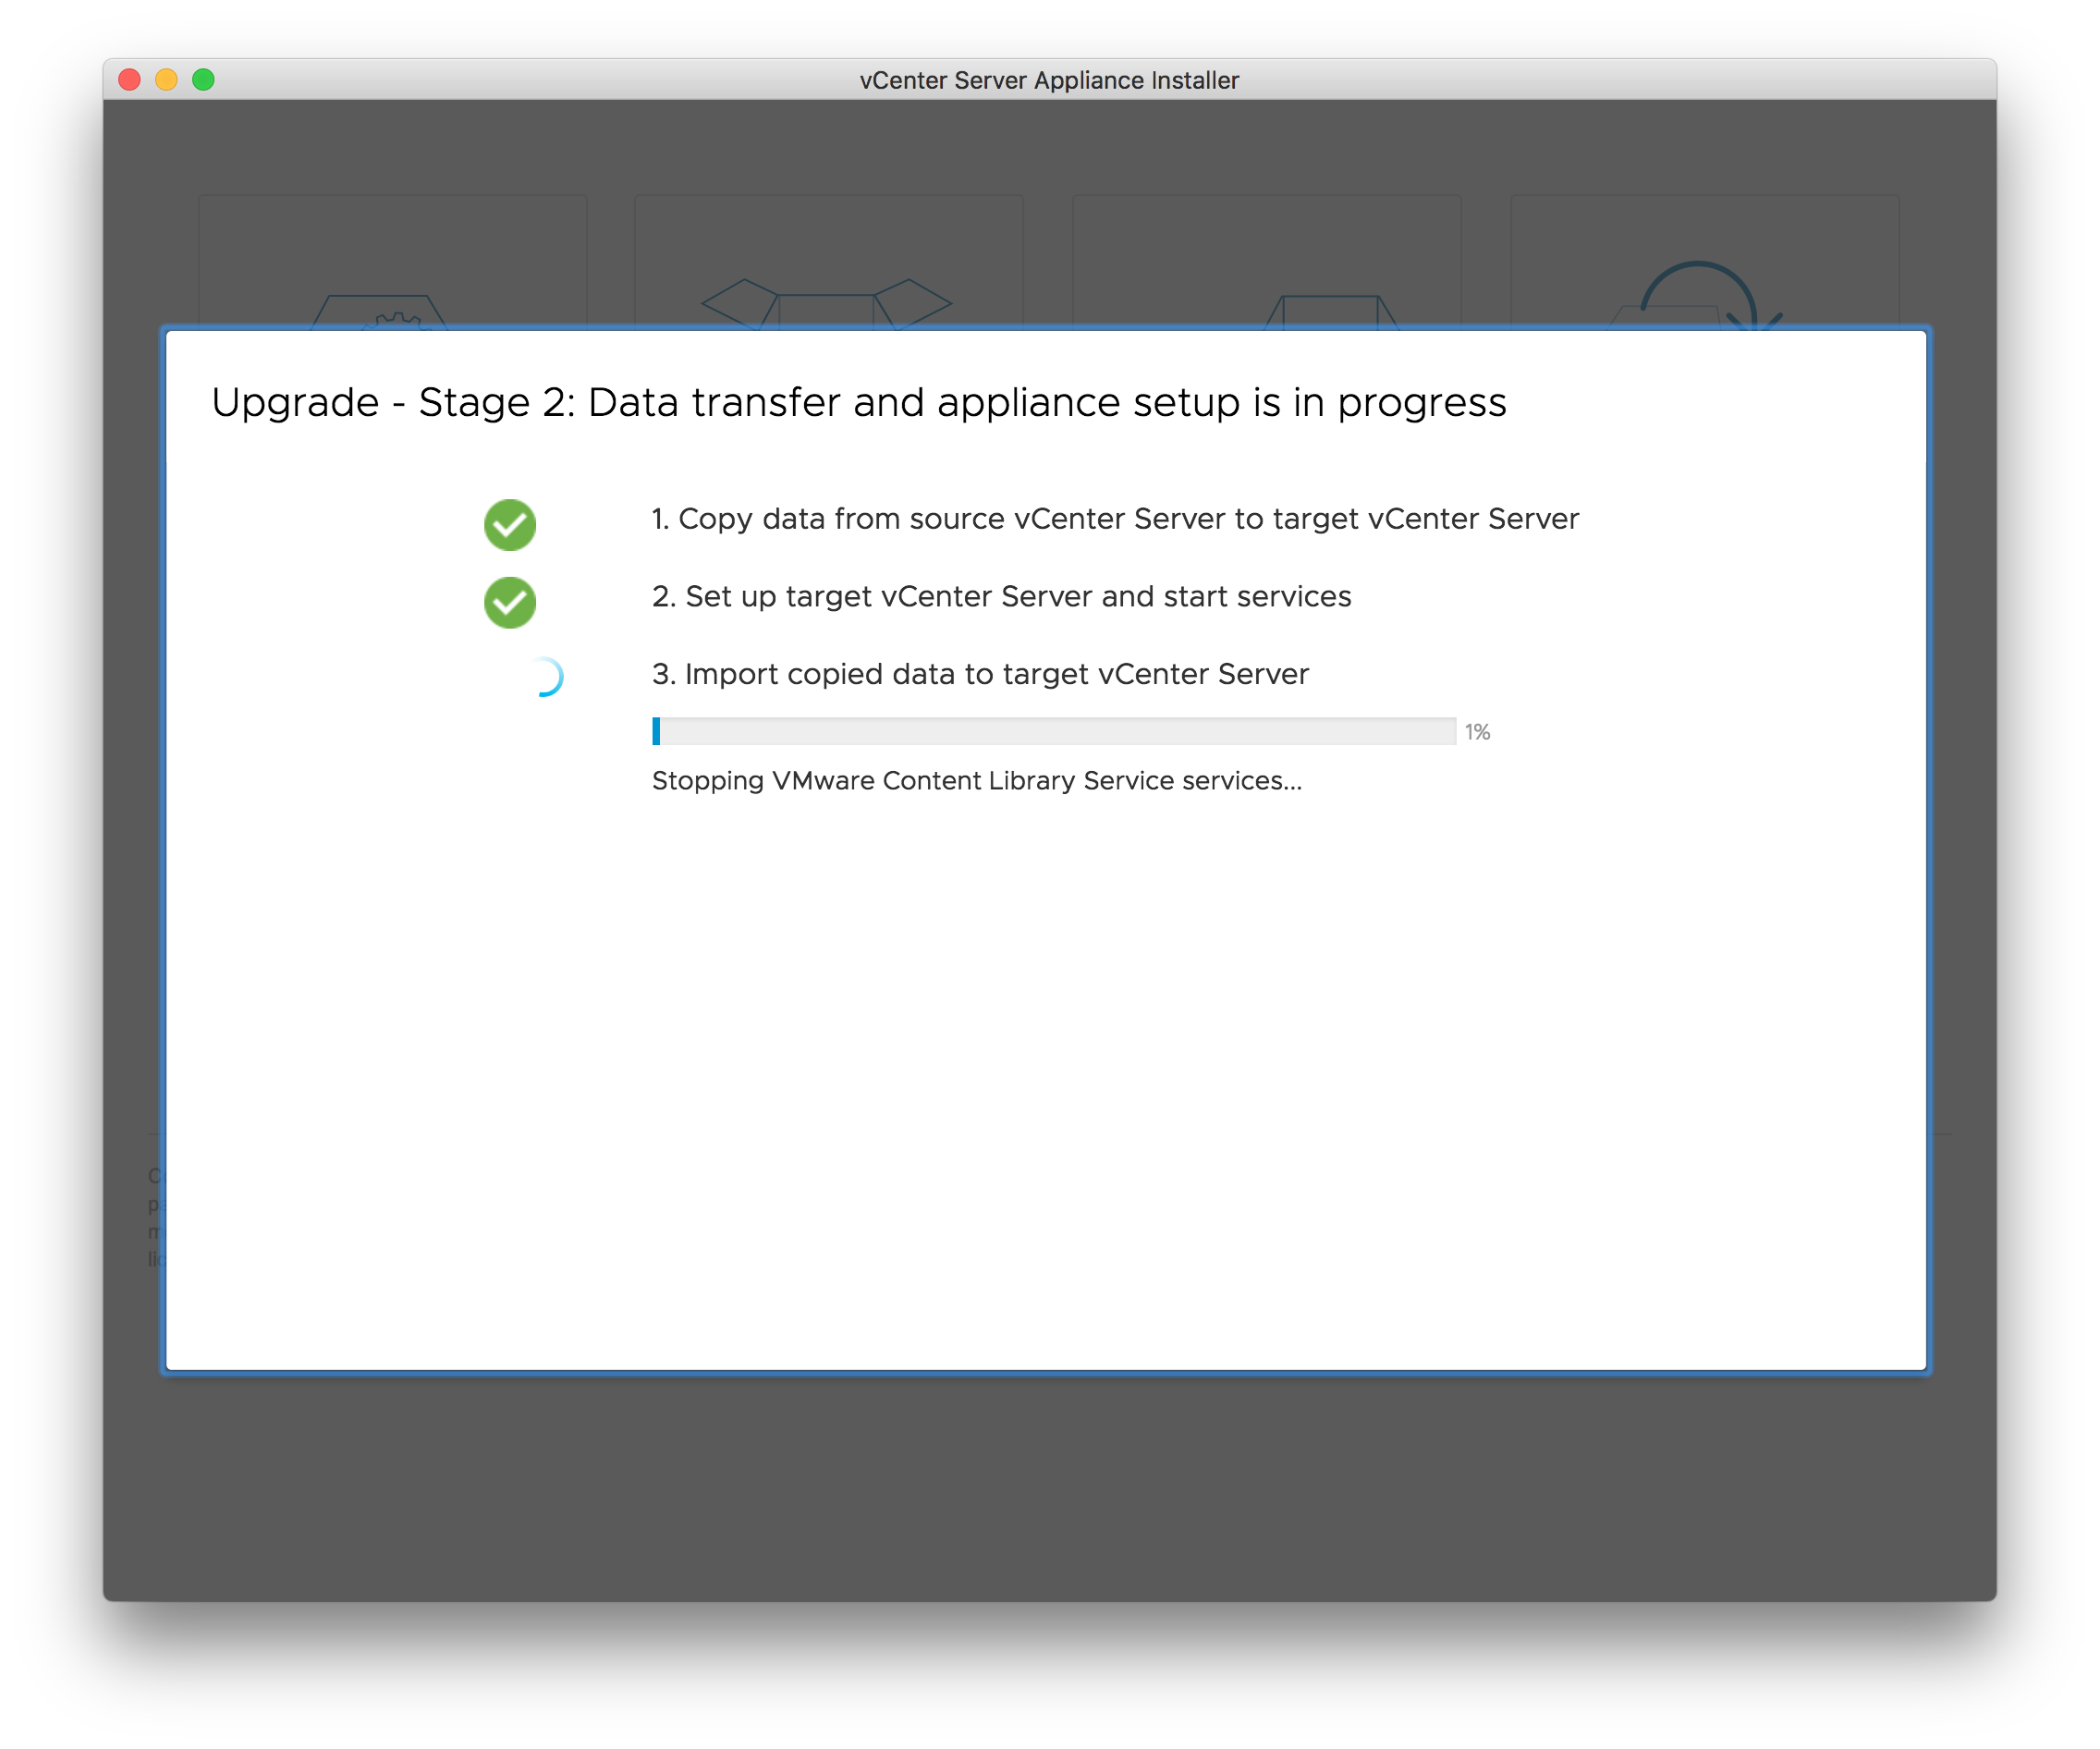

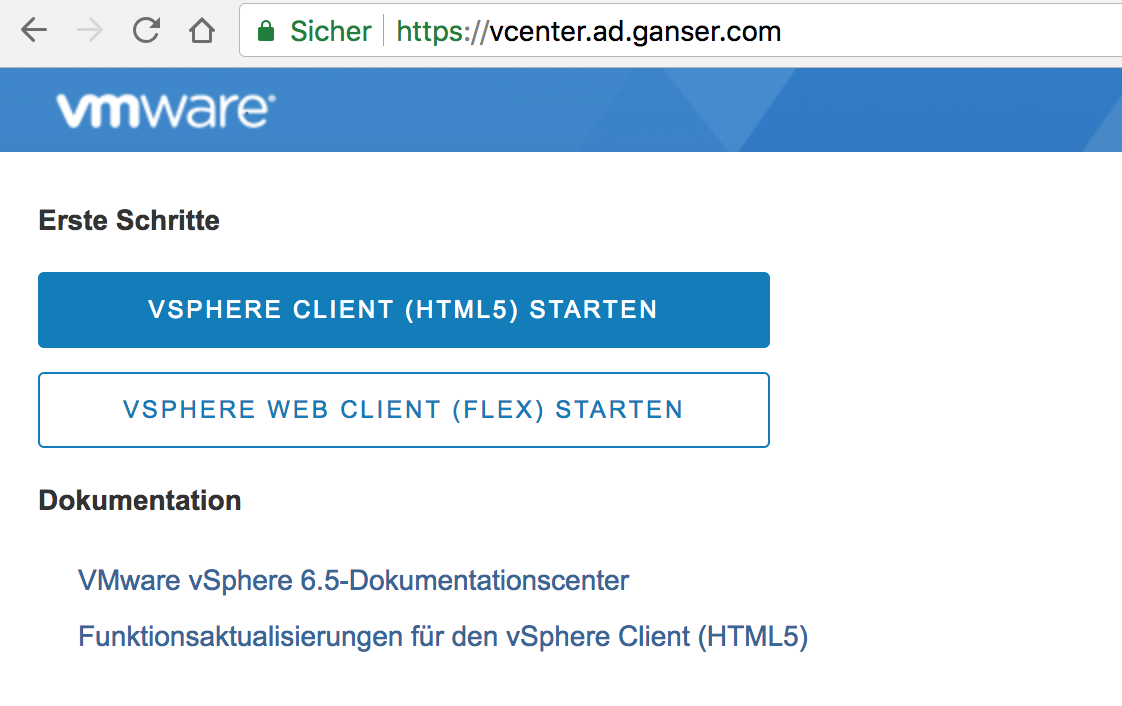
- After the import and restart is complete you can got to the website of your vCenter and start the HTML5 client or the FLEX client.
- Test all functions in the vCenter, VMware products (NSX, vRealize etc) and 3rd party tools (Backup etc.)
Leave a Reply