Yesterday I saw the alert, that one disk on our VCSA is running out of space. This article describes how to increase the Disk Space on the VCSA.
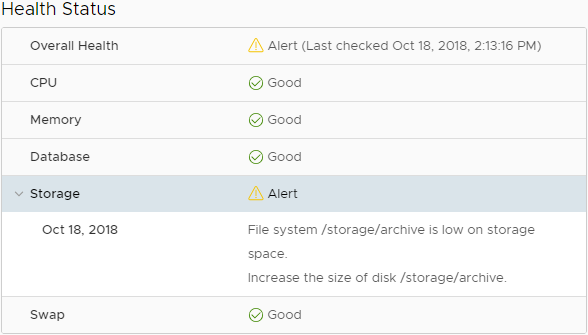
First I saw the alert on the VAMI of our vCenter Server.
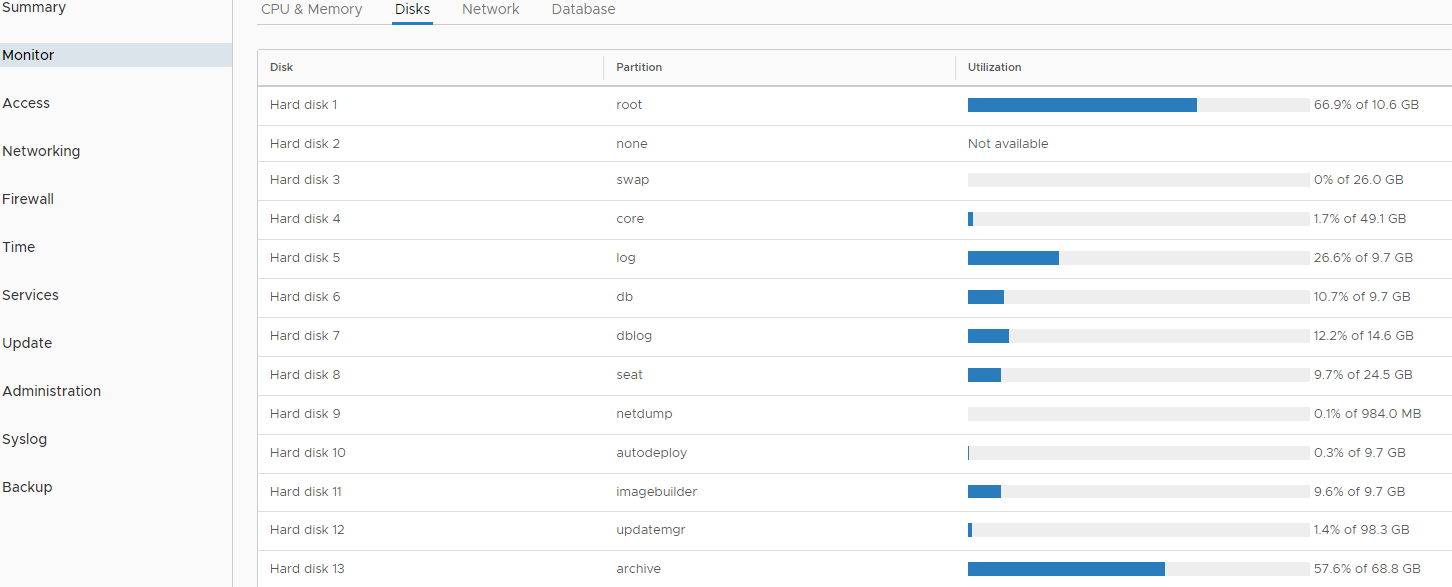
On the monitor tab you will find on which disk serves the mountpoint. Here it is disk13 for the /storage/archive mount point.
Now login to your vCenter via SSH and start the shell.
Execute the following command to list all partition.
df -h
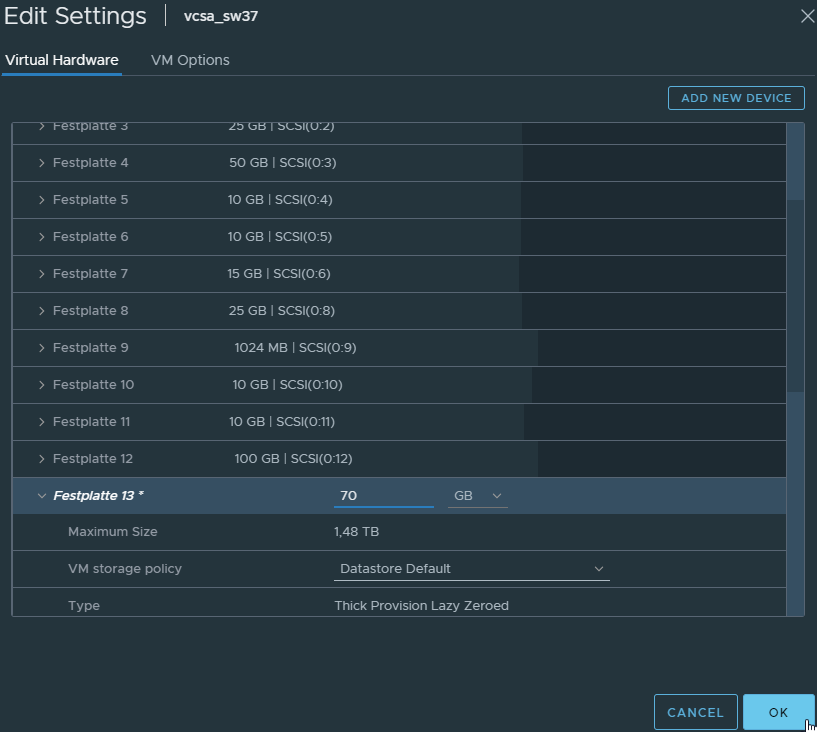
Now change the Size of the Disk via vSphere Client.
Switch back to SSH session and execute the following command
/usr/lib/applmgmt/support/scripts/autogrow.shAfter the script completes execute df -h again.
df -h
The VAMI need some time to get the information of the resized disk (about 5 minutes).
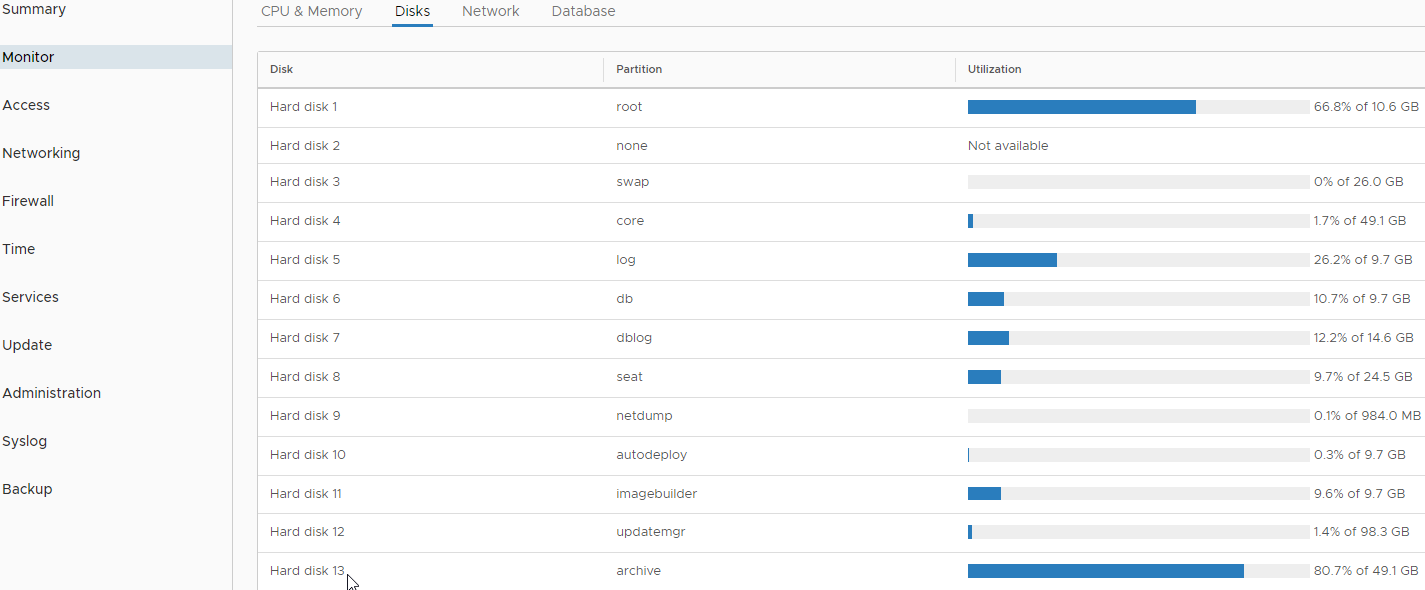
The Monitor tab also reports the correct values after some minutes