To install a new appliance of vSphere HTML5 Web Client follow the steps.
If you want to update an existing Web Client use my update article (Update vSphere HTML5 Web Client (v1.10 and newer))
Theses instructions are tested with update versions
- 1.9.0
Requirements
- Goto the vSphere HTML5 Web Client website
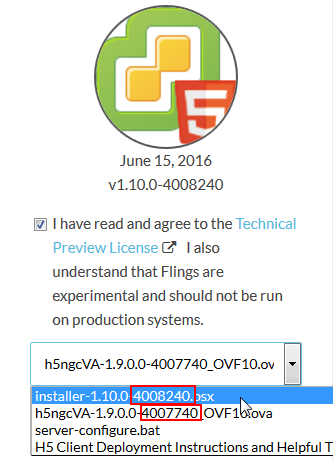
- Agree the Technical Preview License and download the .ova template file (installer-1.xx.x-buildnumber.bsx)

- Check the build number of the update file on the page (installer-1.xx.x-buildnumber.bsx)
If it is higher than the ova build you have to update the appliance after deploying and configuring.
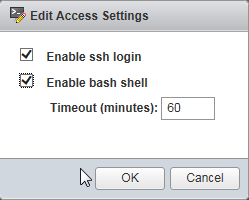
- Enable SSH and BASH on your VCSA (vCenter Server Appliance)
Deploy
- Logon to your vSphere Web Client
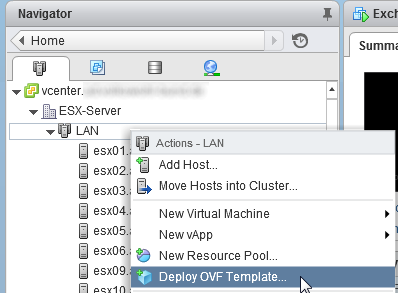
- right-click your cluster and choose Deploy OVF Template…
- Follow the assistant and enter your desired settings (appliance name, storage, ip, etc.)

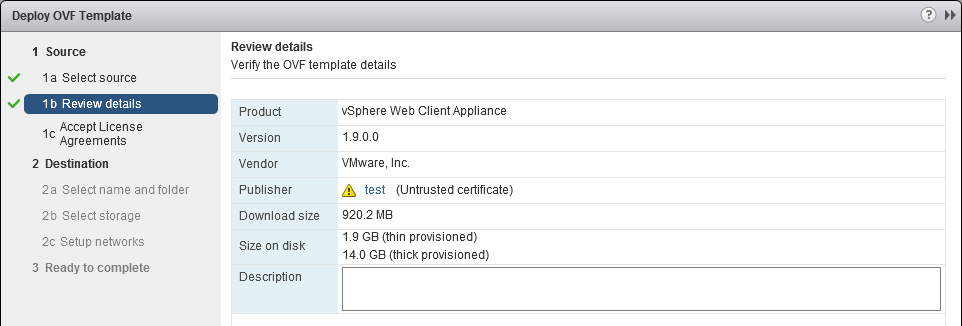
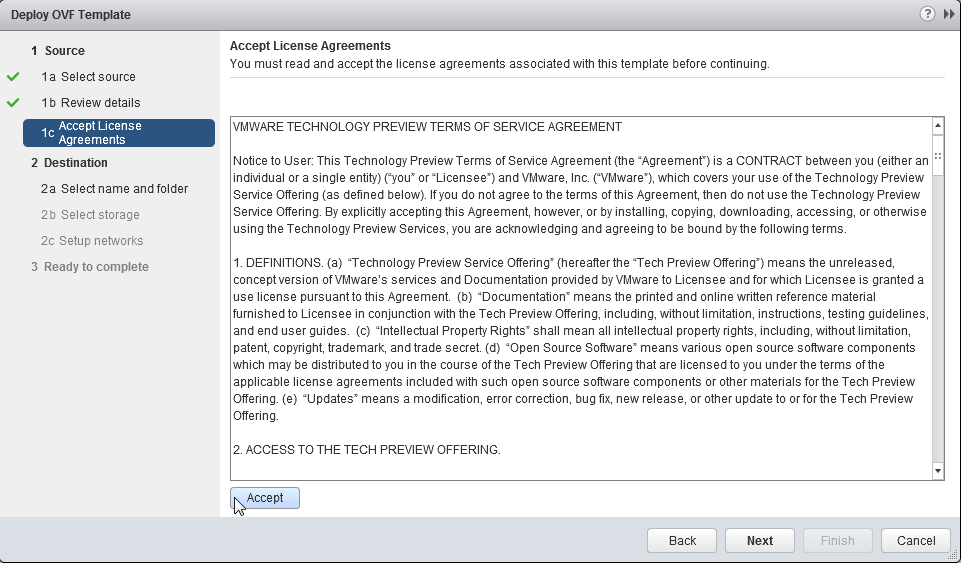

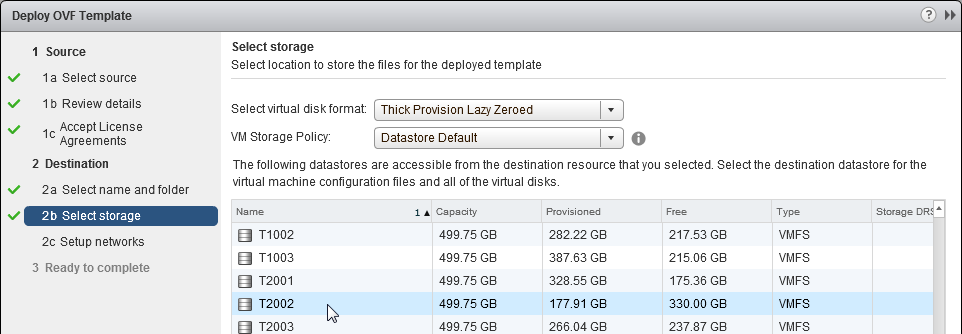
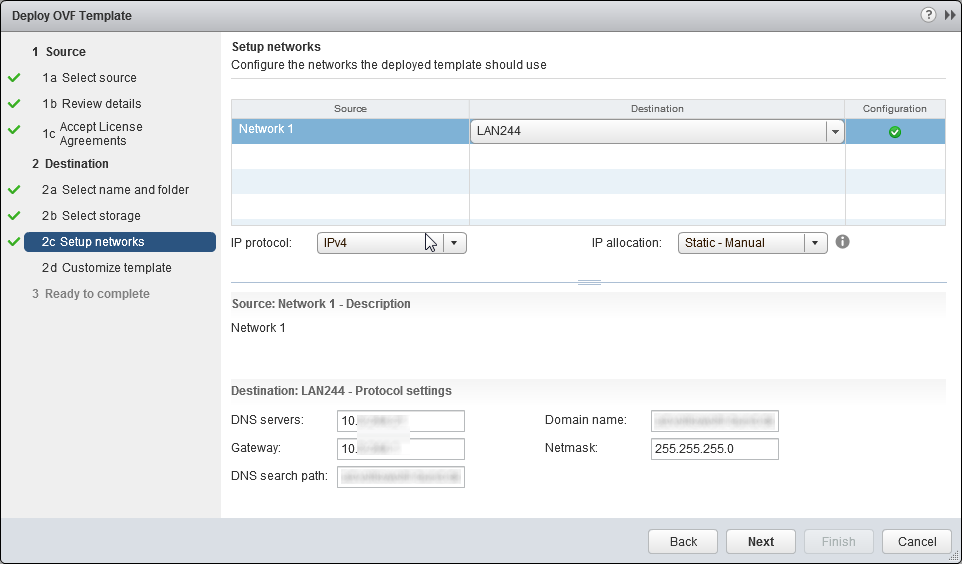
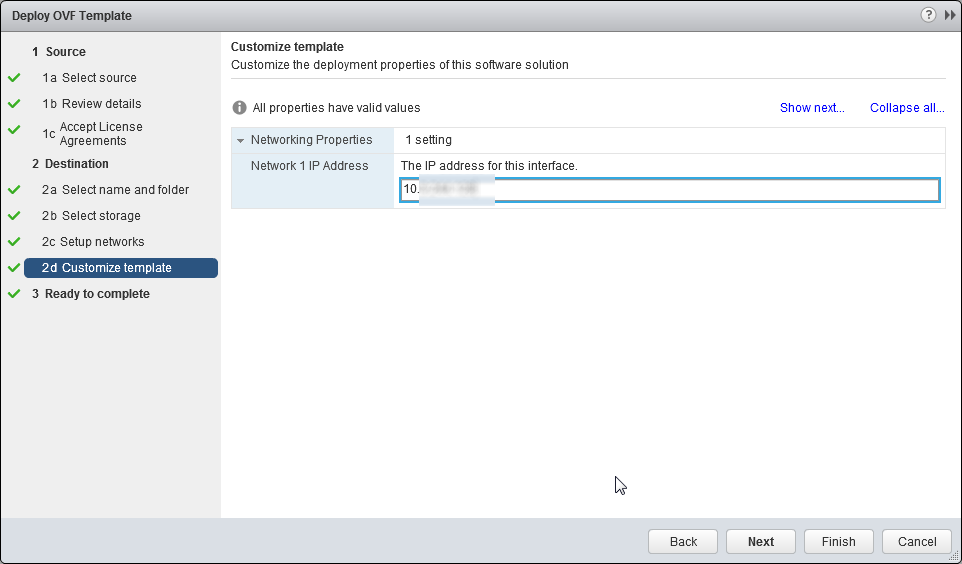
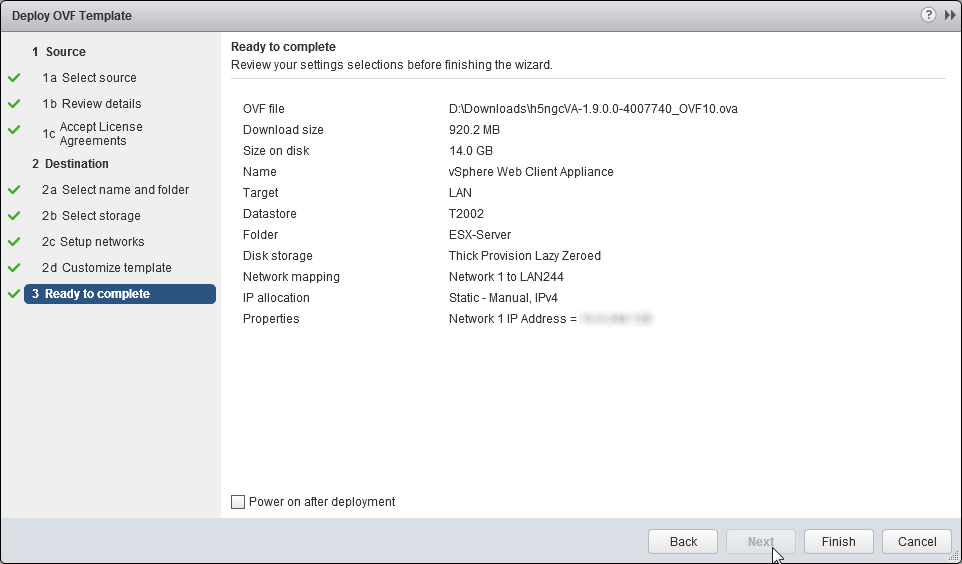
Start the deployment by clicking in Finish. - Wait for task complete

- Power on the appliance and start console to wait until the configuration completes
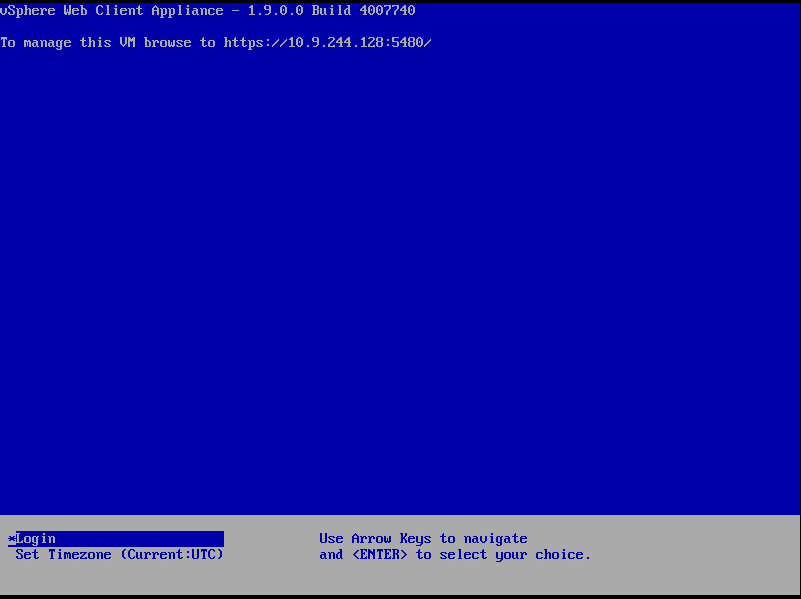
- Logon via SSH (PuTTY)

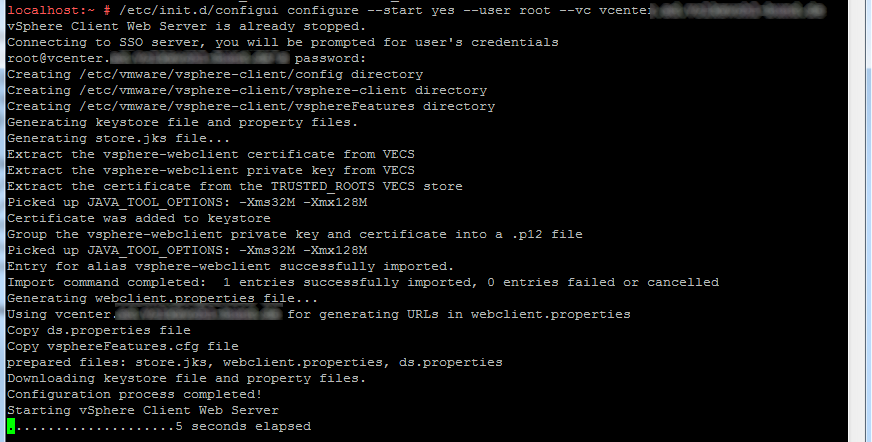
- Register the appliance against your vCSA (could take a few minutes)
/etc/init.d/configui configure --start yes --user root --vc vcenter.yourdomain
- After successfully start you can browse to your new vSphere HTML5 Client
https://ipofH5Client:9443
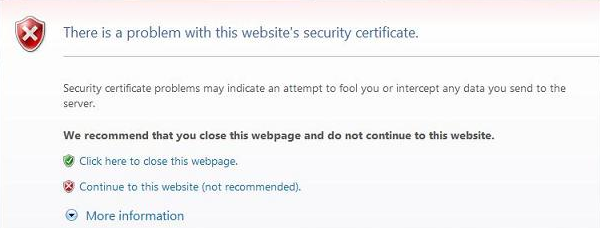
You will get a certificate error when accessing the site.
Choose Continue to this website.
In the next step you will authenticate against the vCSA.
- Welcome to your new vSphere HTML5 Web Client :)
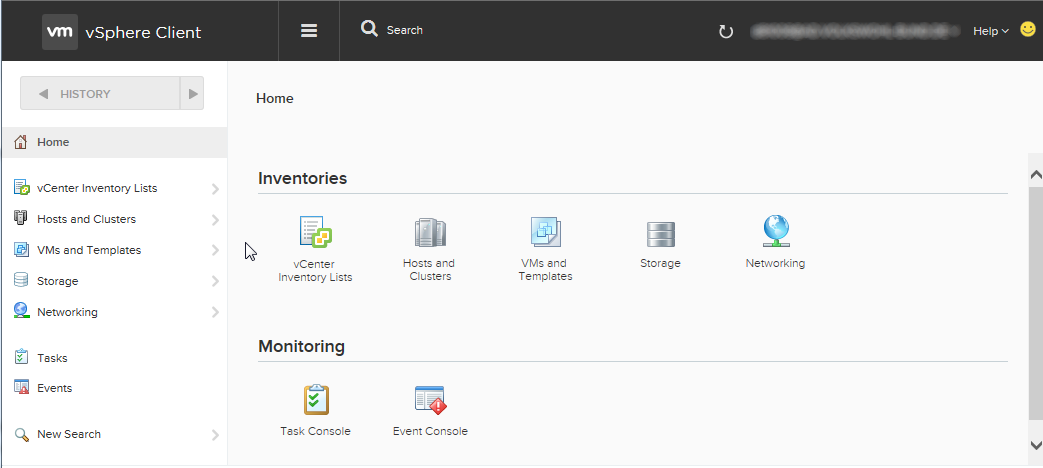
- If the build numbers defer follow my update article (Update vSphere HTML5 Web Client (v1.10 and newer)) to install the update
Now feel free to test the new version and send feedback with the smiley button at the upper right corner!




Leave a Reply