Phew! A lot to do the last weeks. Found a little time to upgrade our NSX installation from 6.4.0 to 6.4.1. But there was no time to bring it to the blog :(
Now I can see a small light at the end of the tunnel and could write it down :)
Back in May VMware released the new version of NSX in version 6.4.1. If you plan to upgrade your installation, I’ve written the steps to complete it.
Preparation
- First thing is to look into the VMware Product Interoperability Matrixes to check if your environment is compatible with NSX 6.4.1. Check all your related VMware / 3rd vendor products. I can only make examples and not the whole stack…

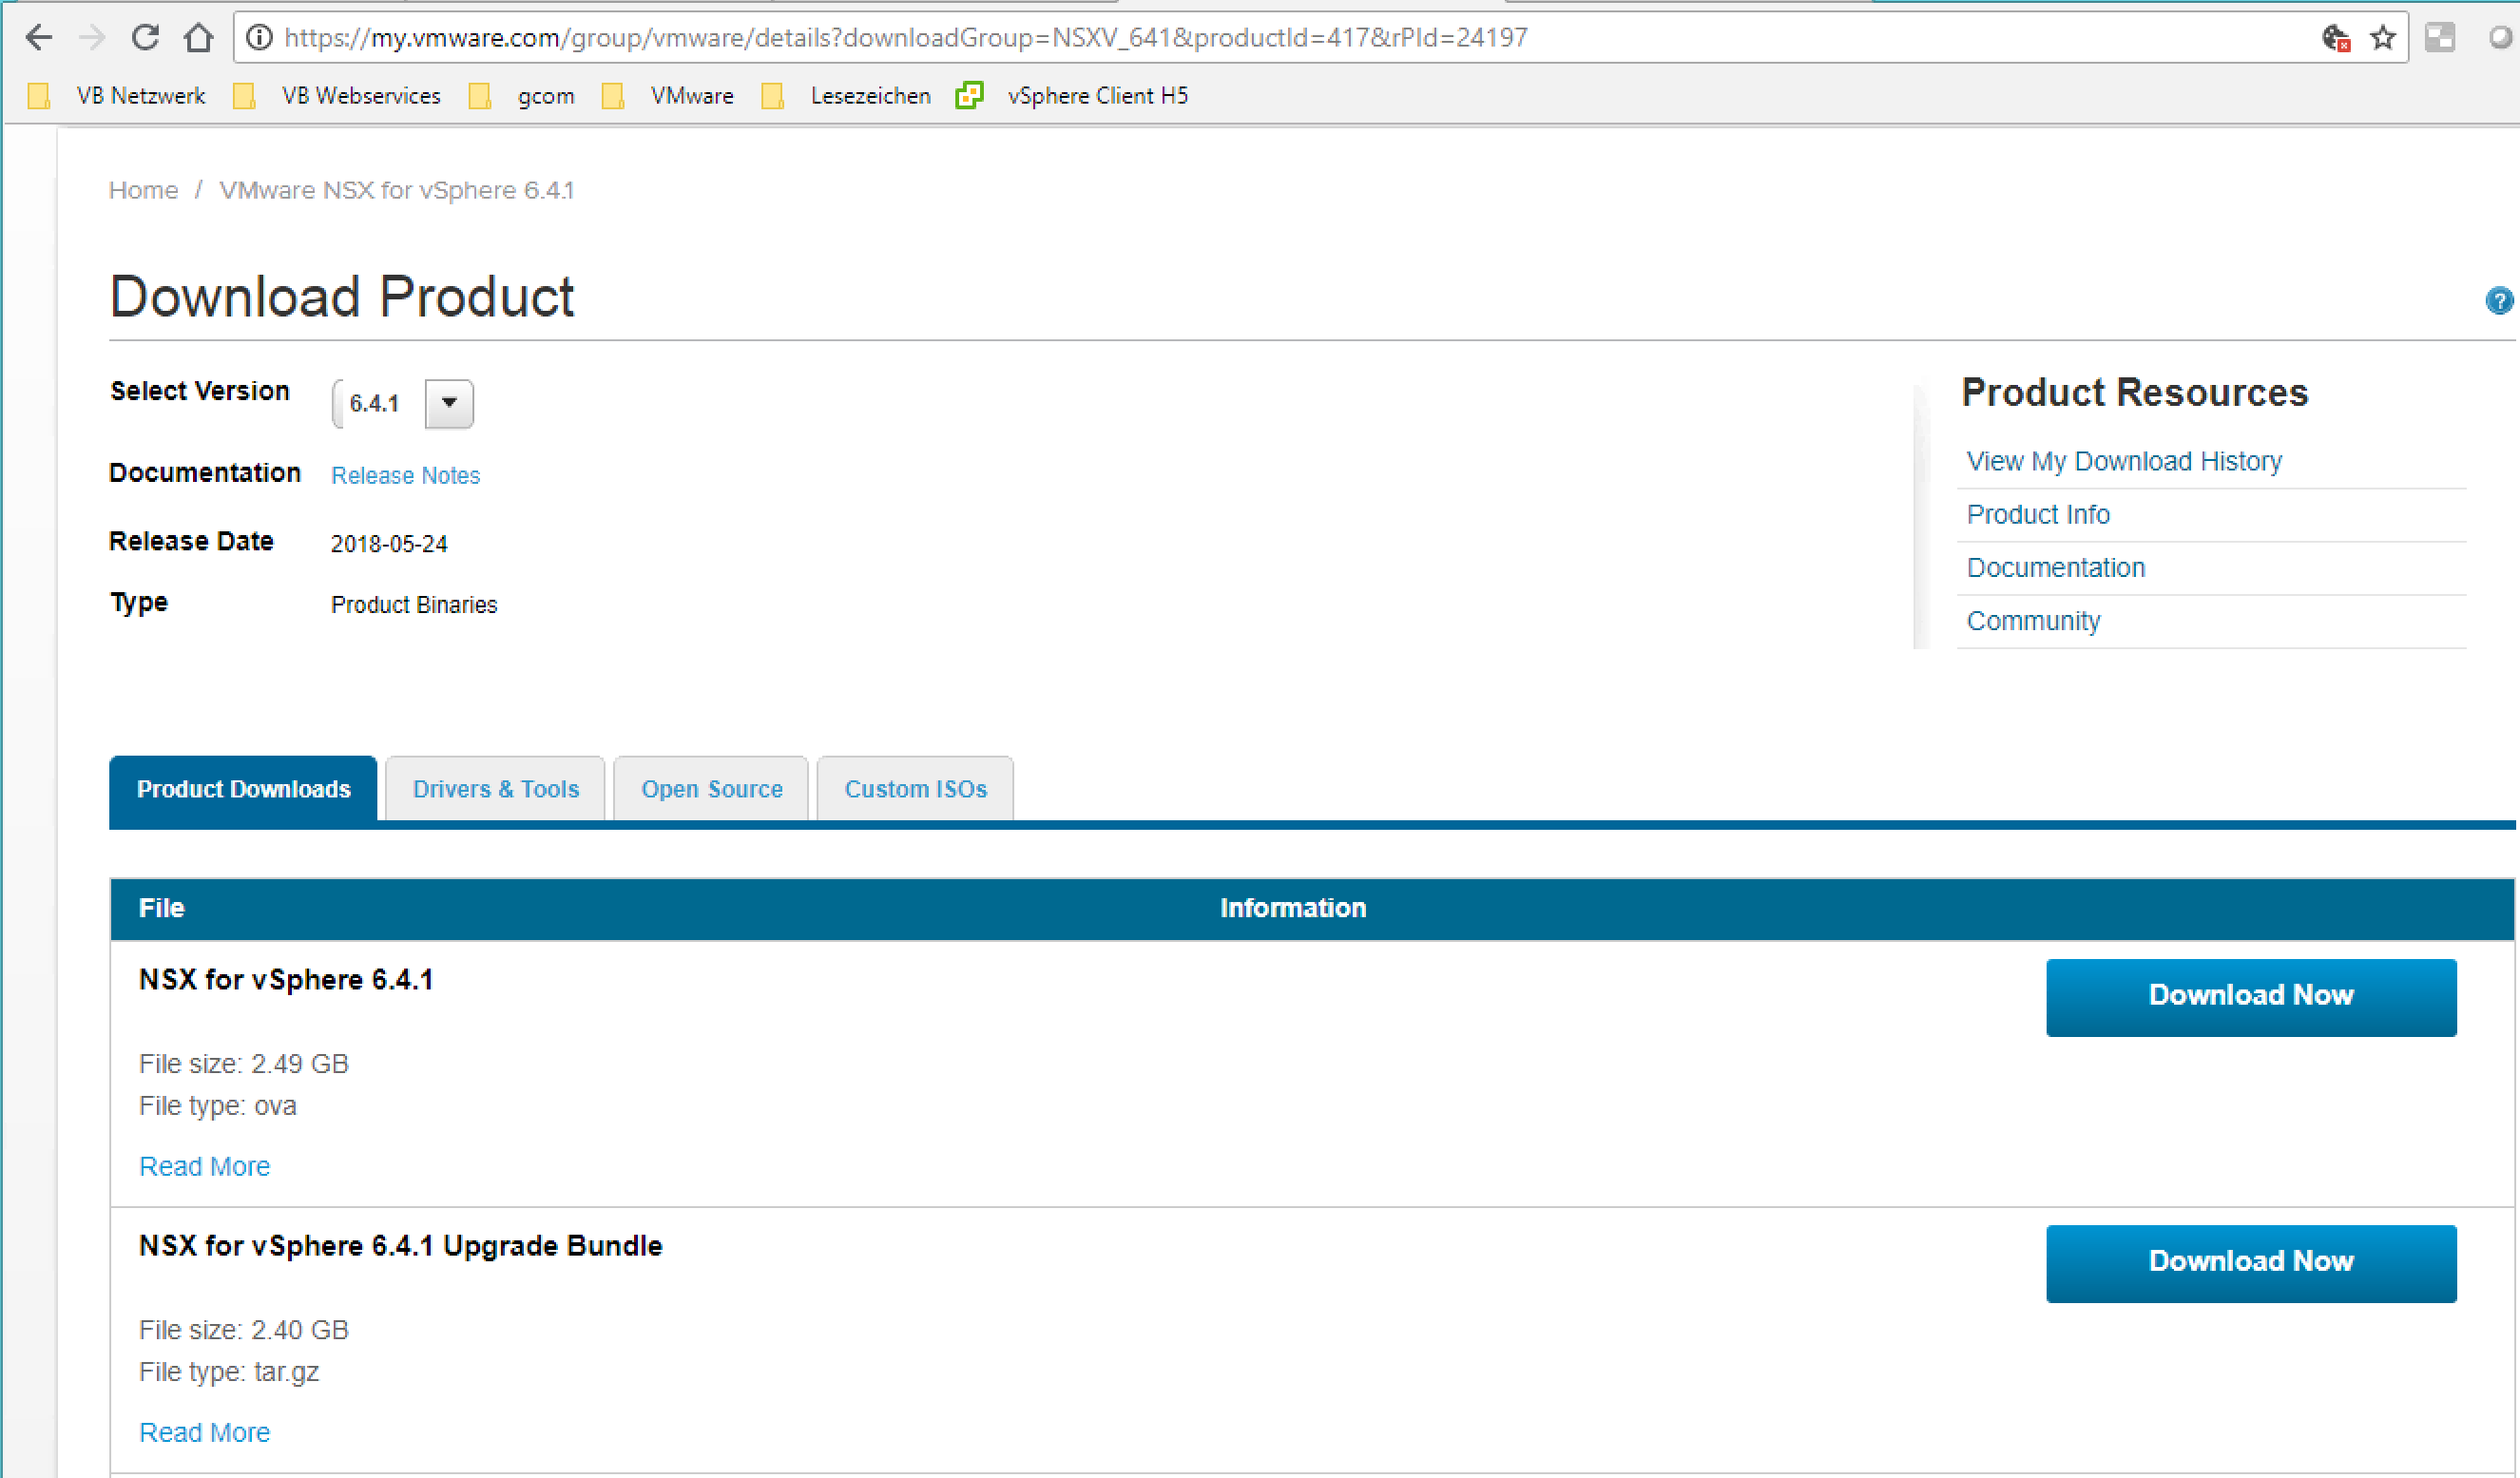
- Download the NSX for vSphere Upgrade Bundle from my.vmware.com
Upgrade
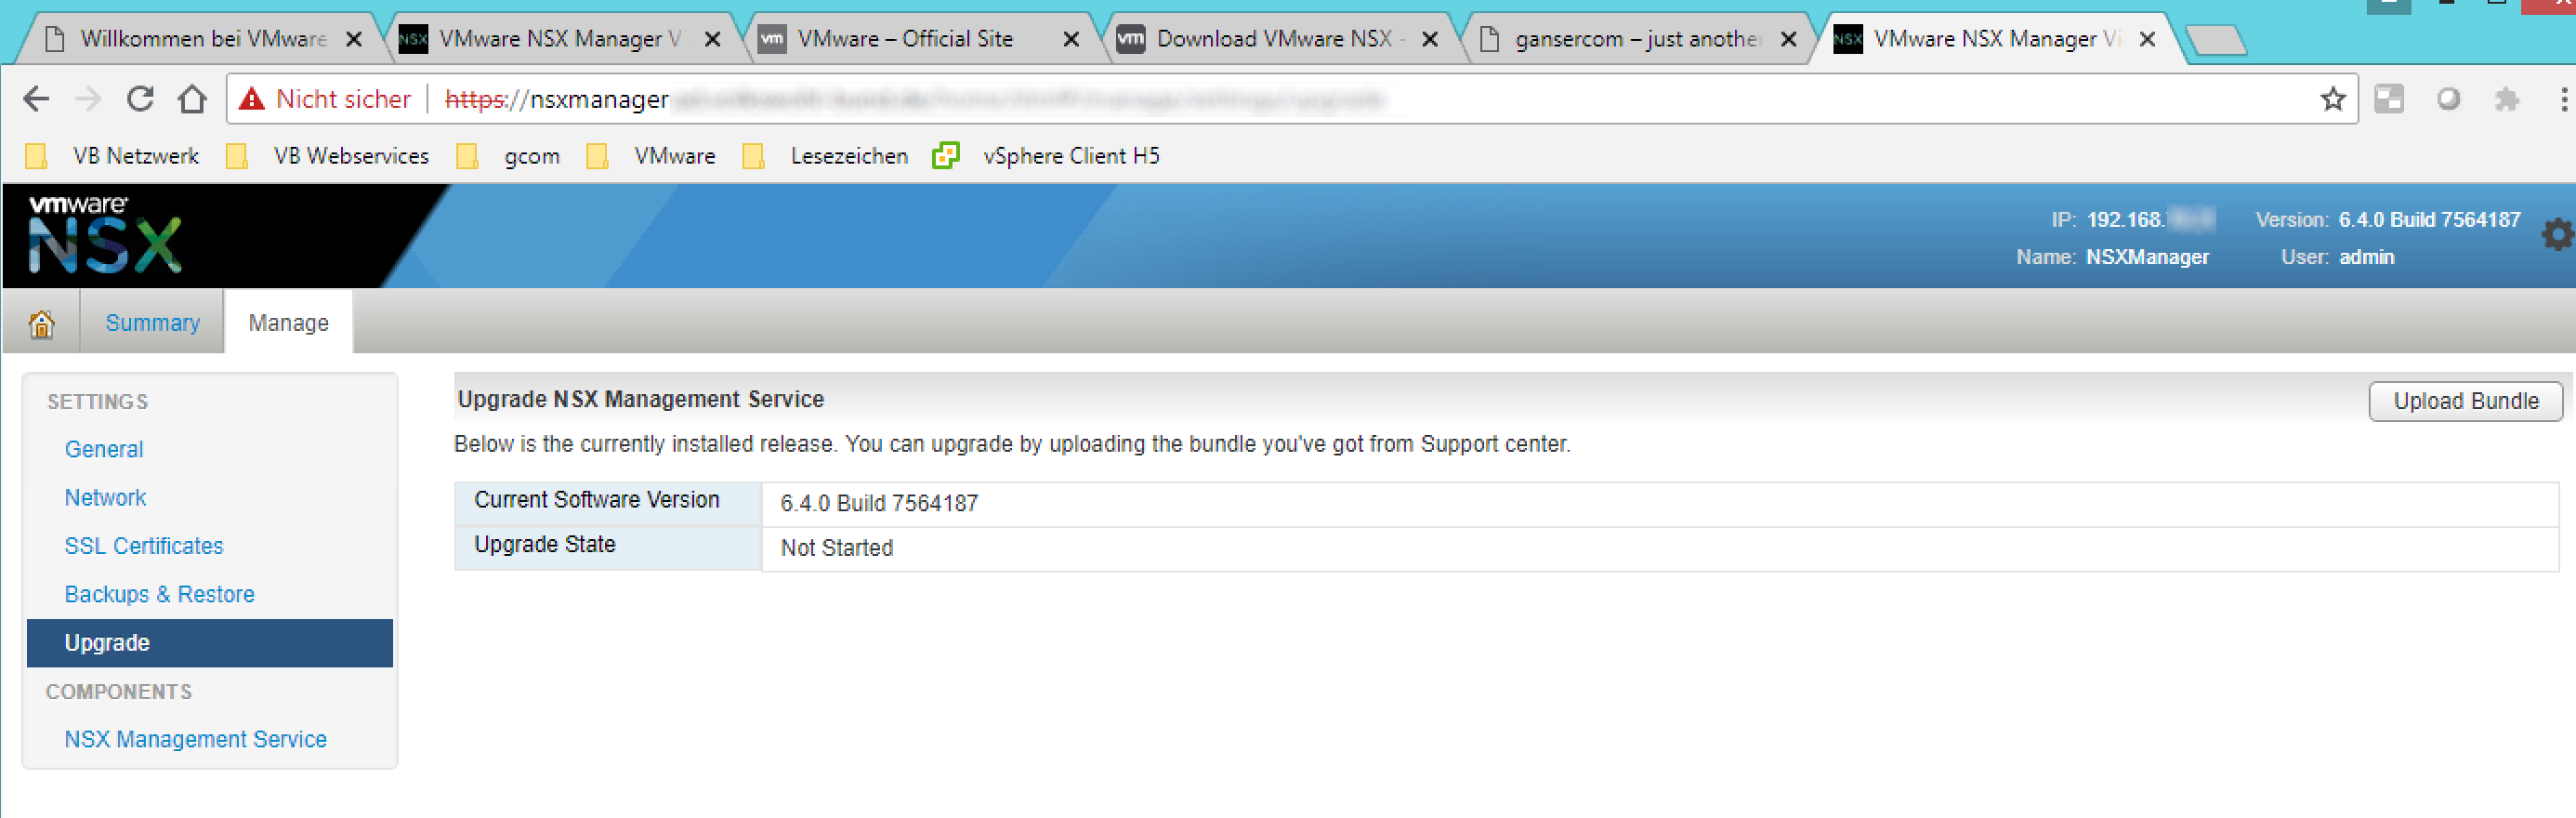
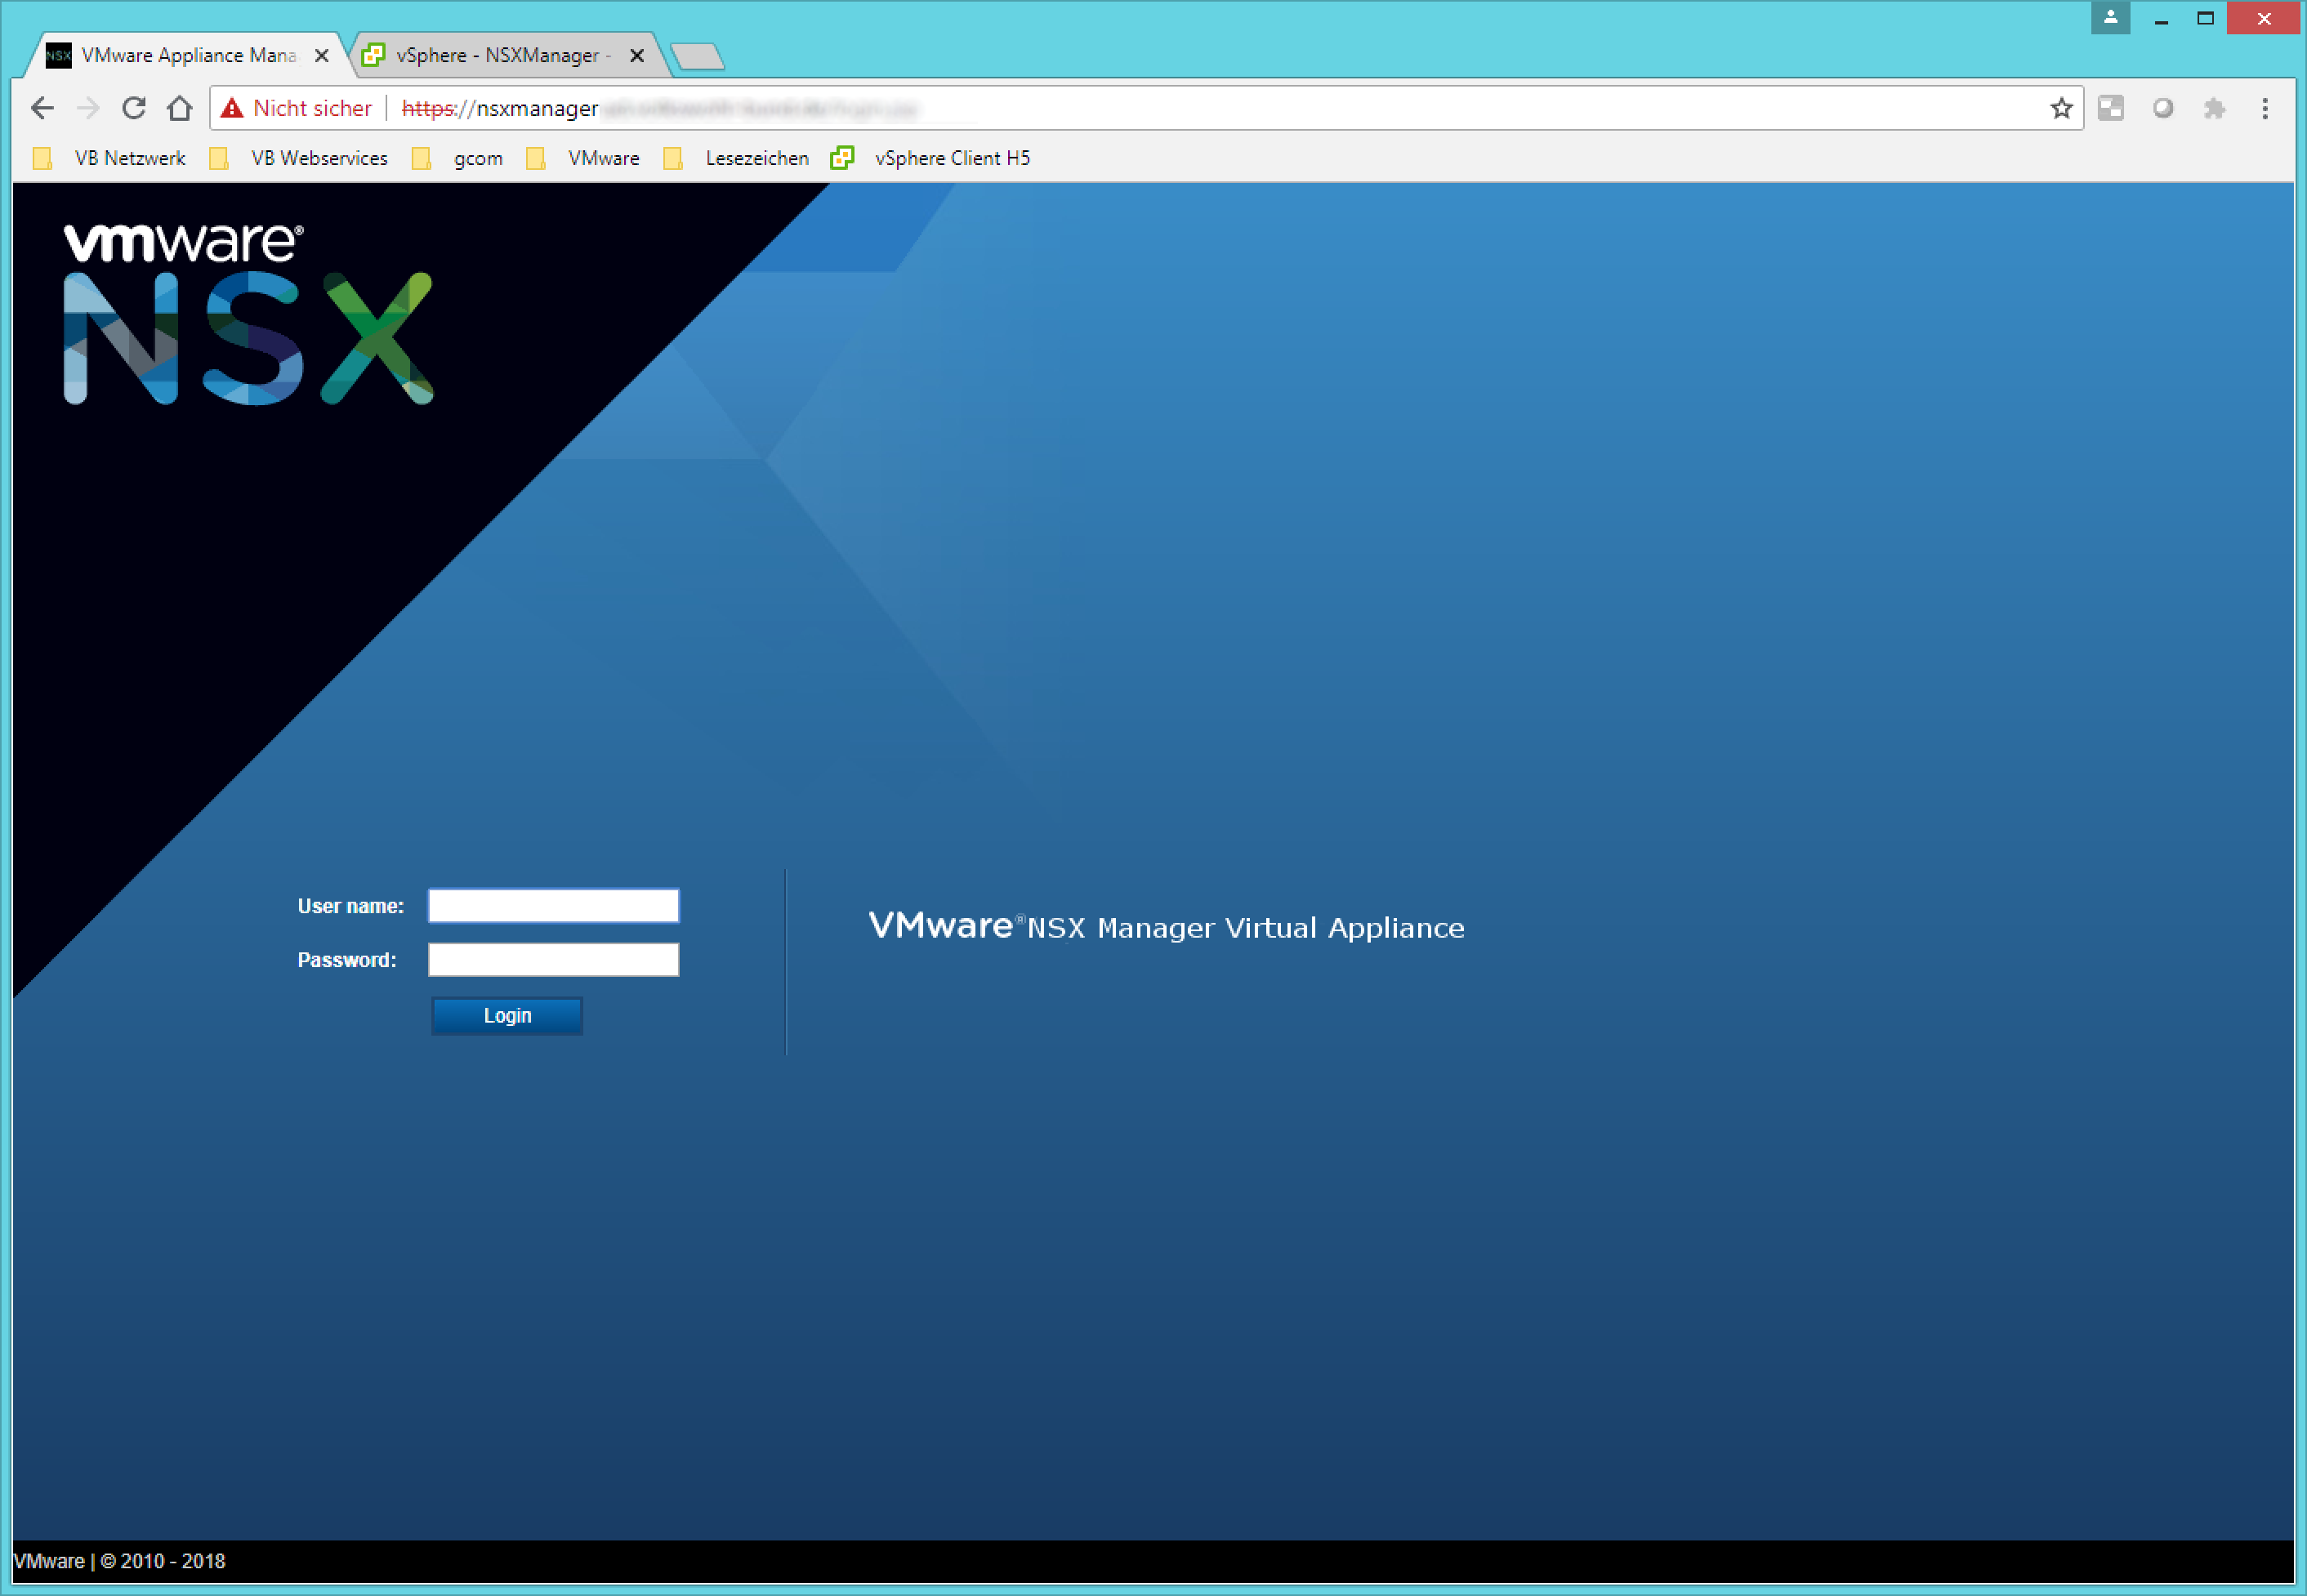
- Login to the NSX-Manager appliance and go to Upgrade
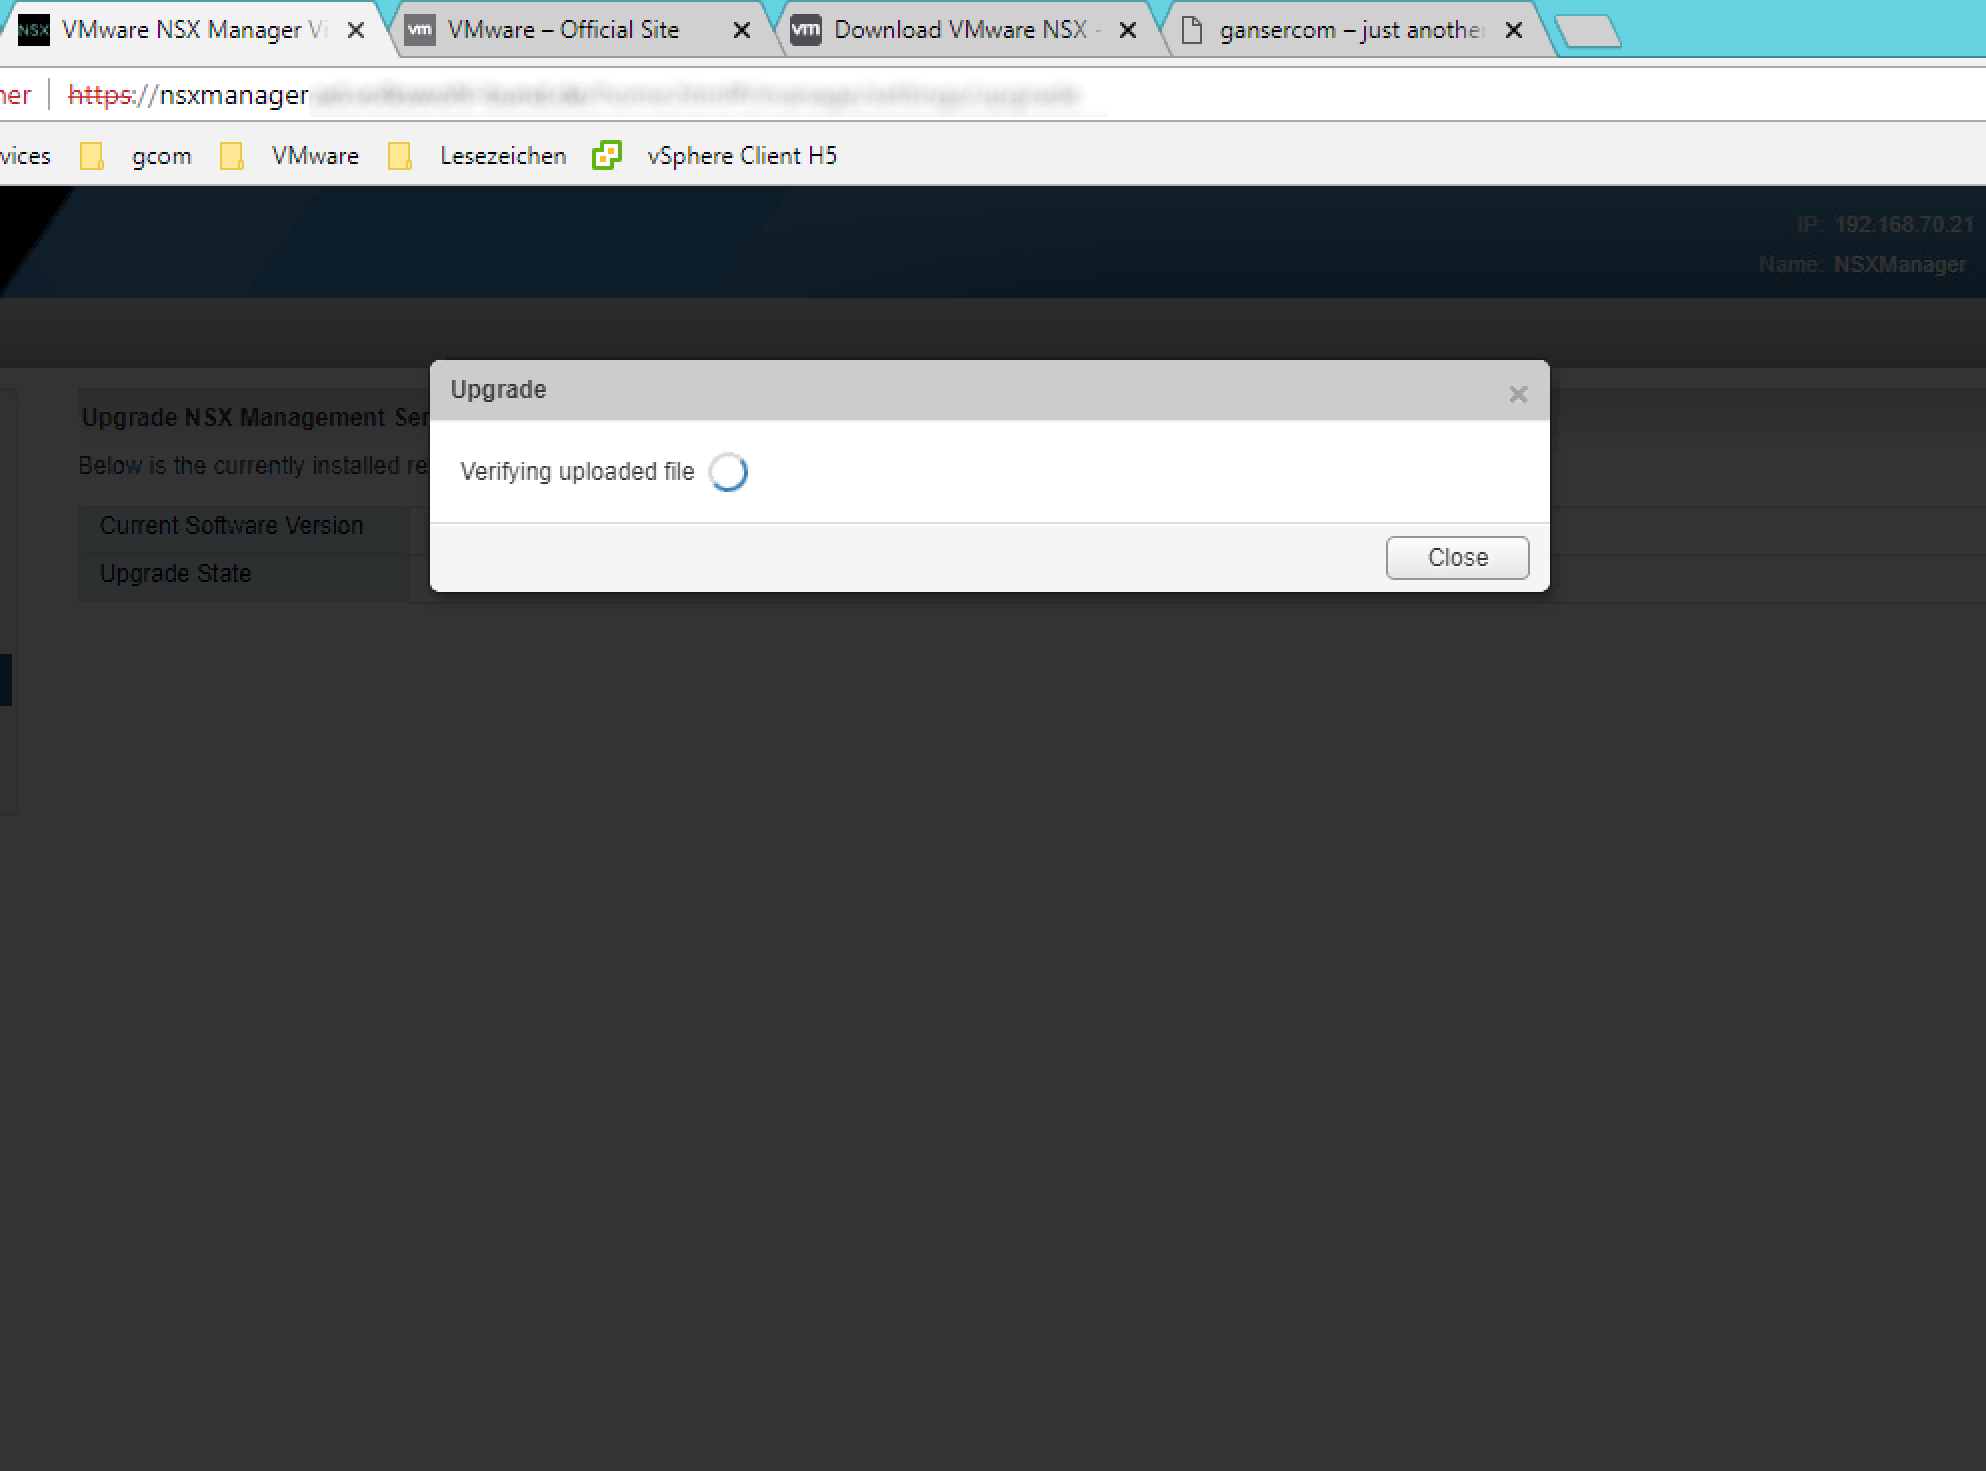
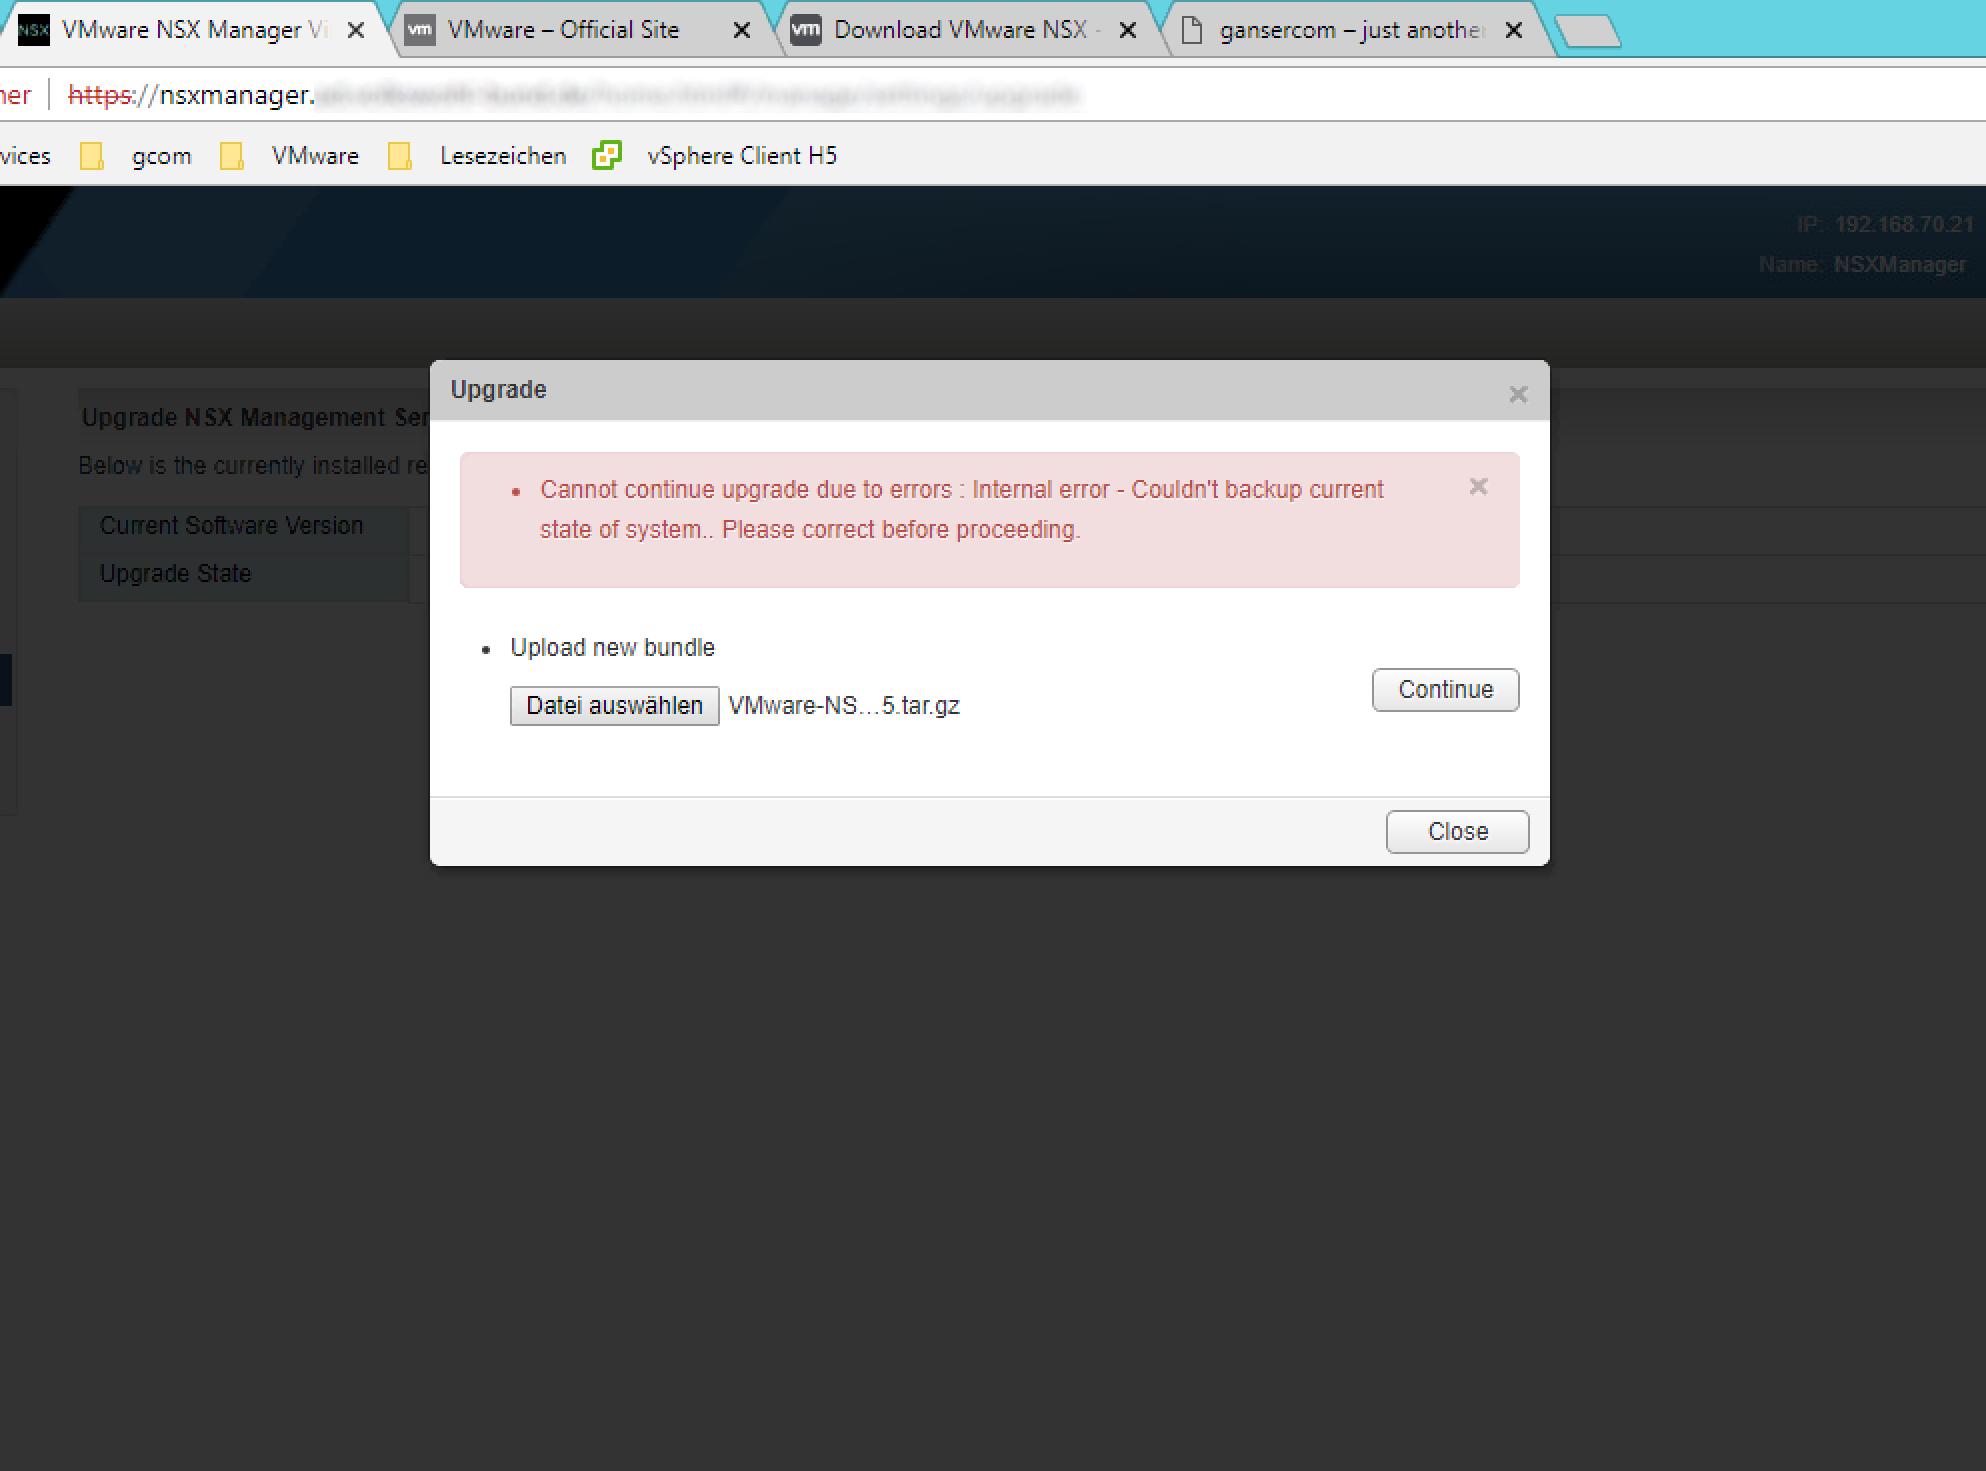
- Select your downloaded Upgrade Bundle and click on continue. In my case I got an error ‘Couldn’t backup current state of system..’ After I’ve made a backup manually the upload was successful.


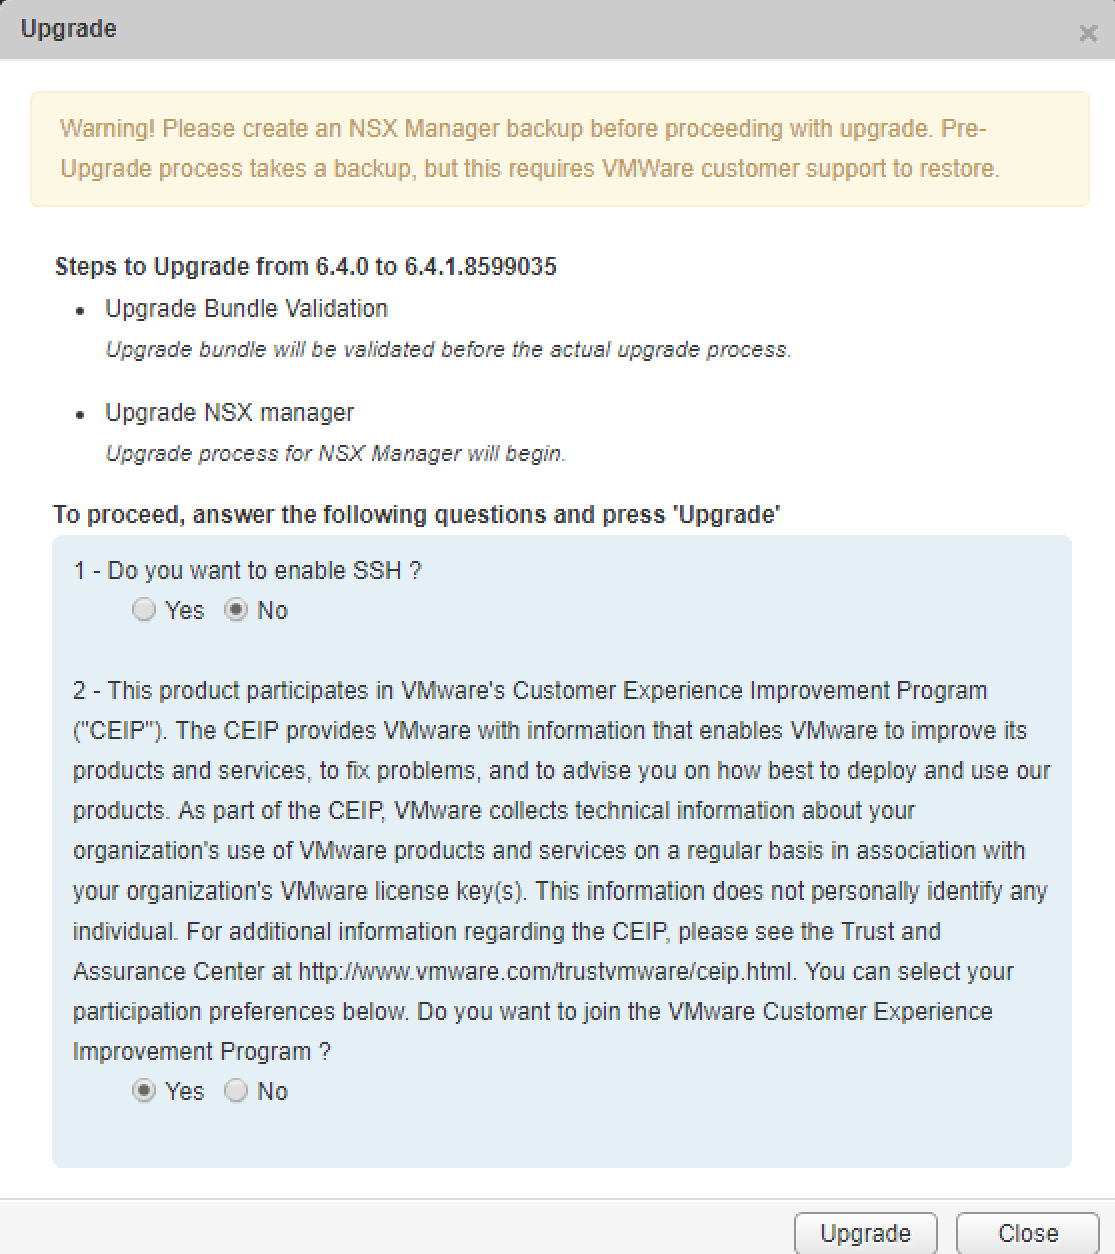
- The upgrade process warns that you should create a backup before proceeding. Ok, I’ve made this in the step before ;)
You can also select if SSH should be enabled or if you want to join the VMware CEIP (Customer Experience Improvement Program)
- After you have started the upgrade you will see the upgrade process.

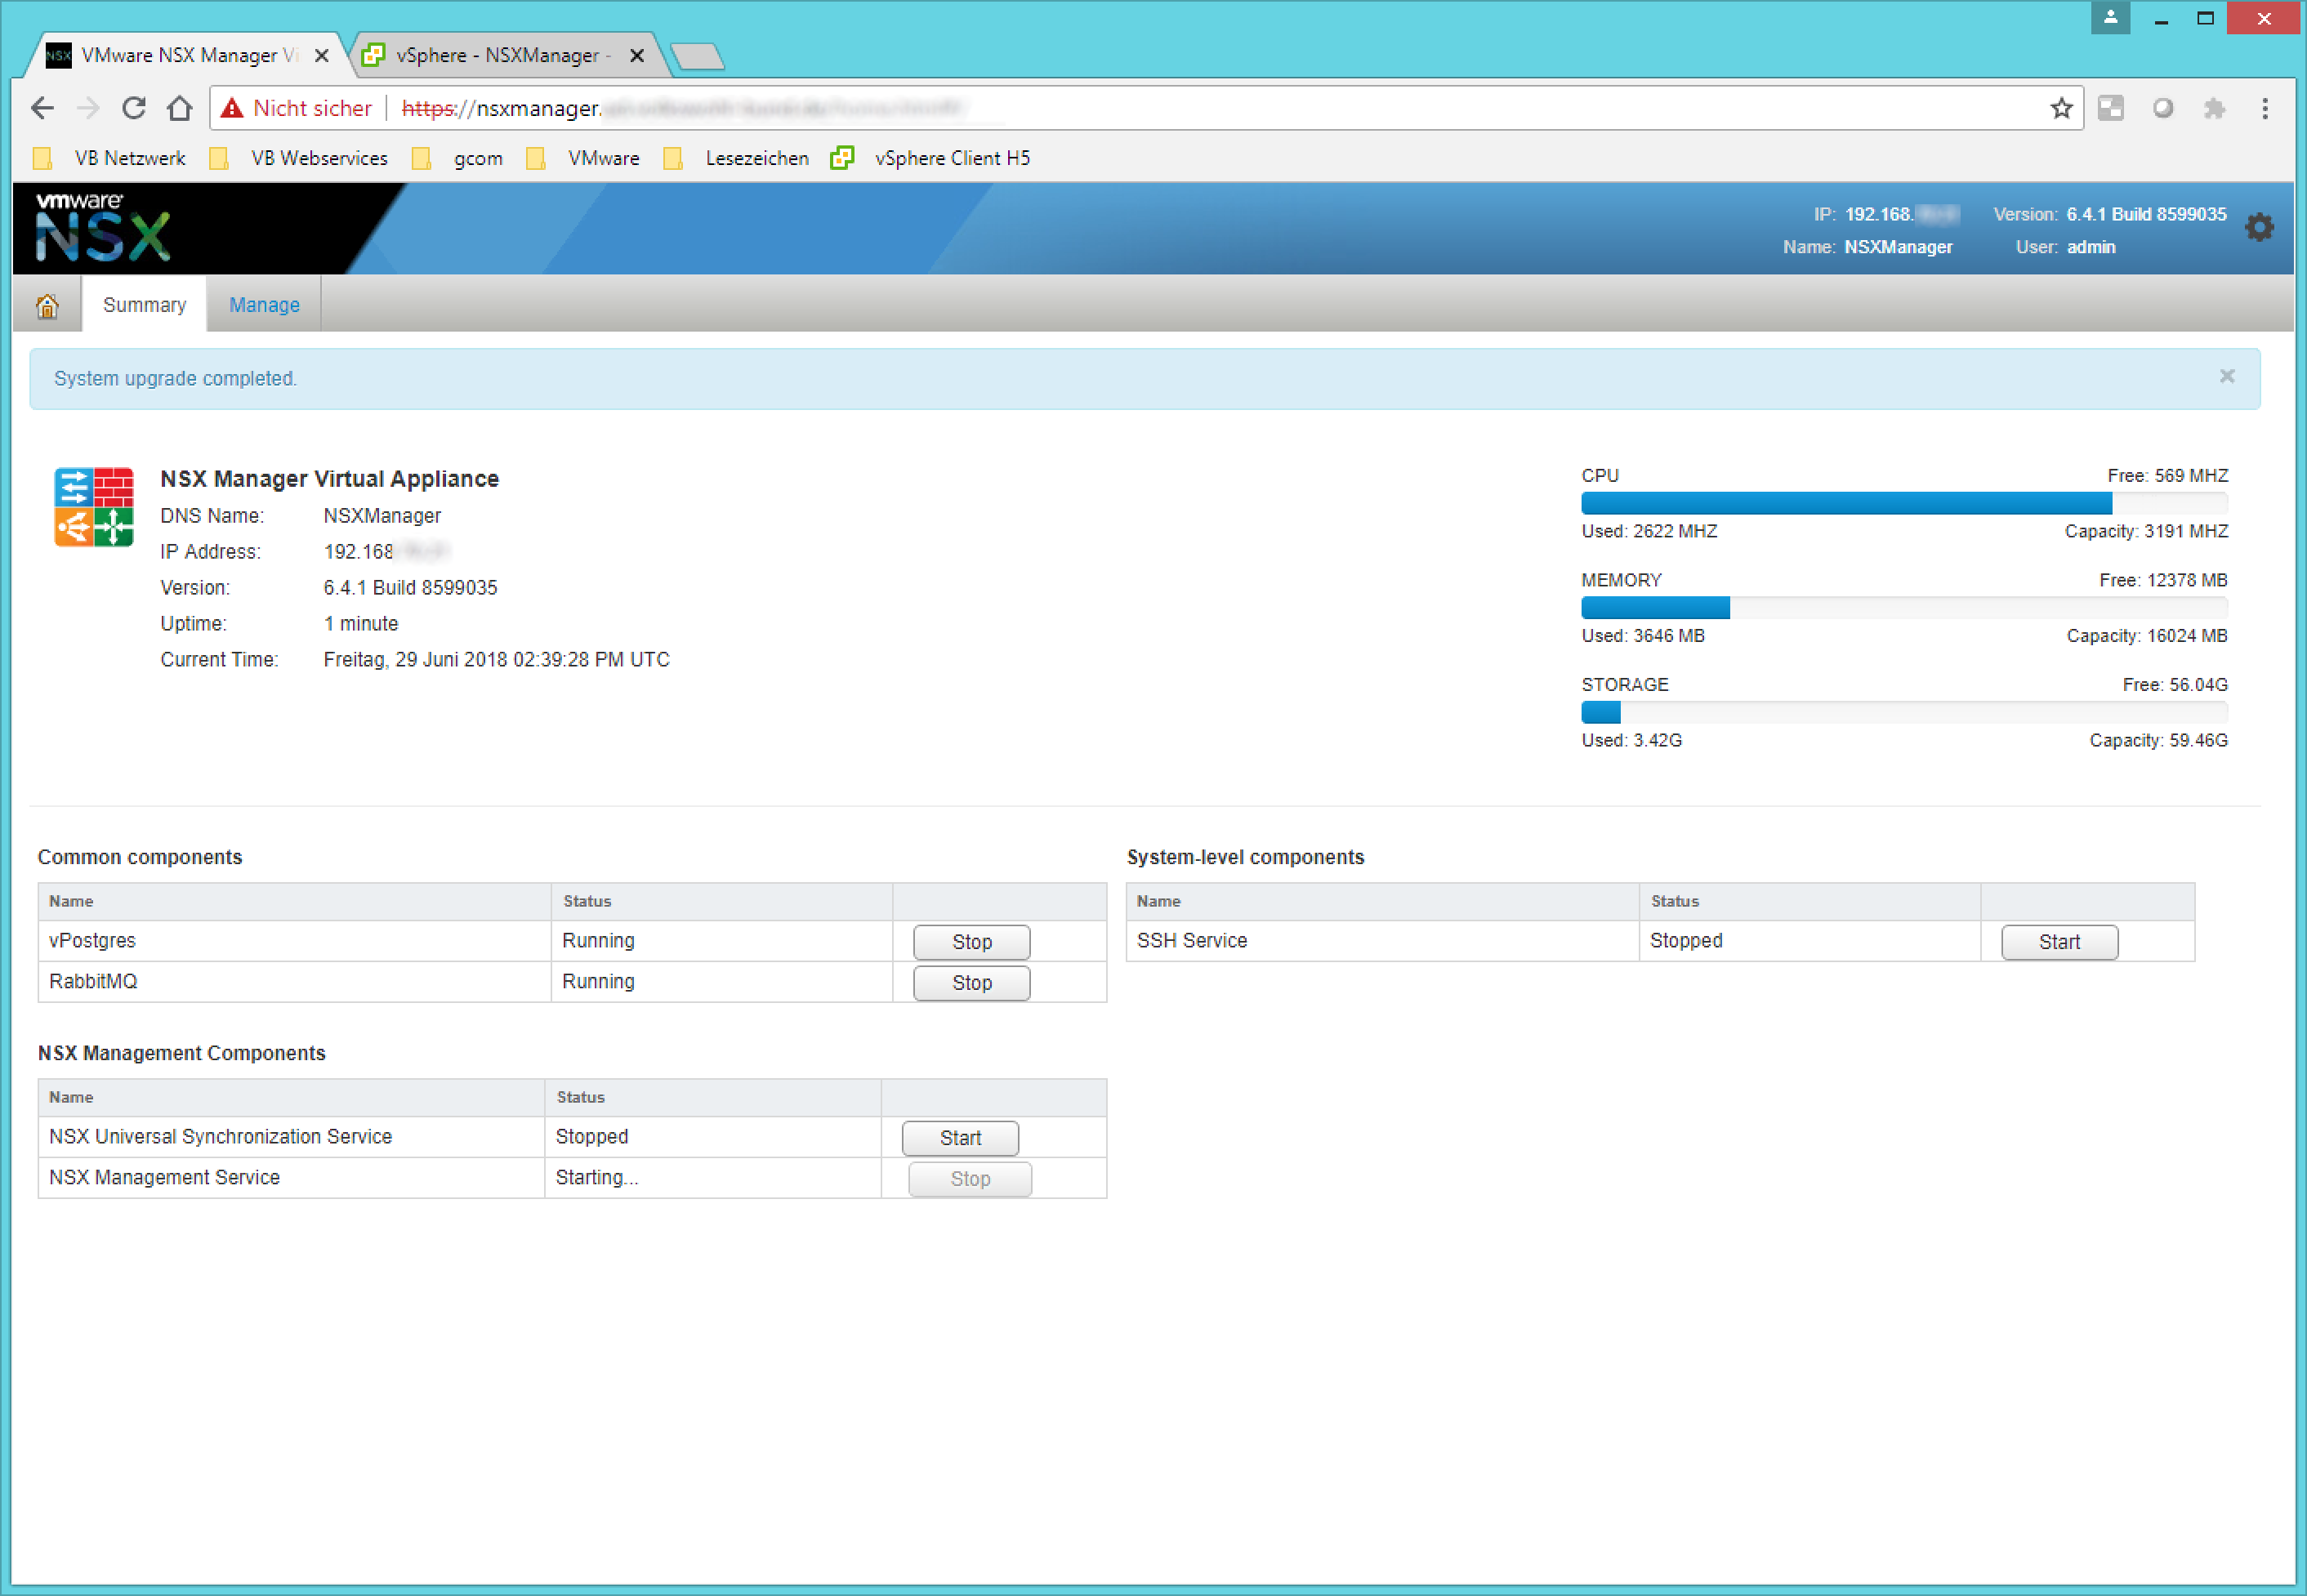
- If you open a console session of the NSX manager you will see that the appliance is rebooting after the upgrade is installed. After the appliance is rebooted you can login again. The summary page should now show version 6.4.1. Now the work on the NSX-Manager is done.

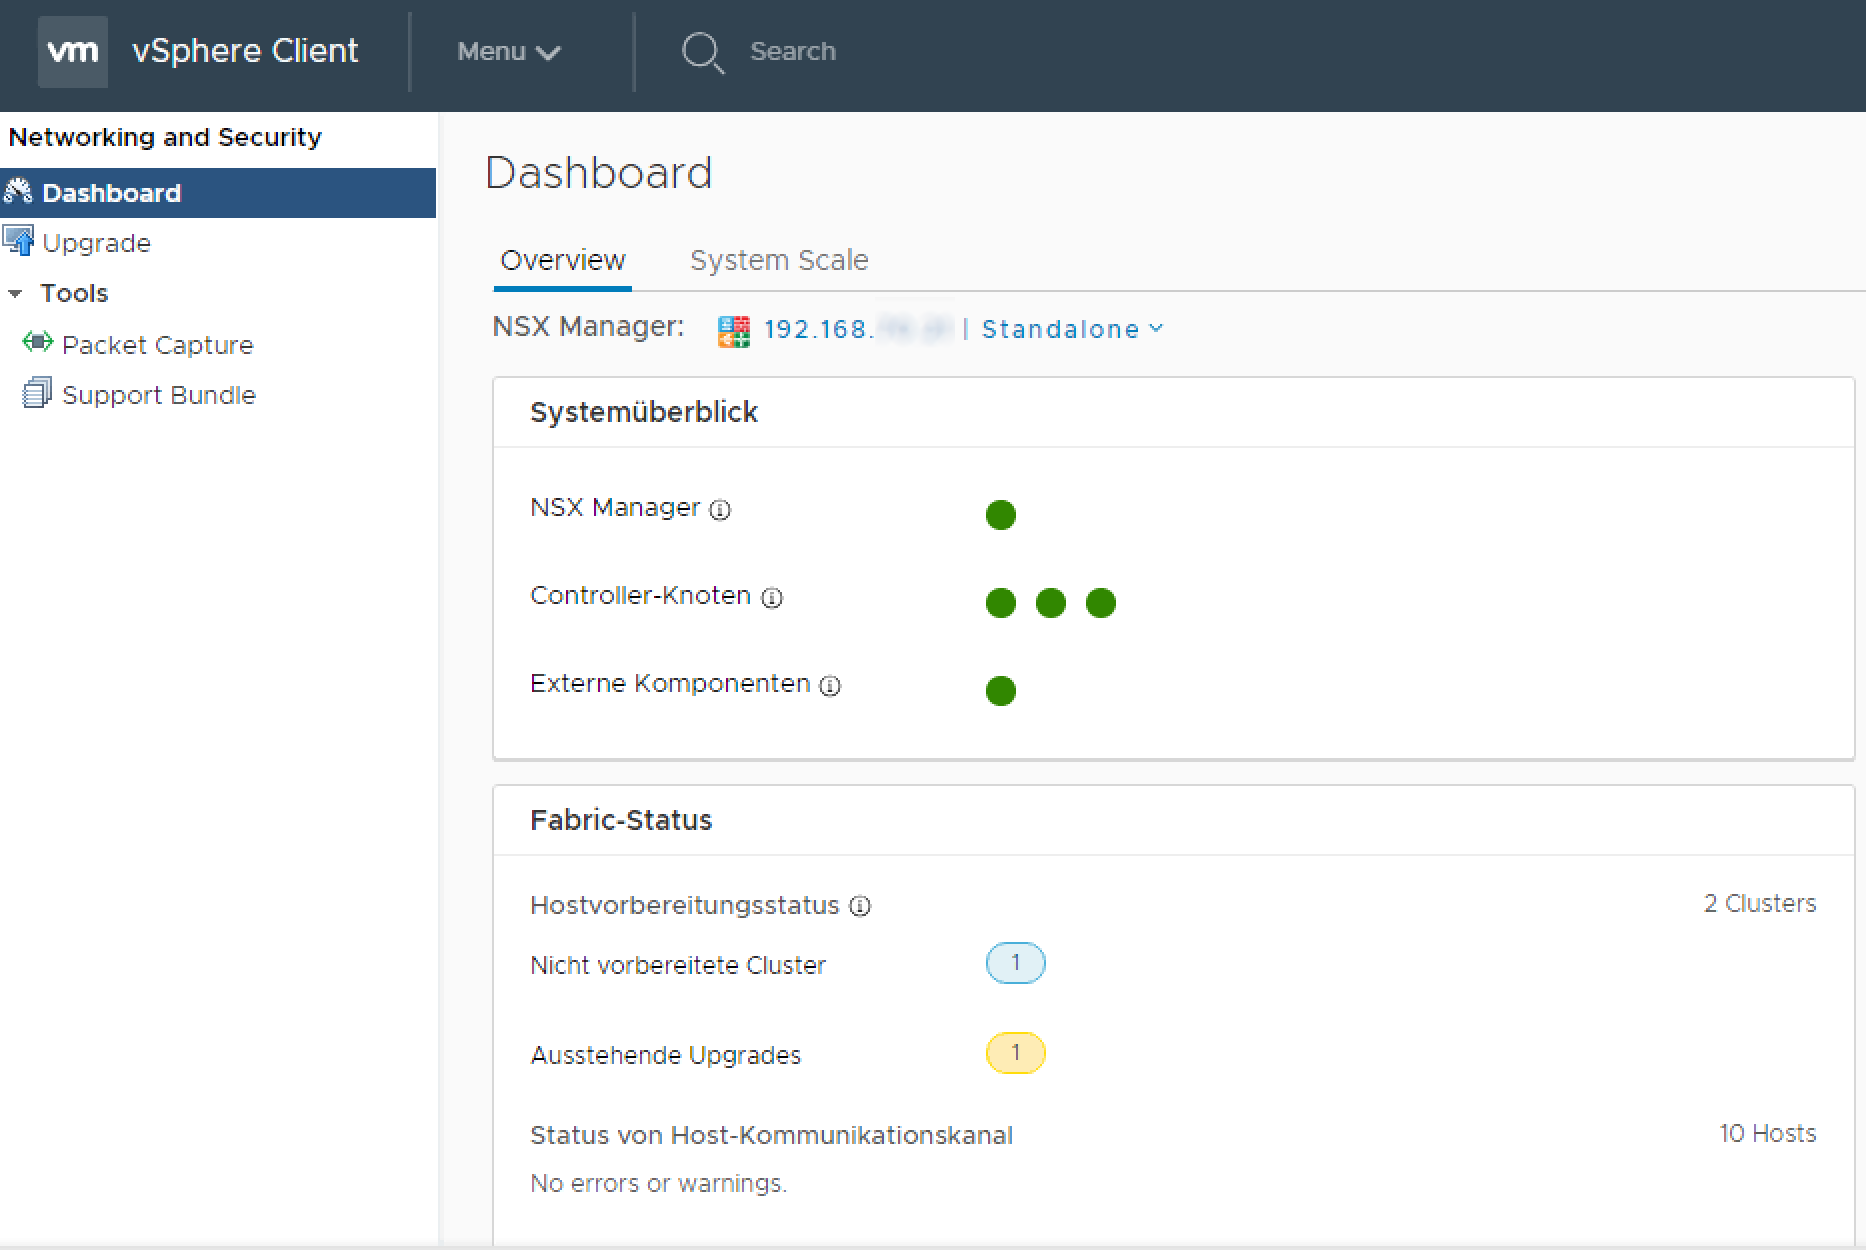
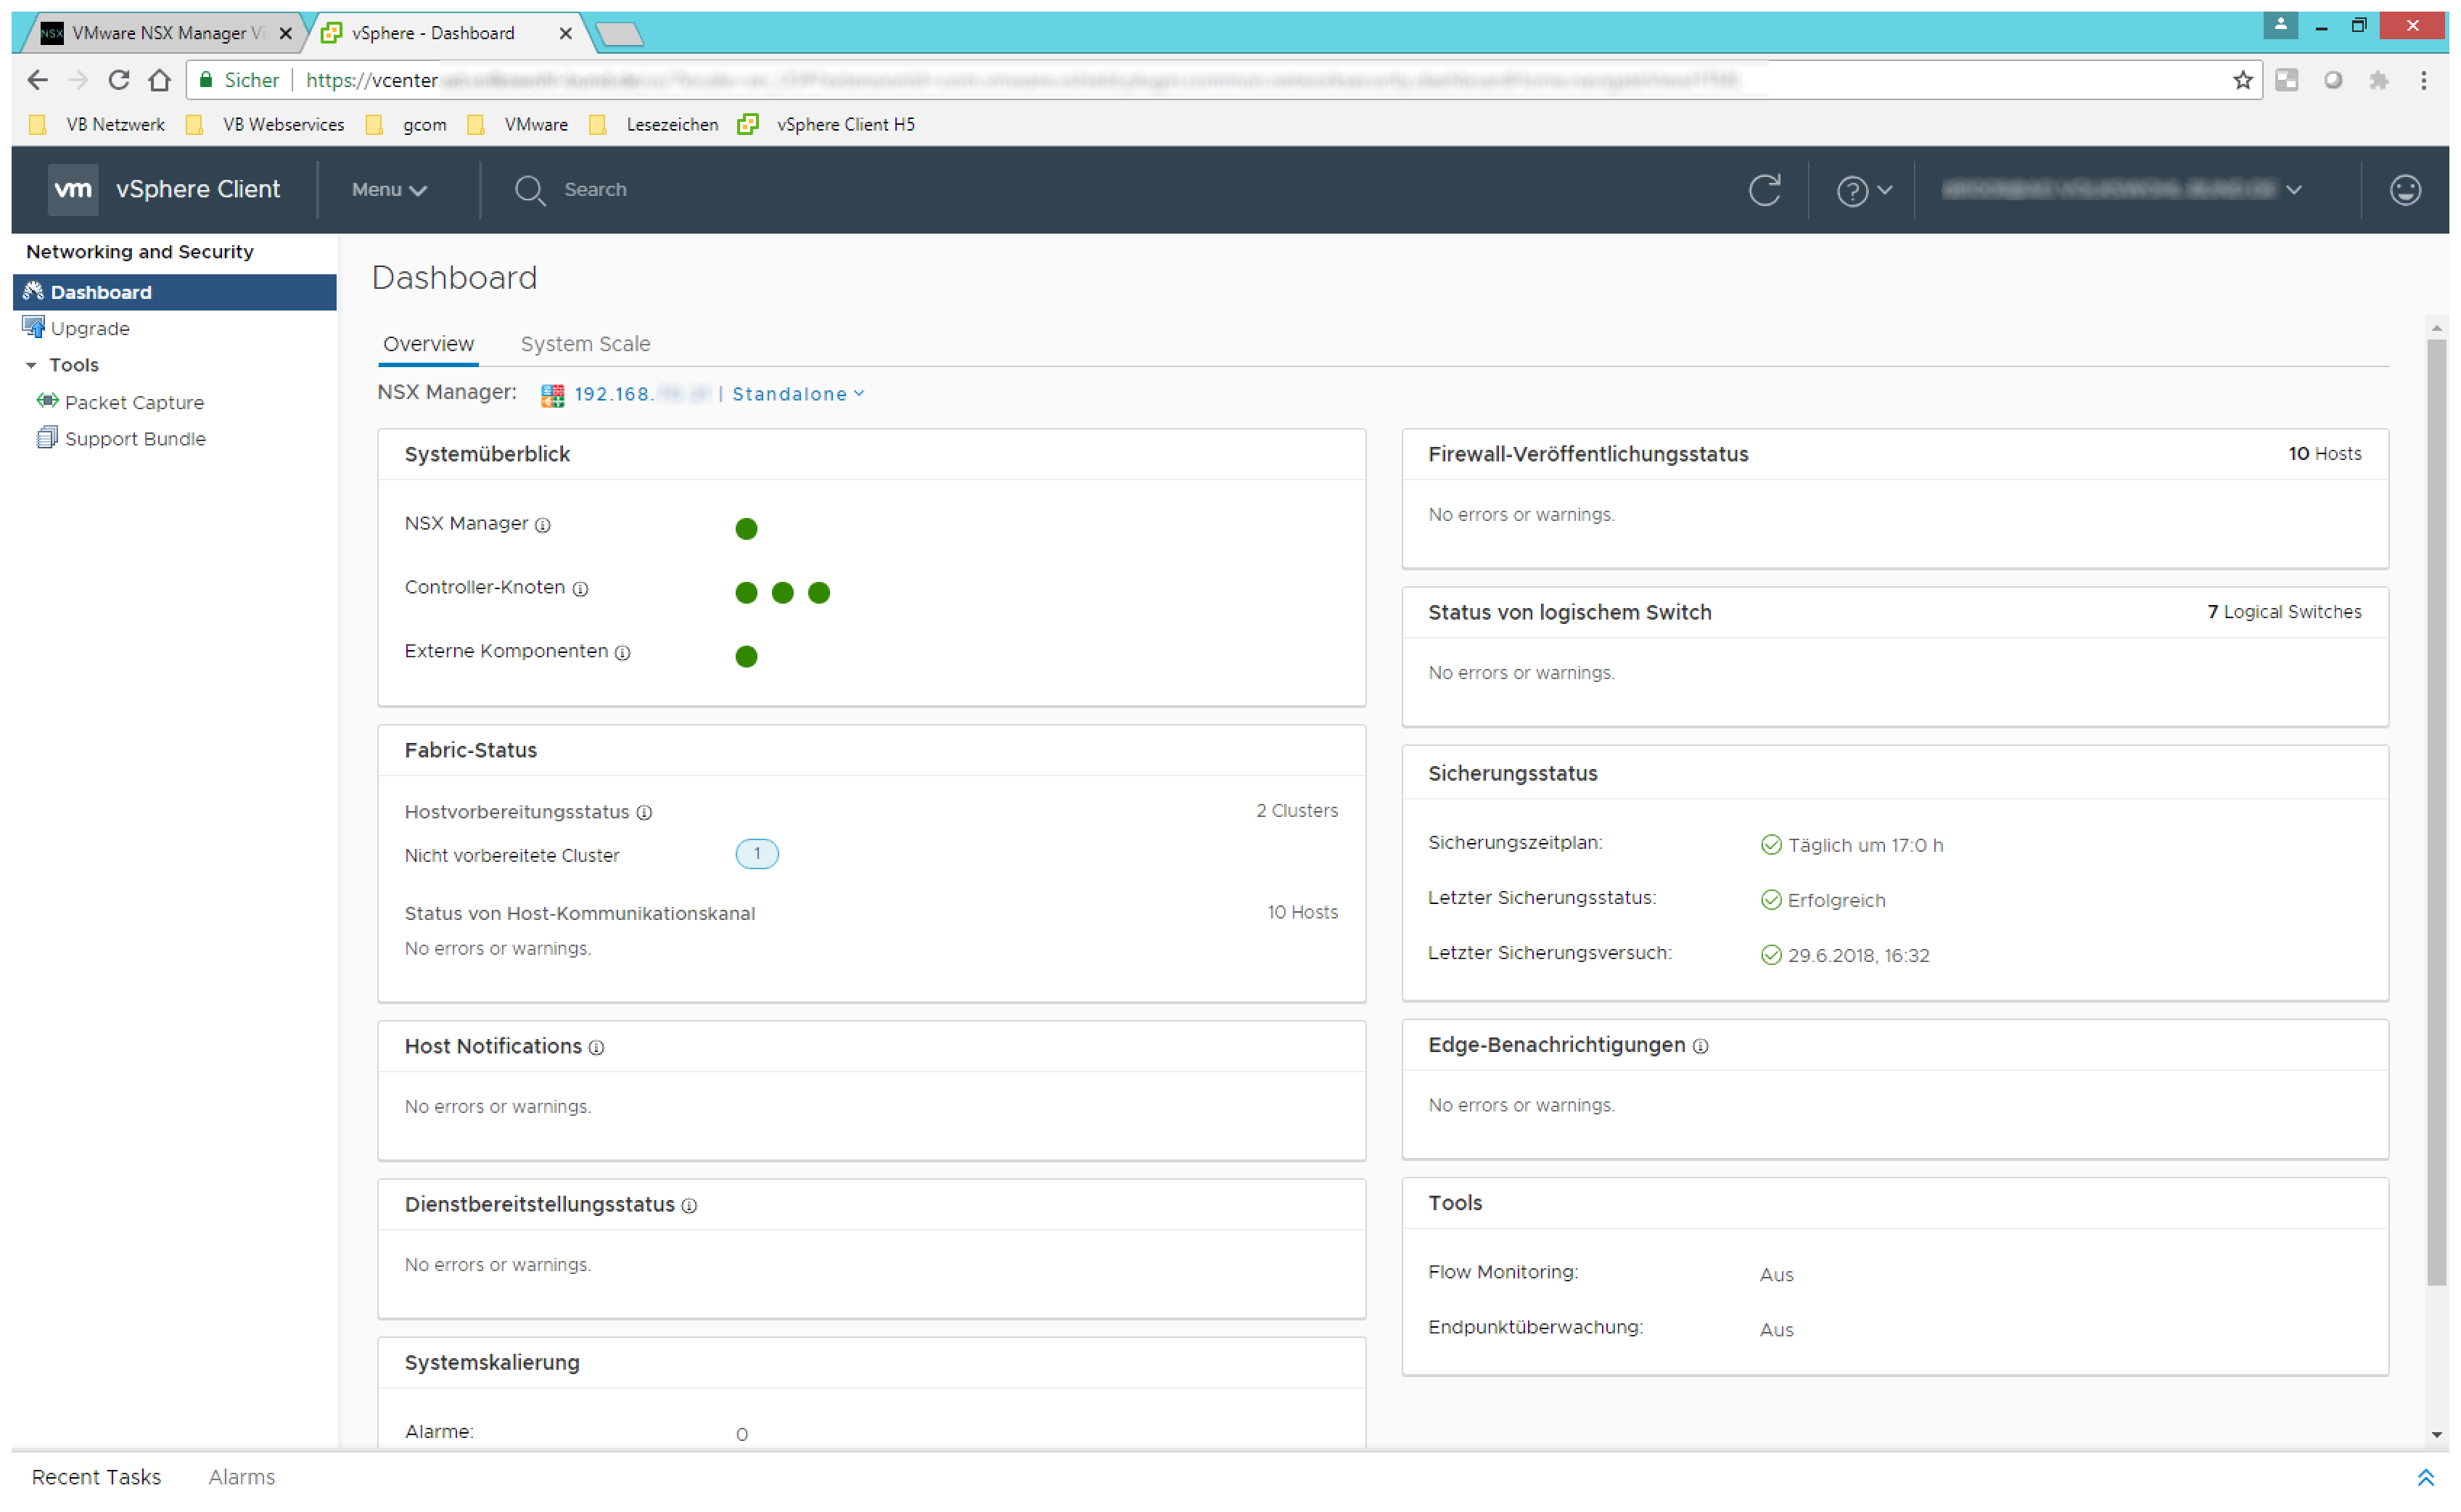
- Login to the vSphere Client (HTML5 Client) and go to Menu > Networking and Security. The Dashboard now shows at least one cluster which is not upgraded yet. In my pictures one cluster is not prepared yet. This is a cluster which is not used for NSX but managed by the same vCenter. Please ignore it.
- Select Upgrade at the left pane. Now you see the upgrade planner. Select PLAN UPGRADE

- There are two ways to upgrade the NSX Components ‘Plan Your Upgrade‘ or ‘One Click Upgrade‘
- With One Click Upgrade all Components will be upgraded without any pause between the components or on errors. If you want to do it this way, just click on Start Upgrade and wait for completion.
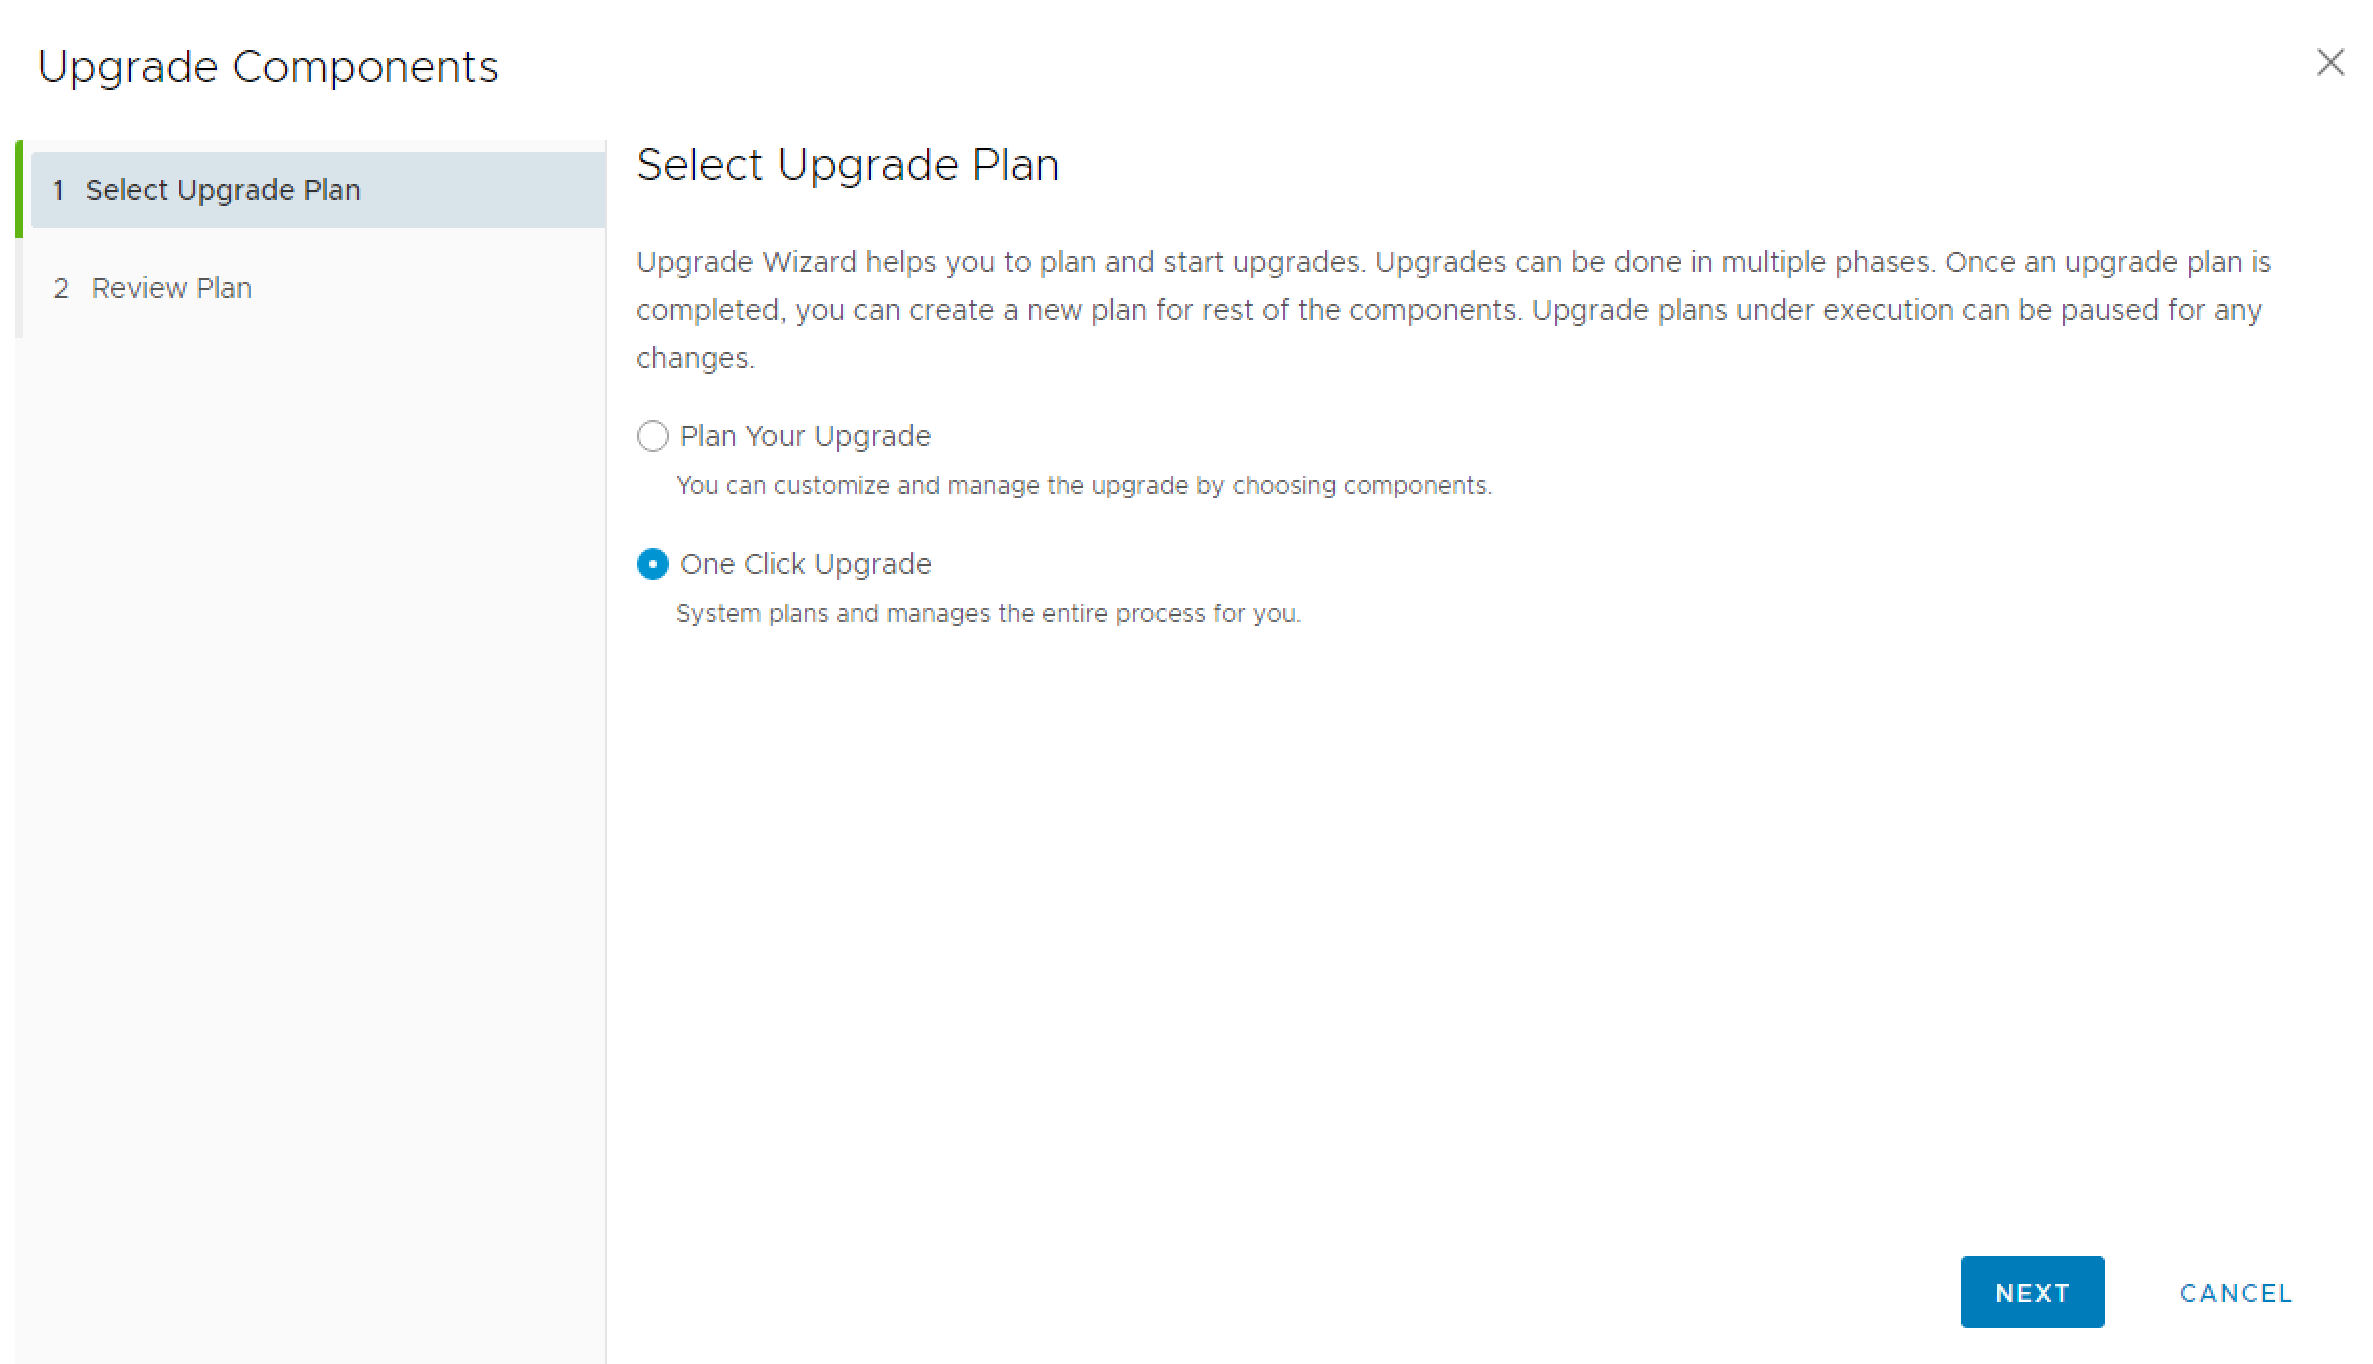
- If you want it a little bit more in your hands you have to choose Plan Your Upgrade.

- Now you can select which components should be upgraded in this run. Components which are already completely upgrade will be grayed out. You can also define when the upgrade should do a break (Between the components or on error)

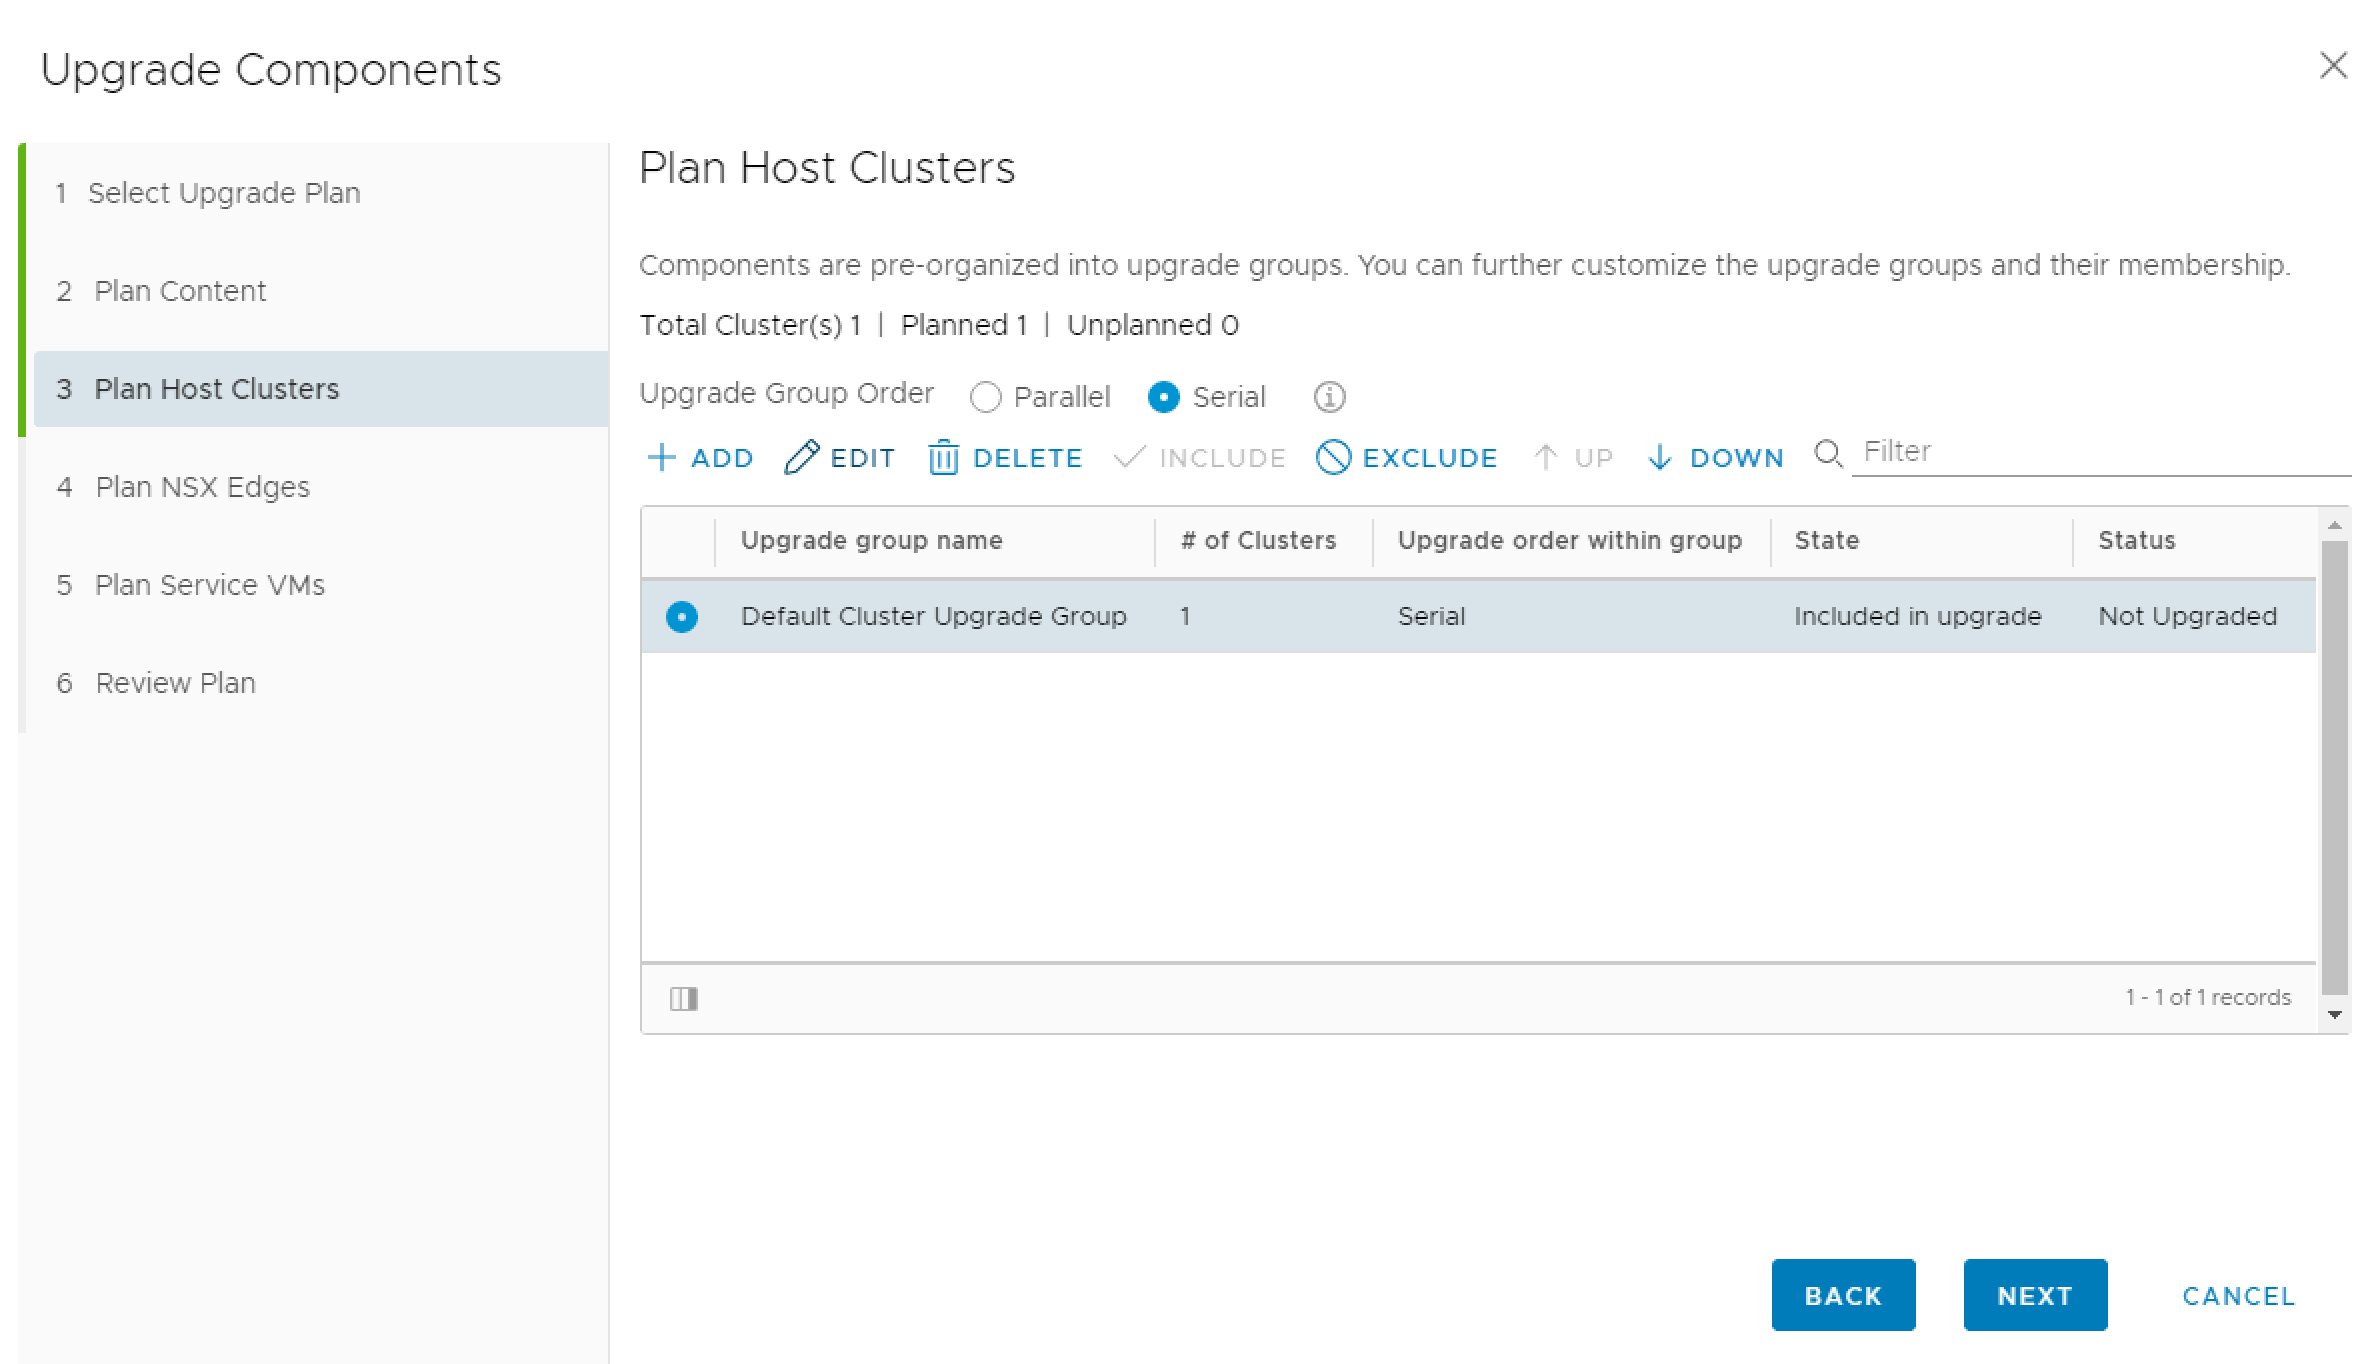
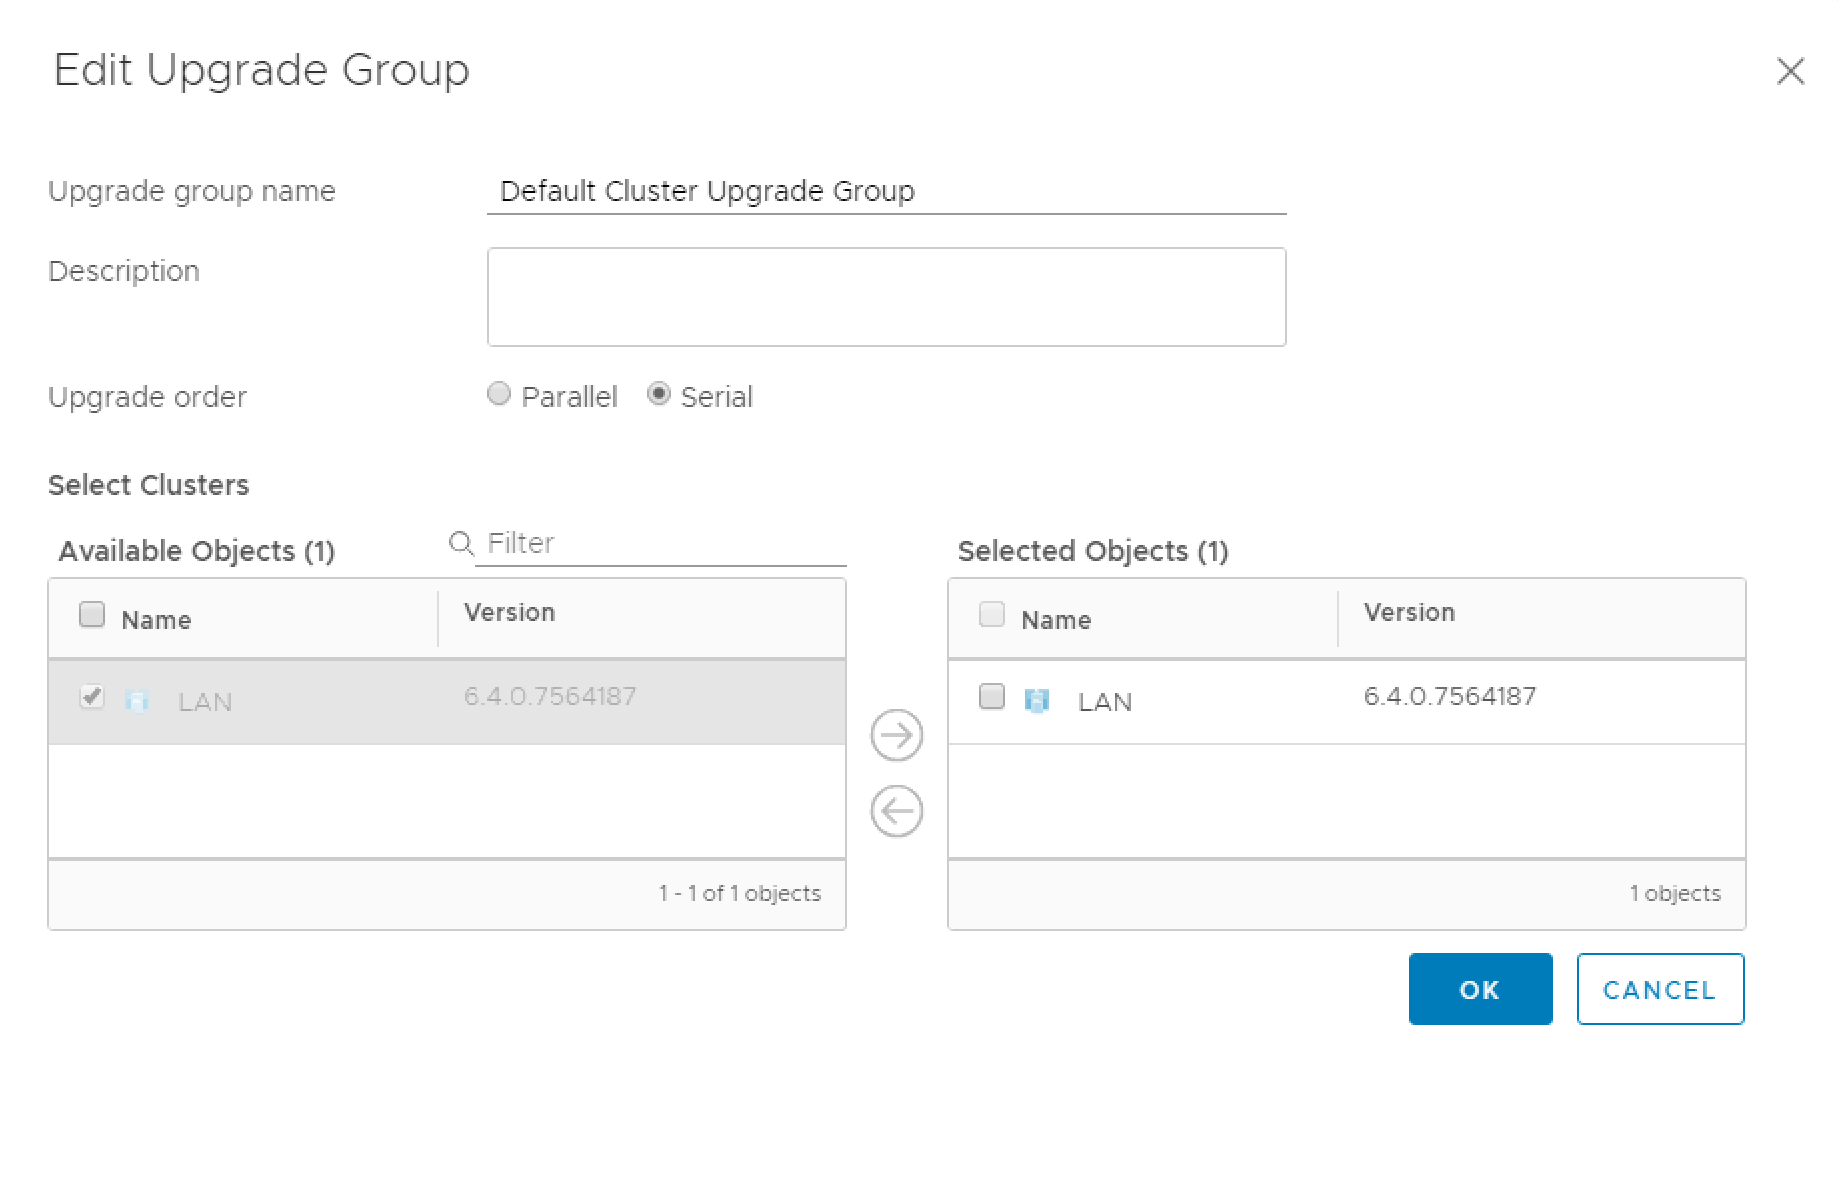
- In next step you can define which cluster should be upgraded. (If you have more than one)
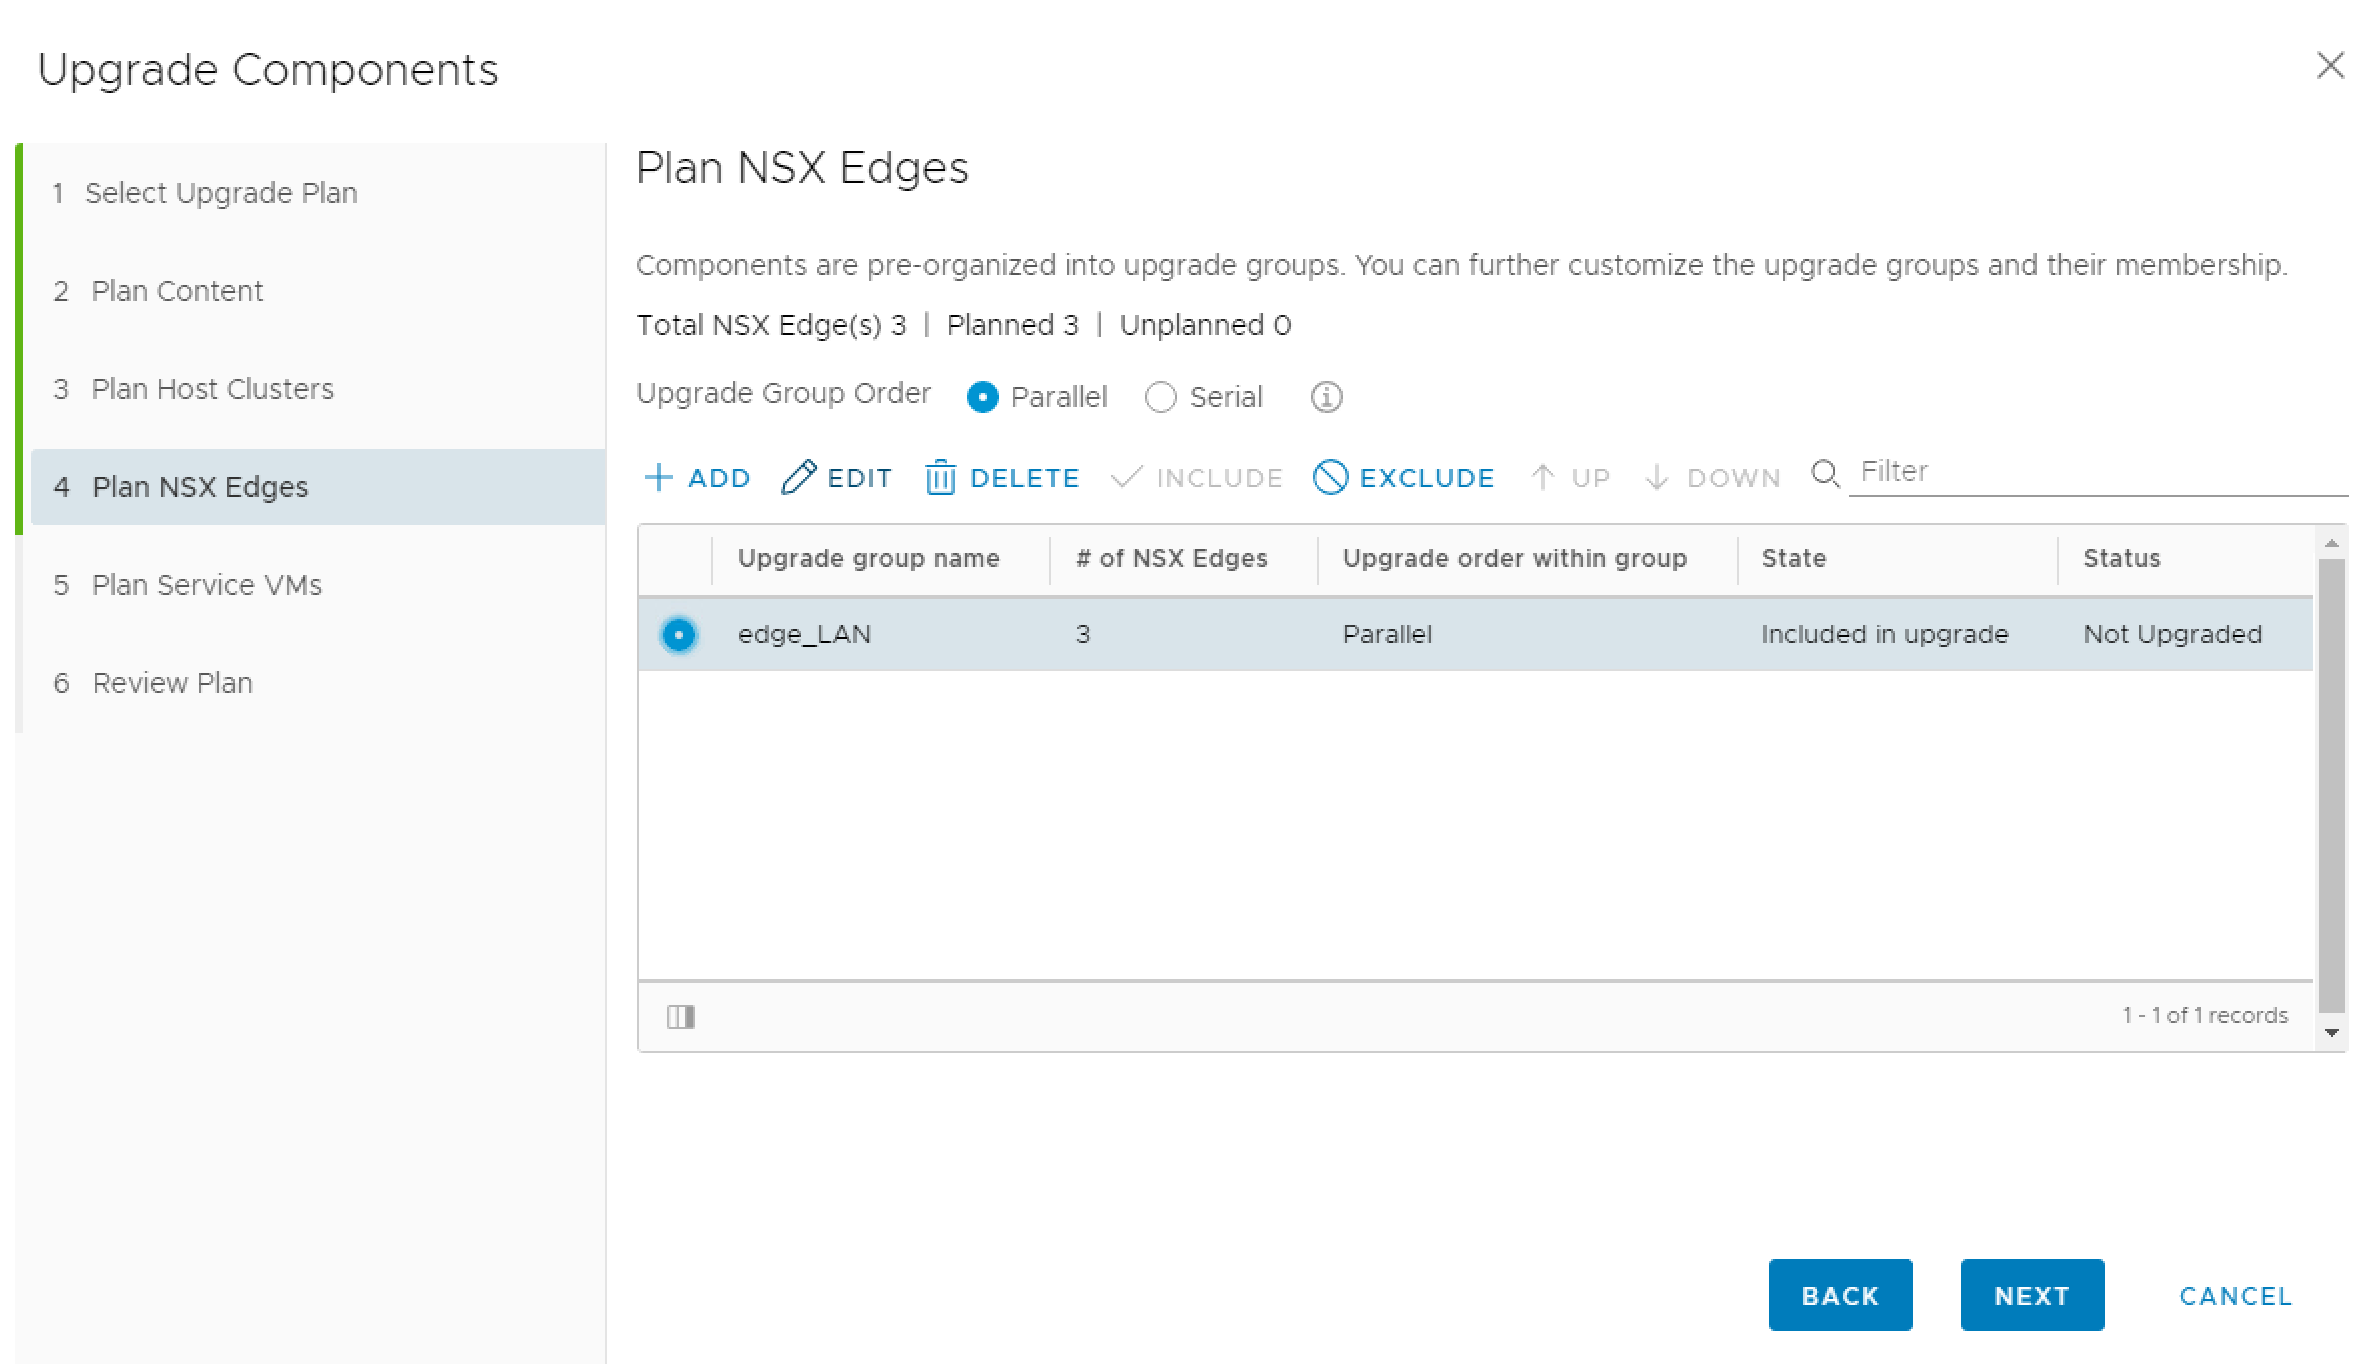
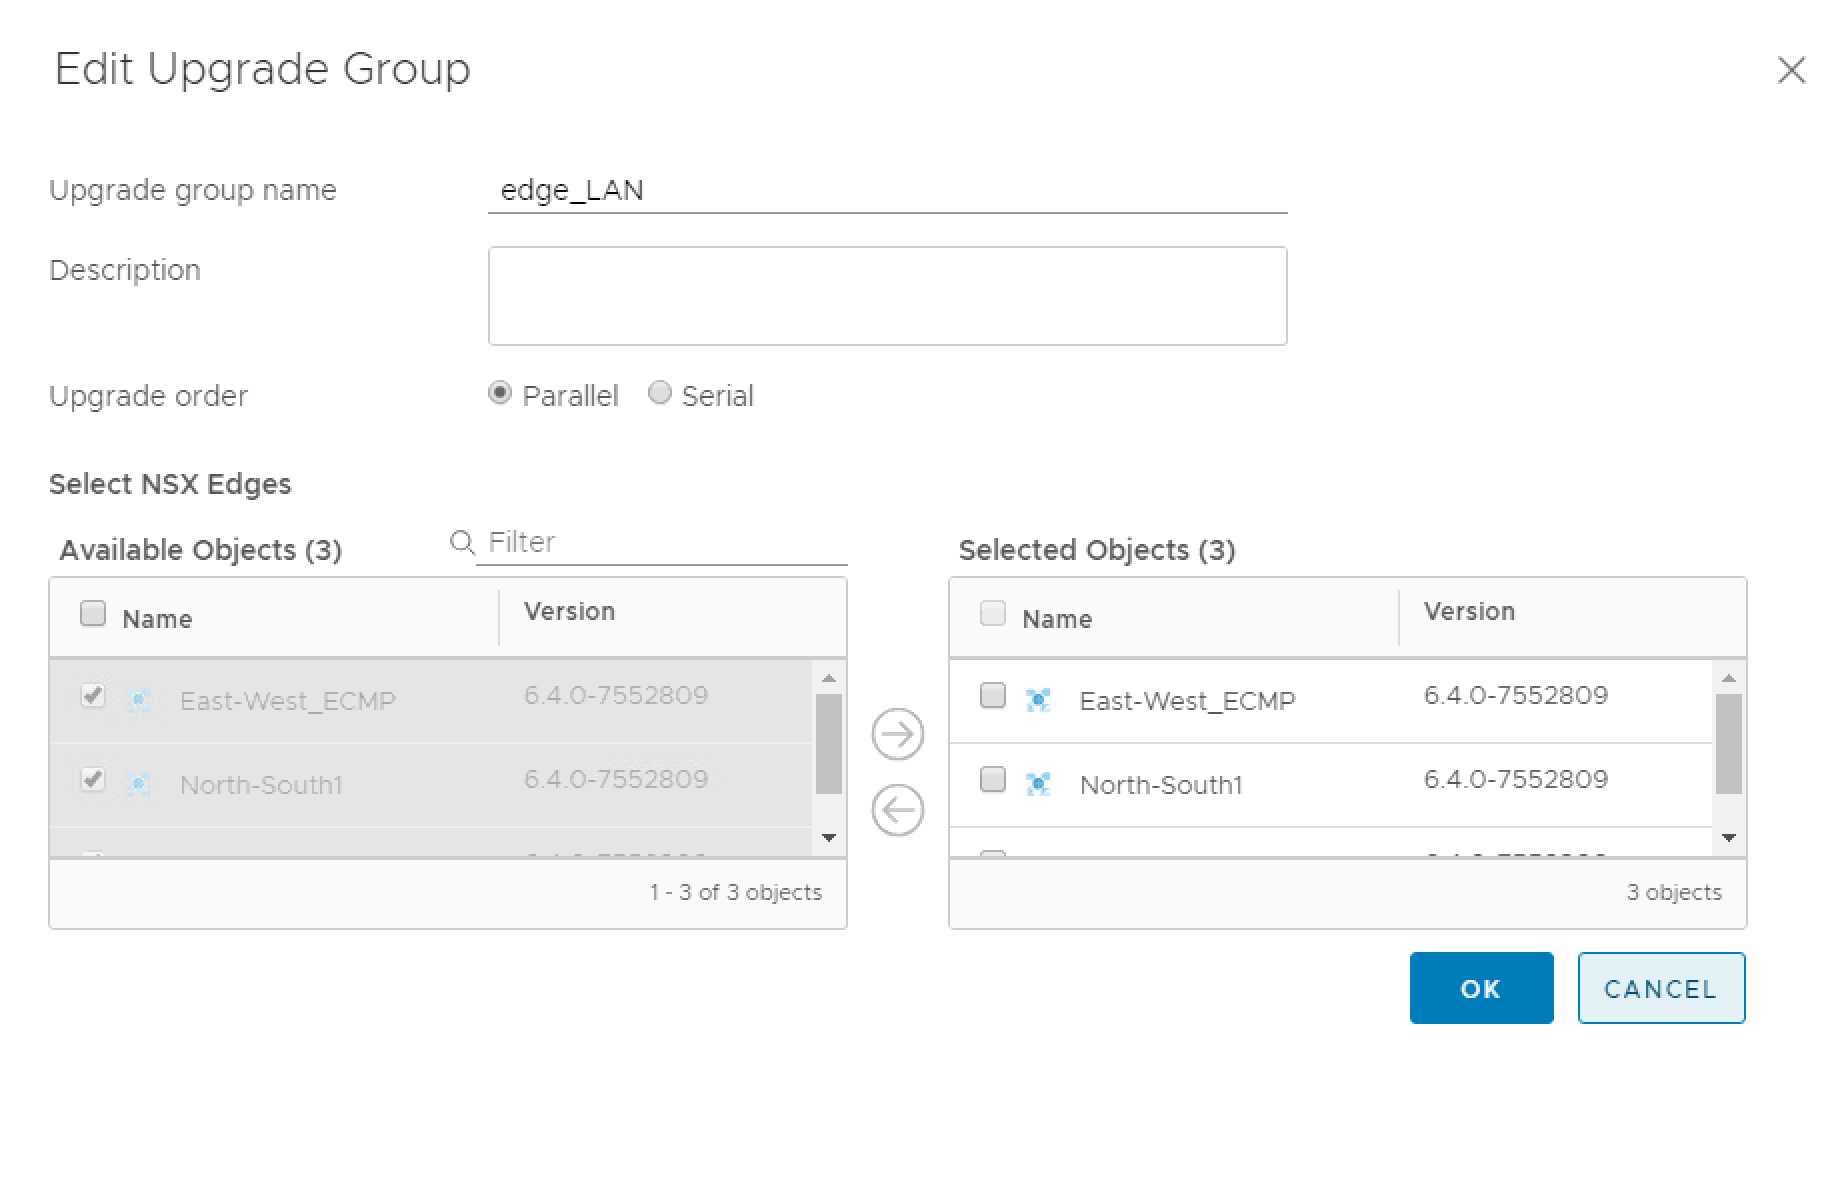
- After the clusters are selected you choose which NSX-Edges get the upgrade
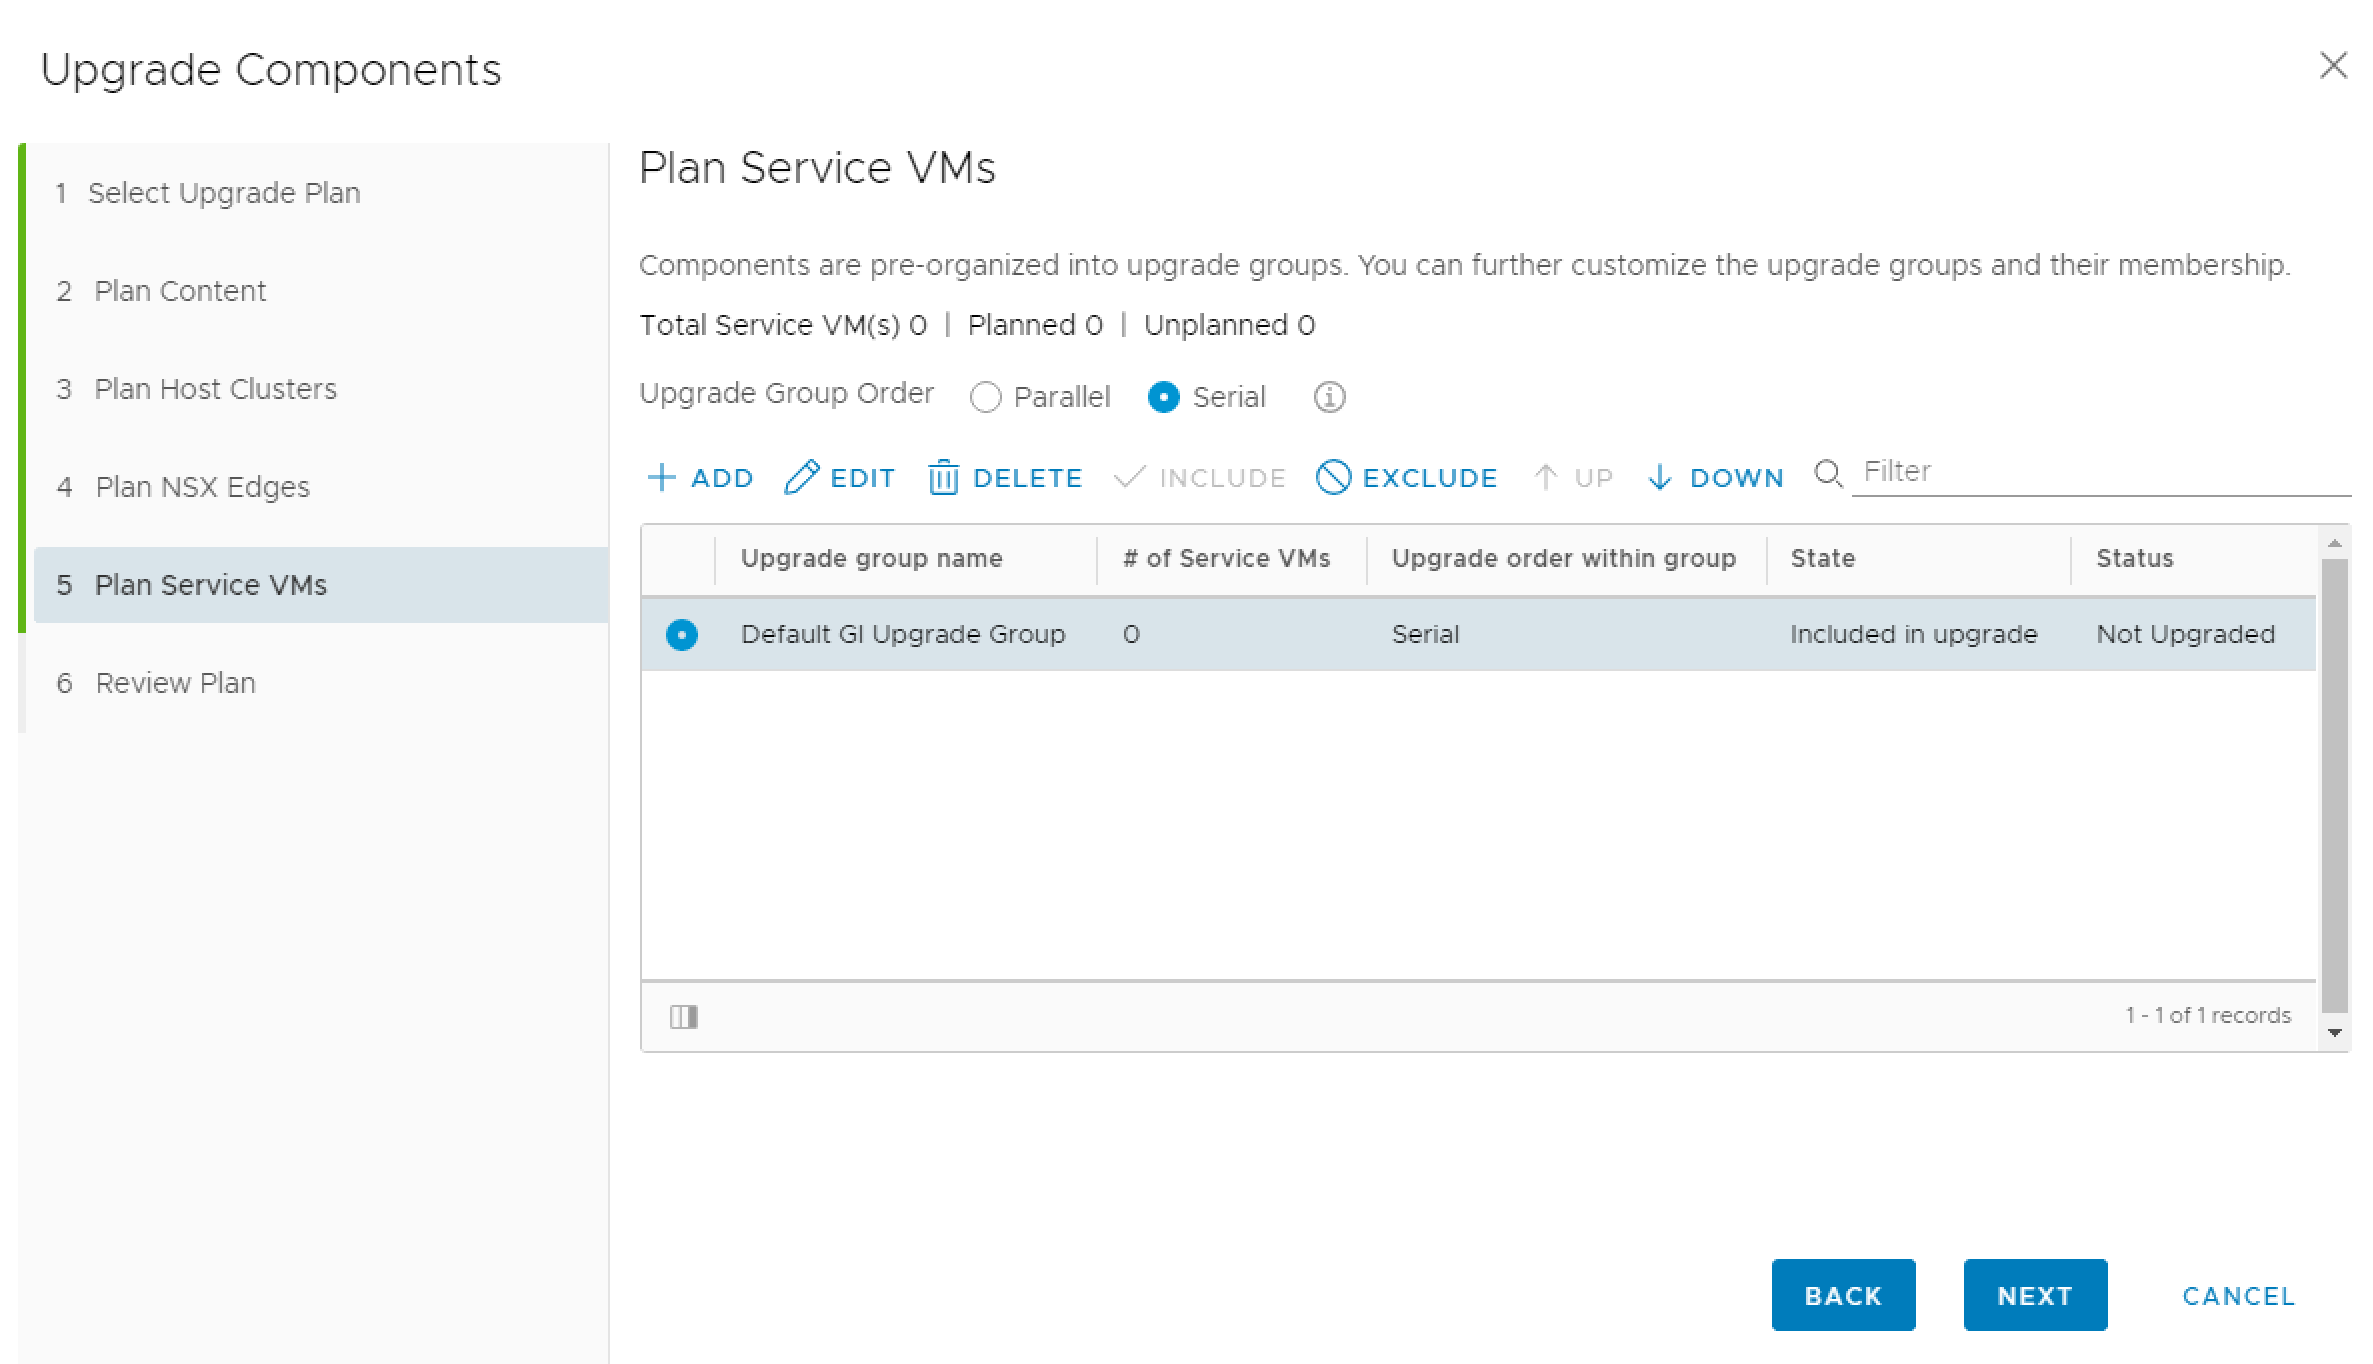
- At least you can plan Service-VMs. I don’t have one, so there was nothing to choose
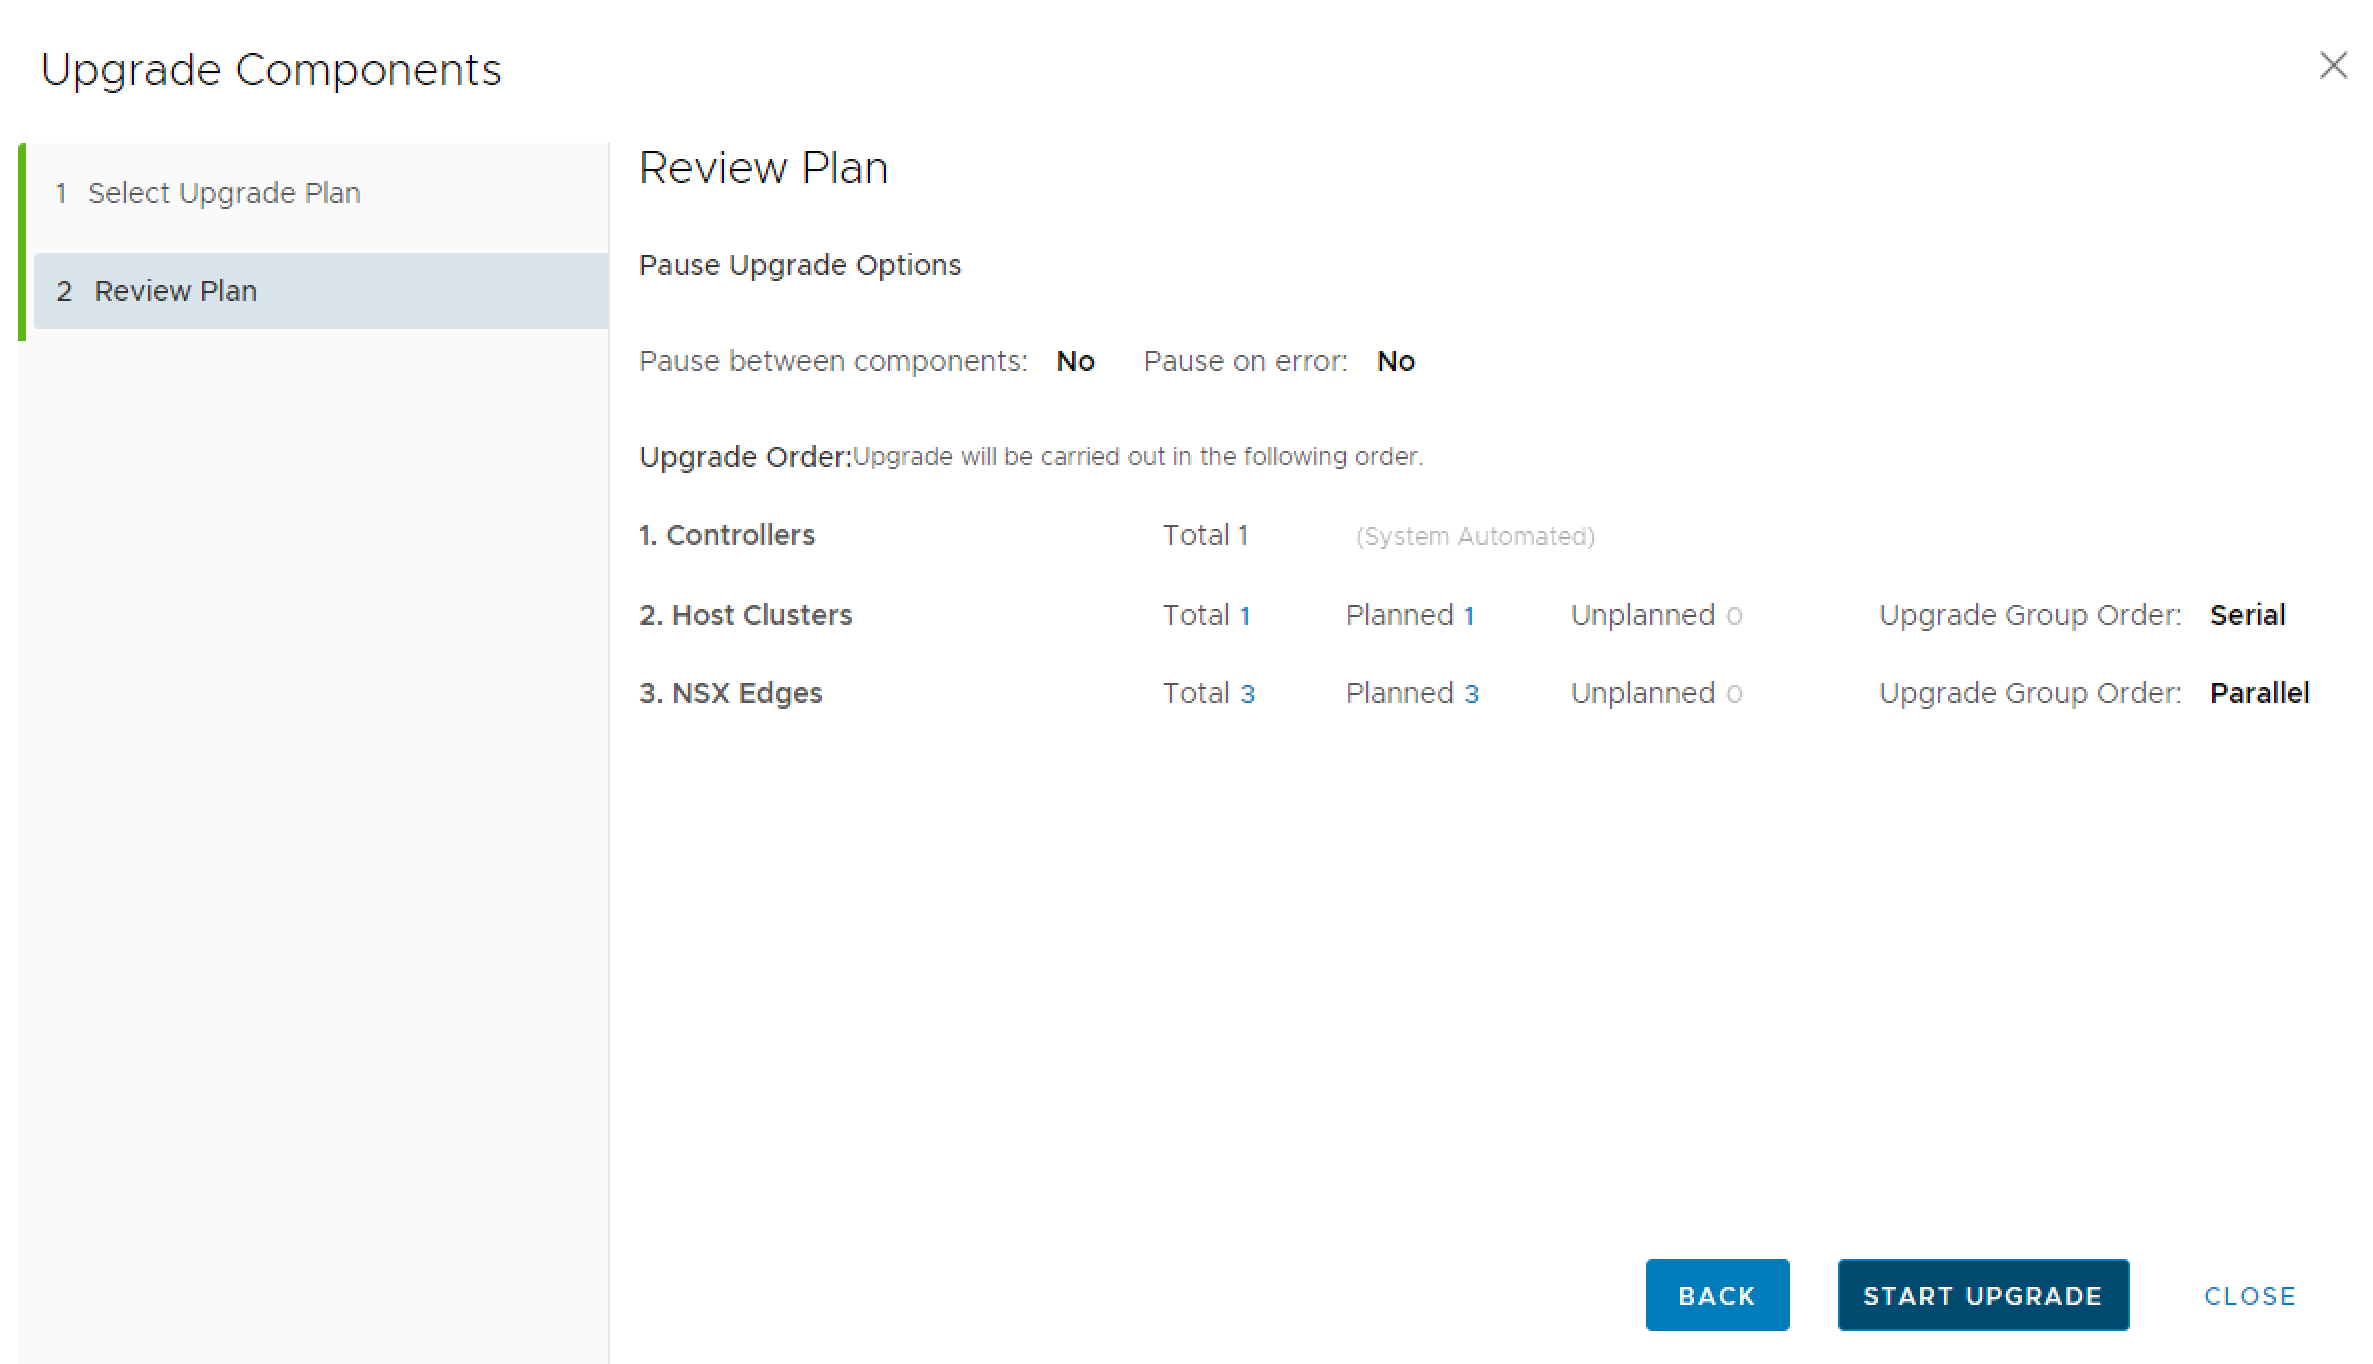
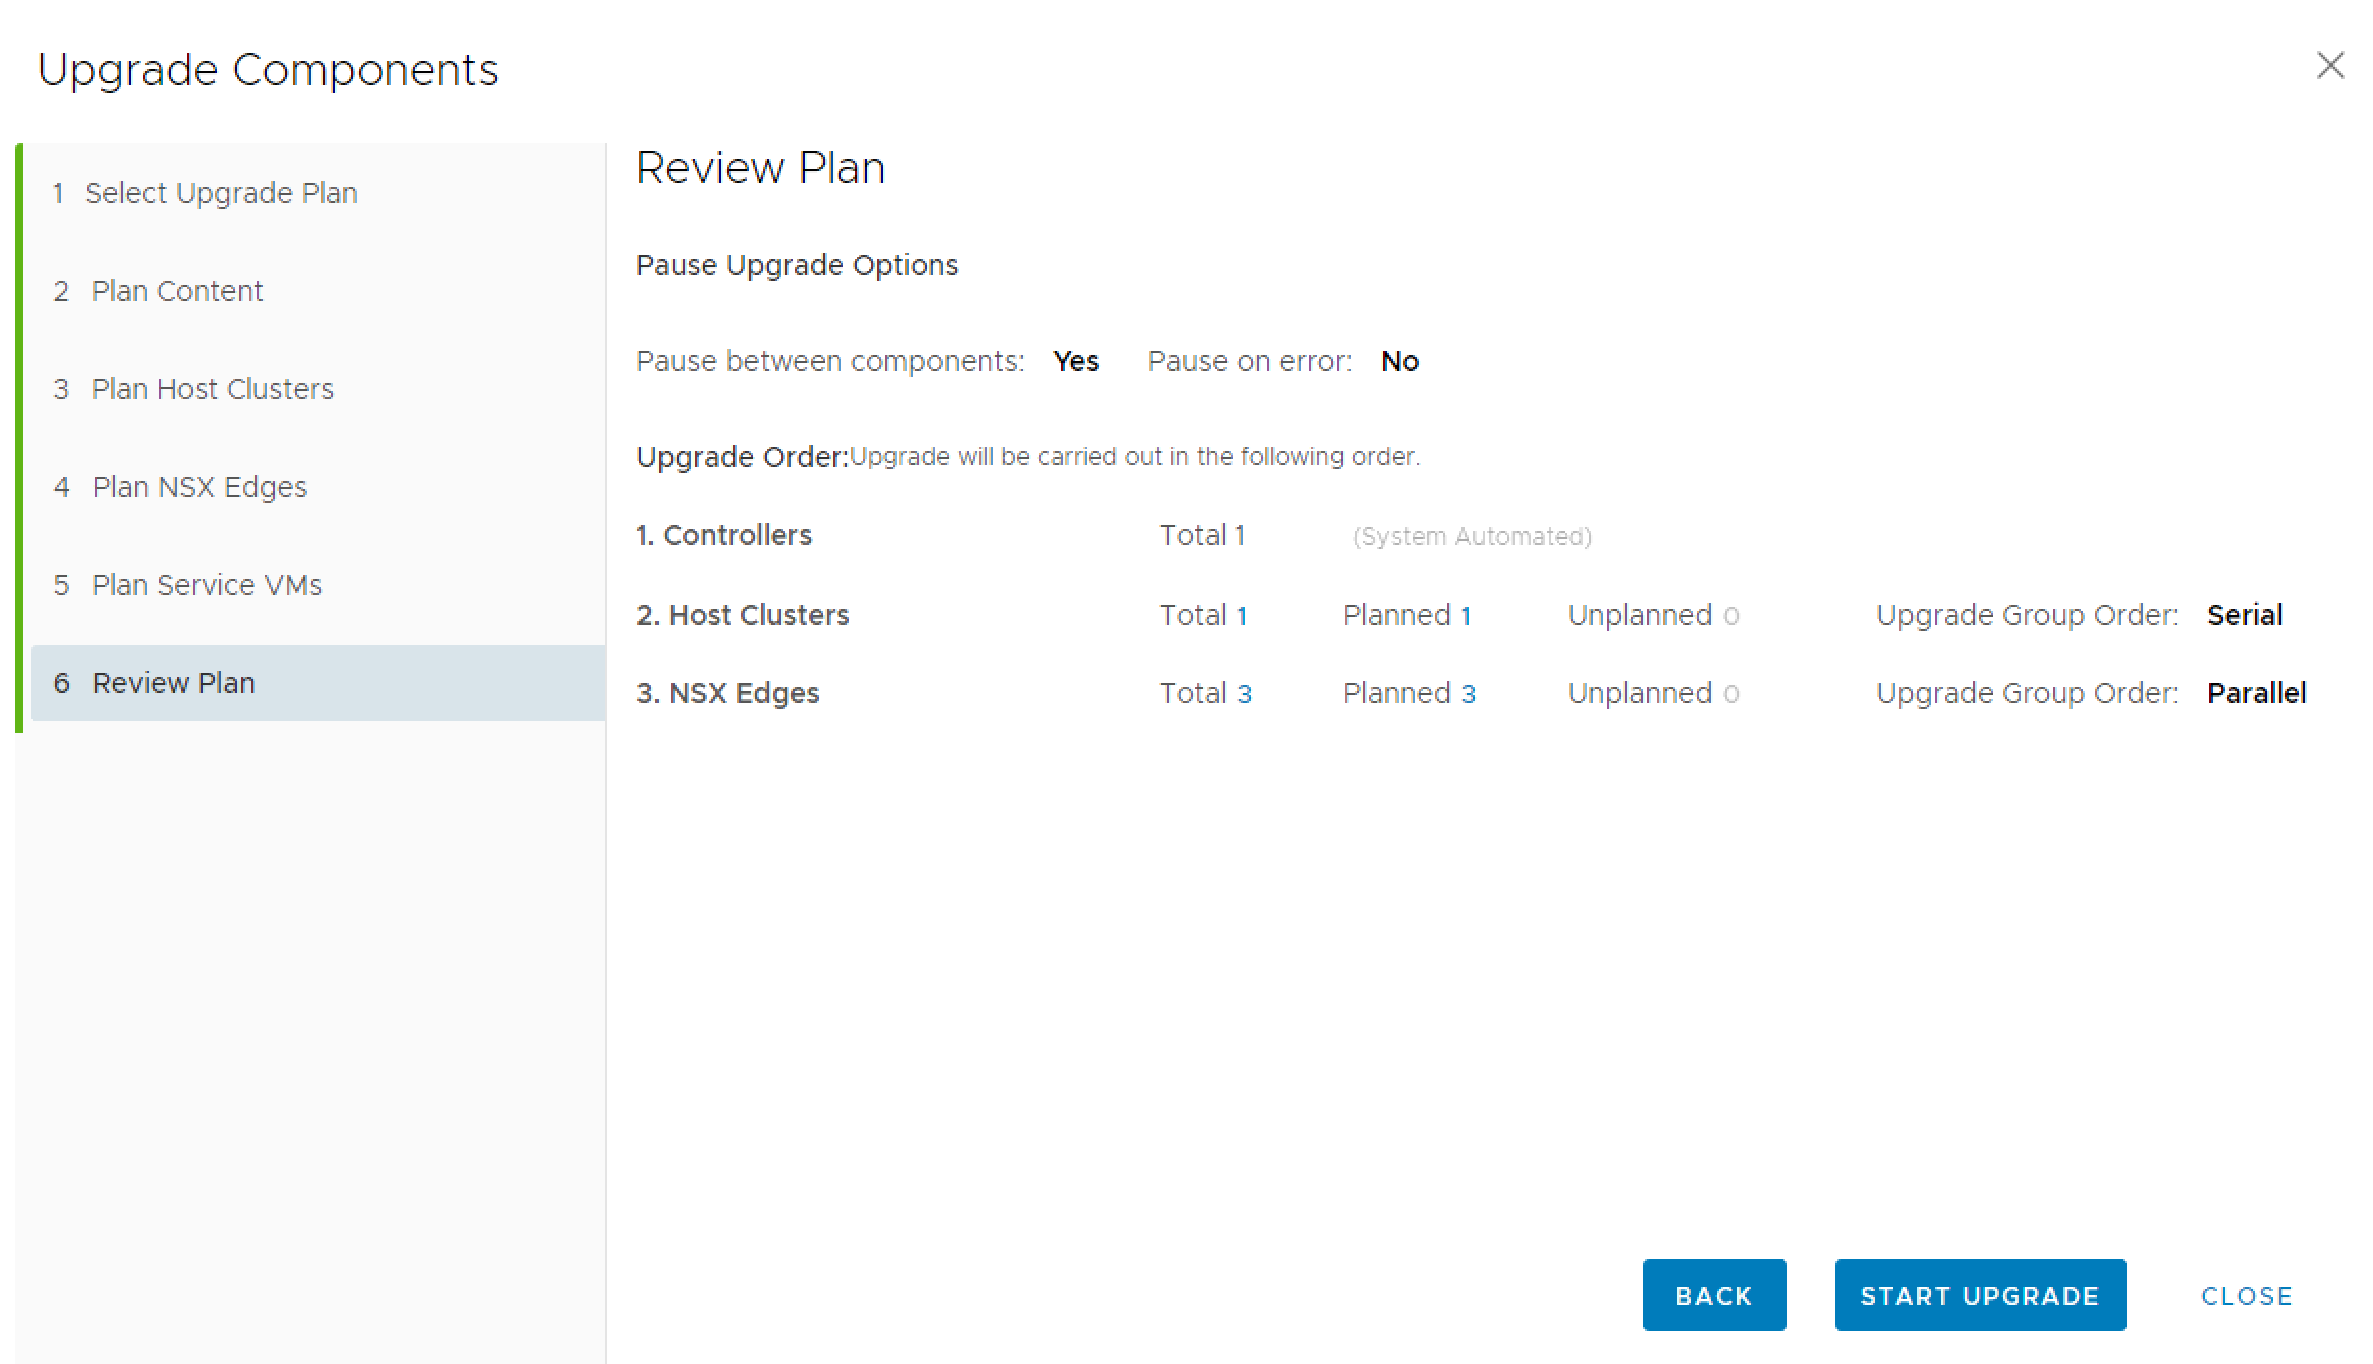
- After that review the Upgrade Plan and choose START UPGRADE
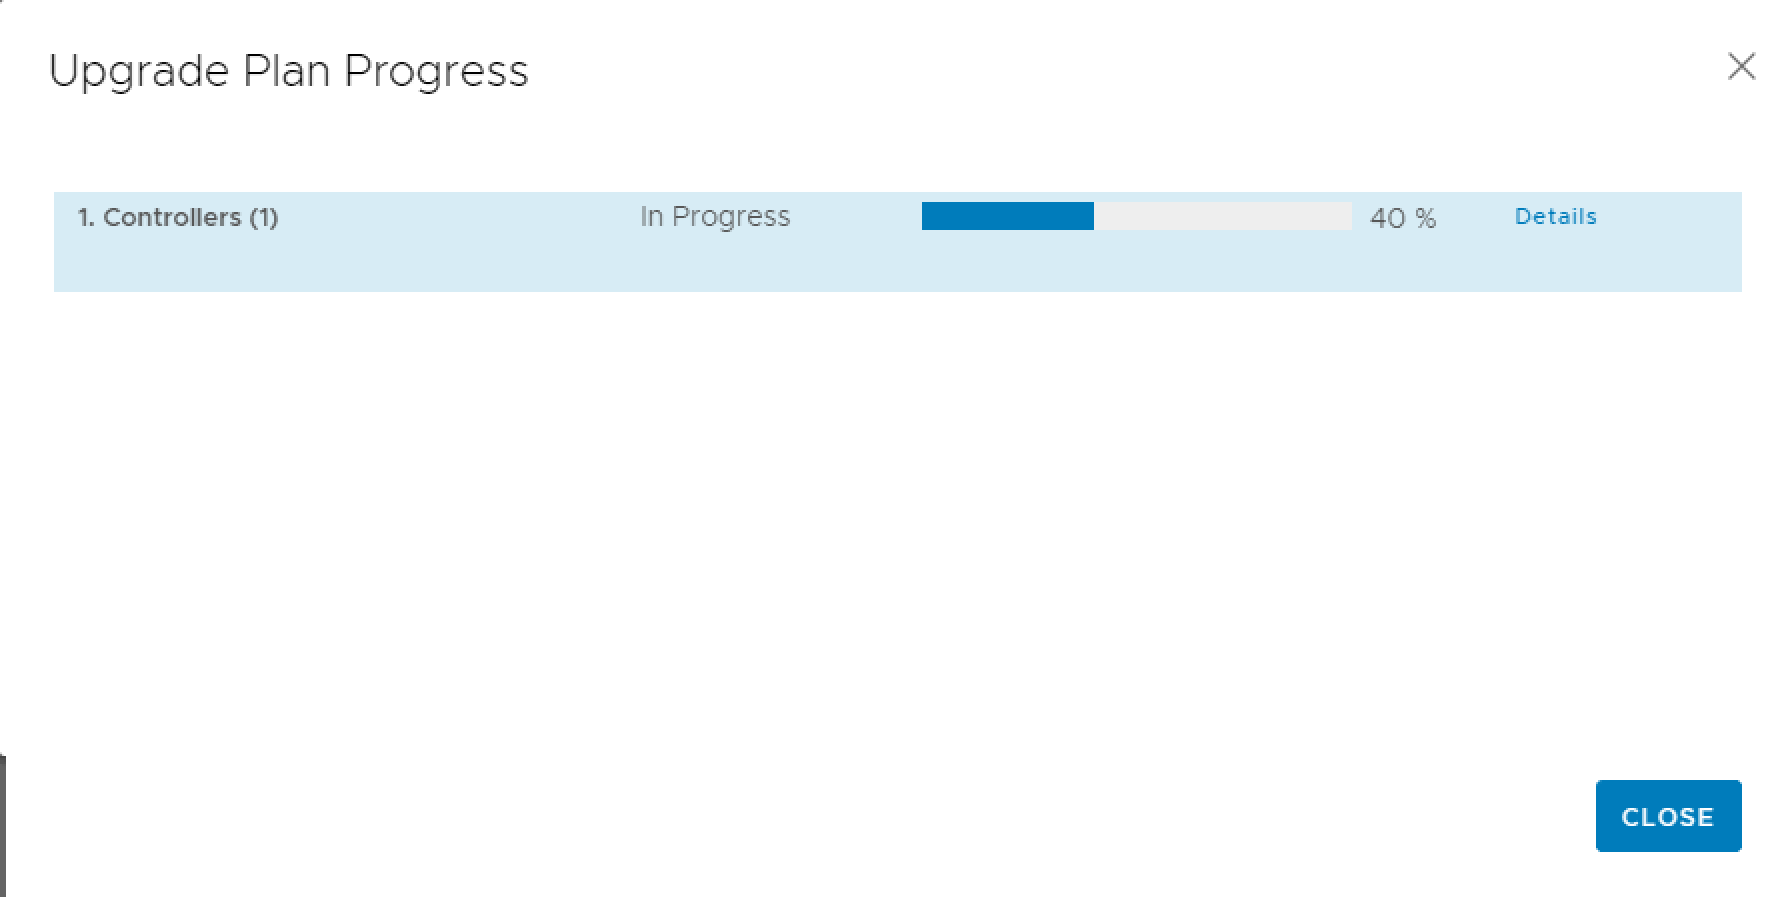
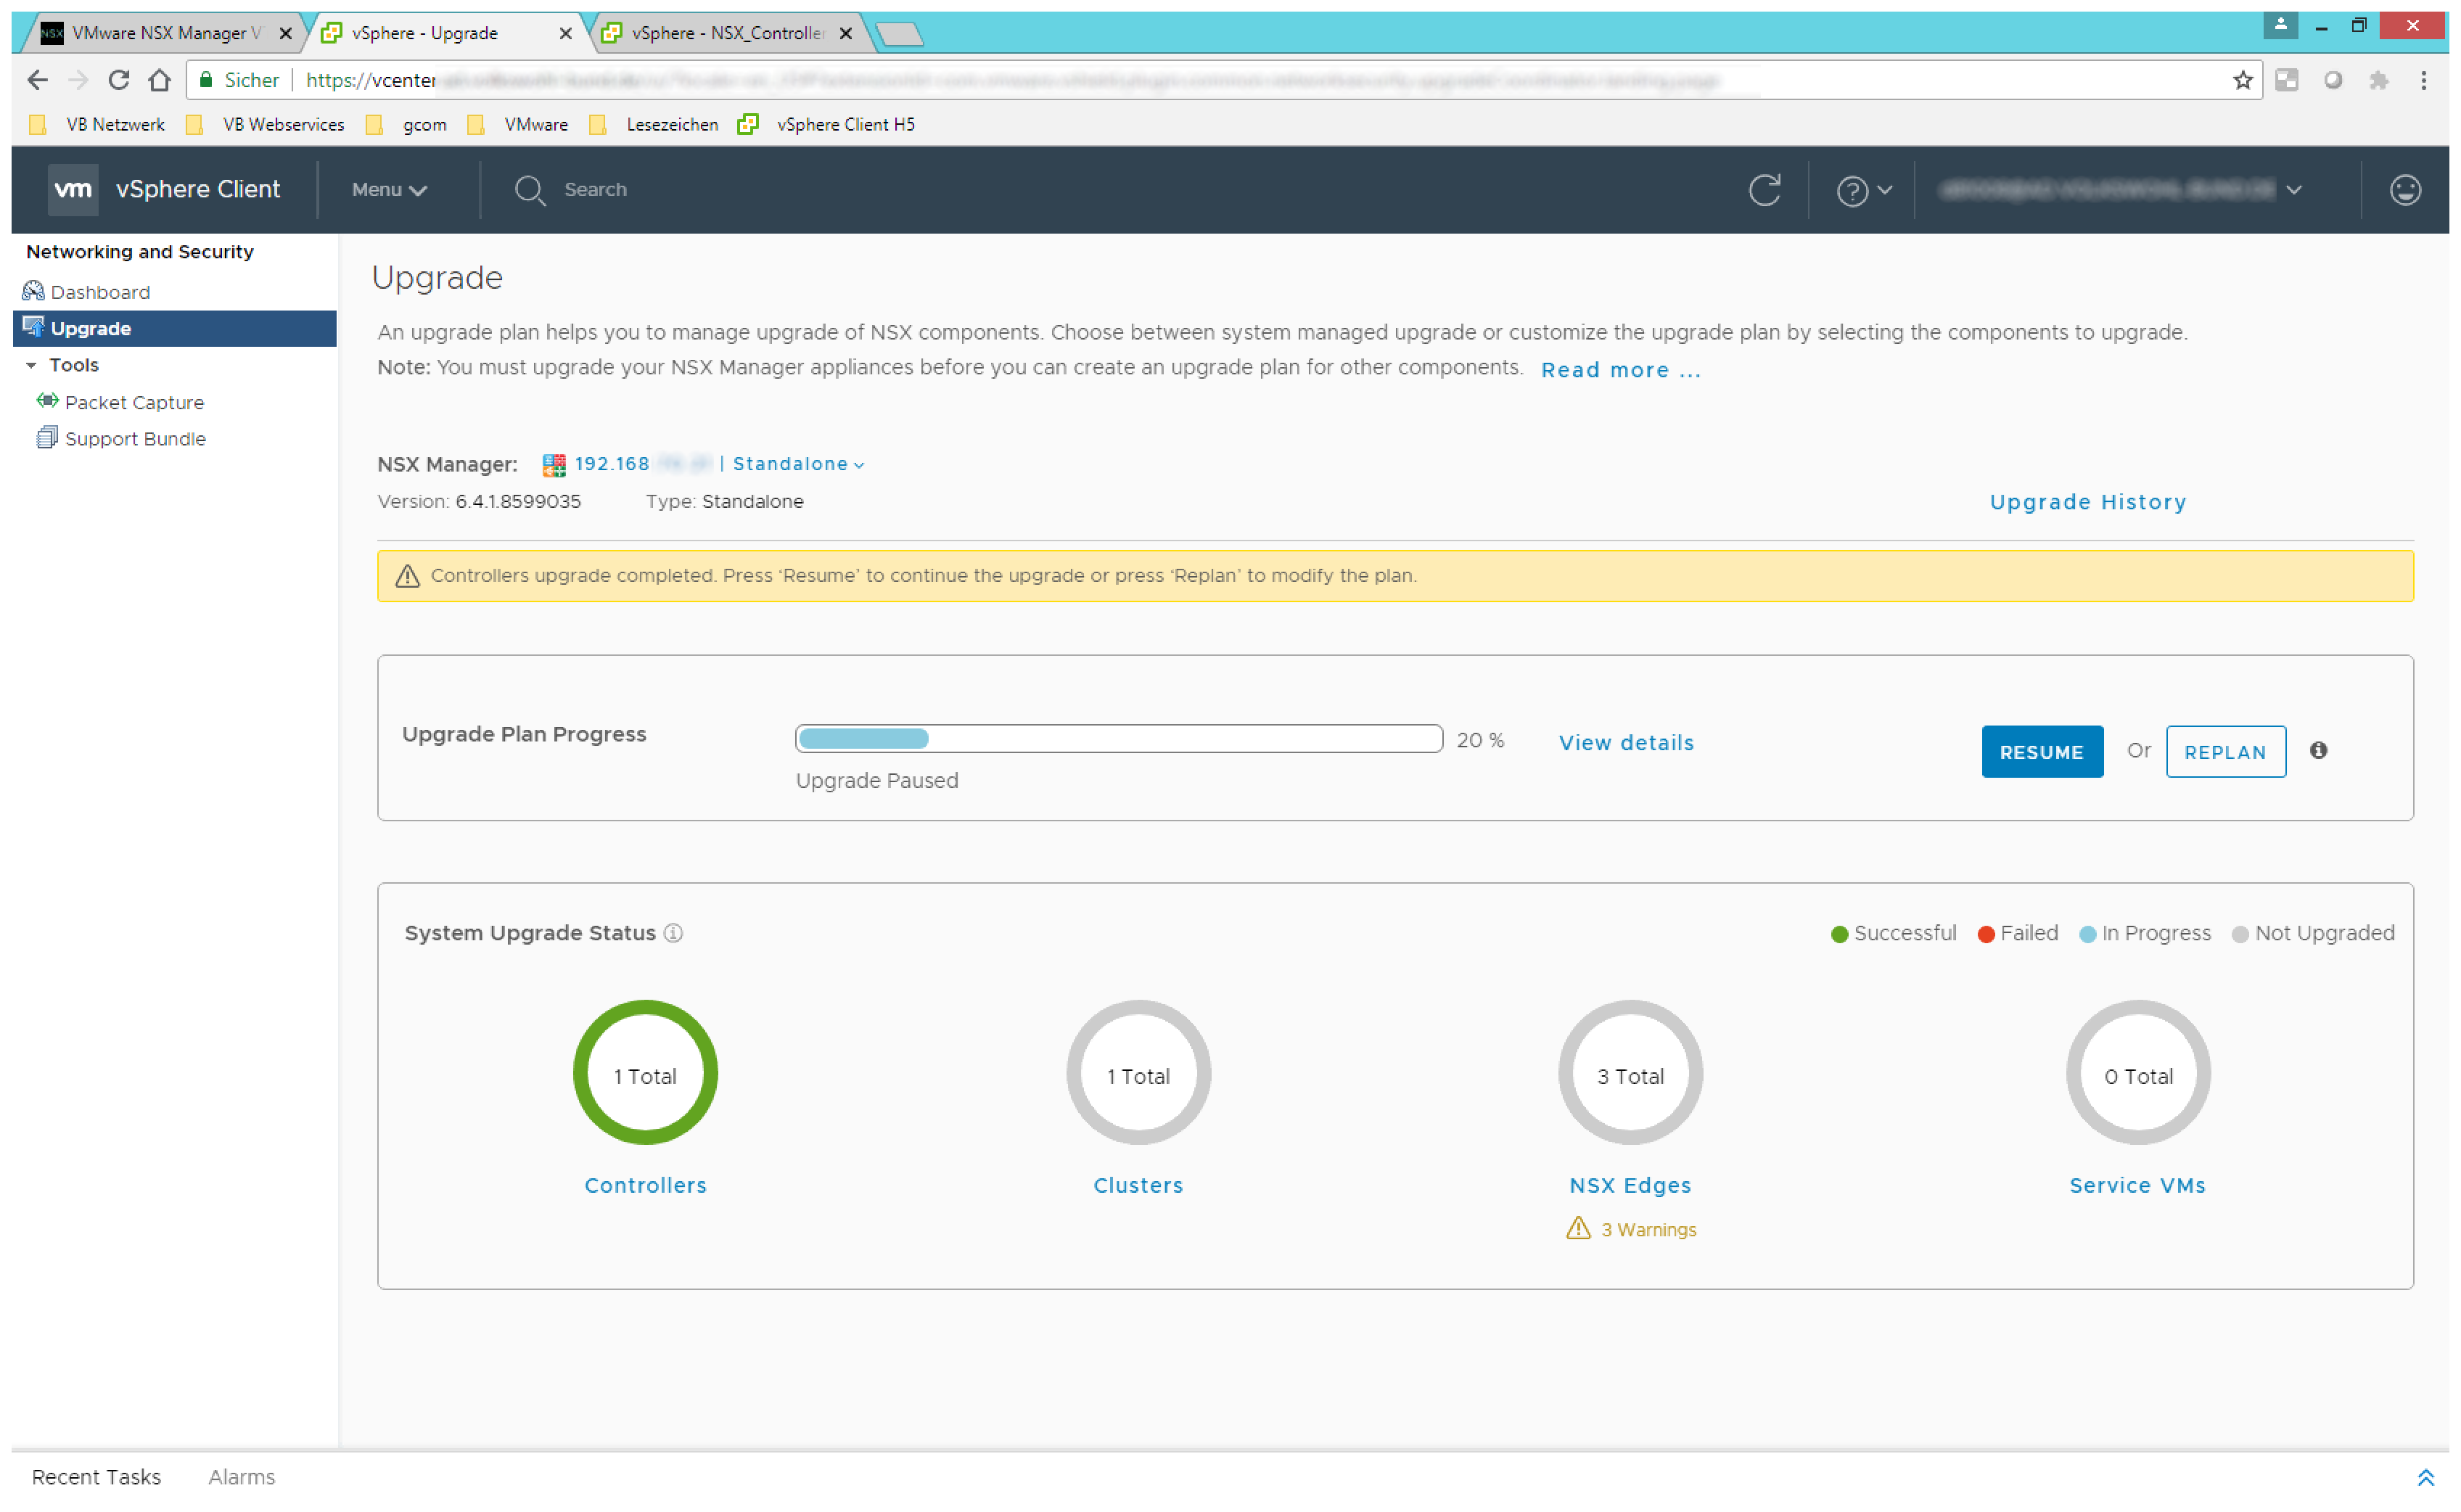
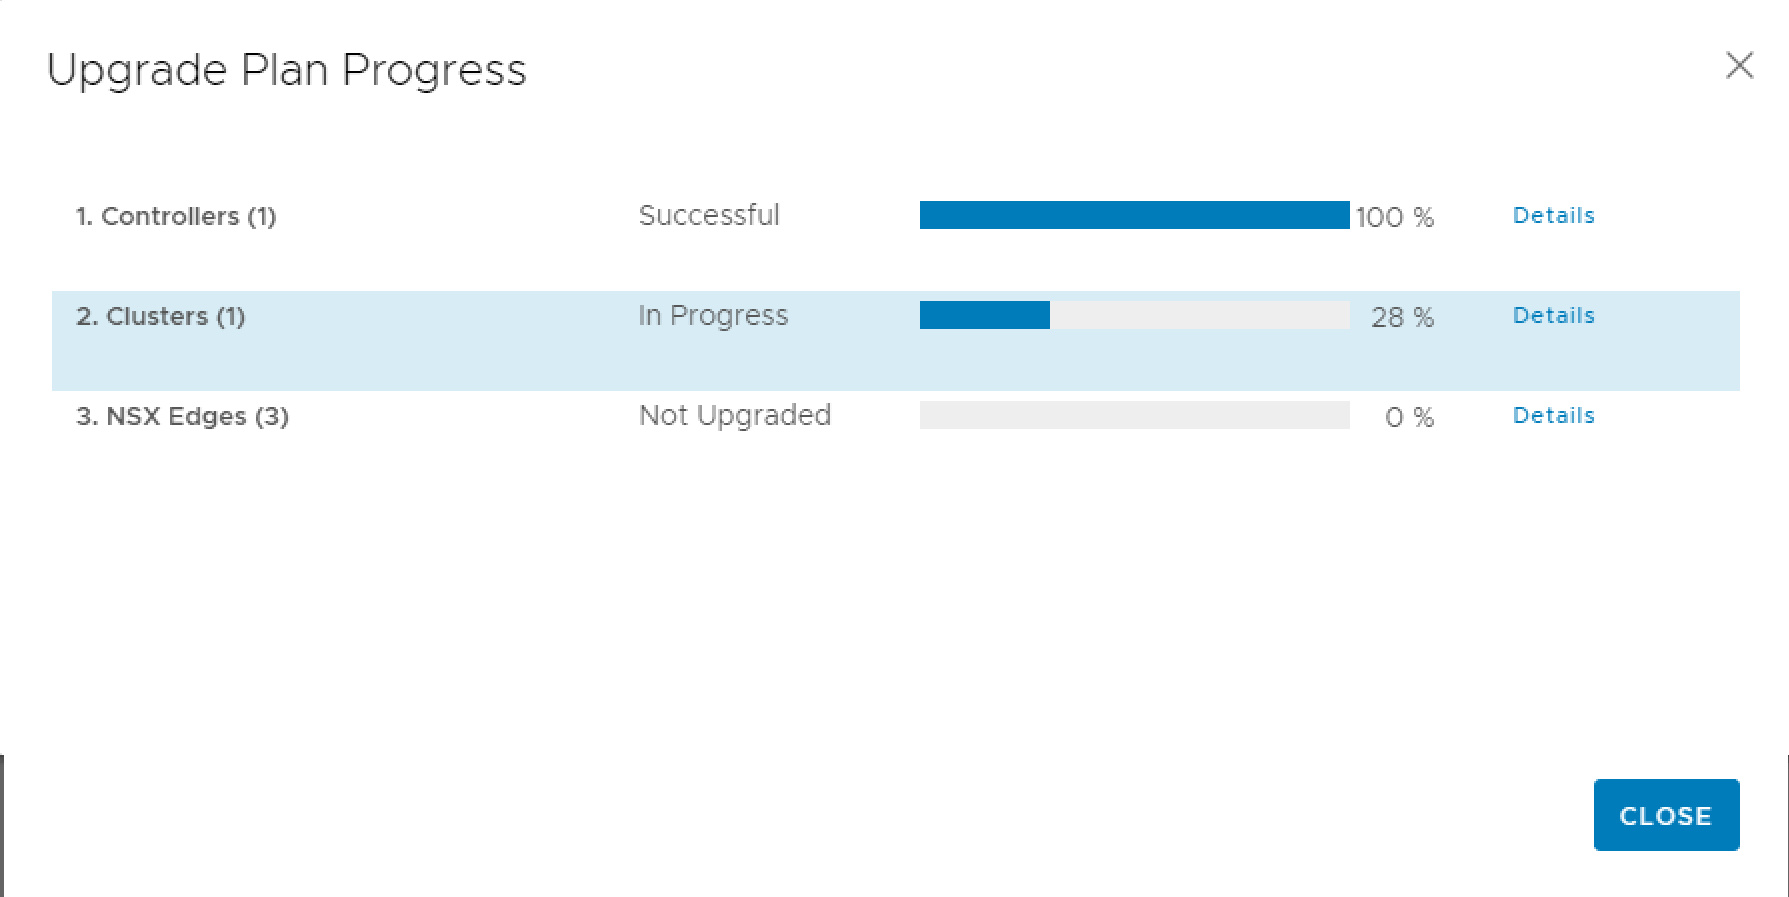
- In the middle of the dashboard you will see the progress of the actual component upgrade.
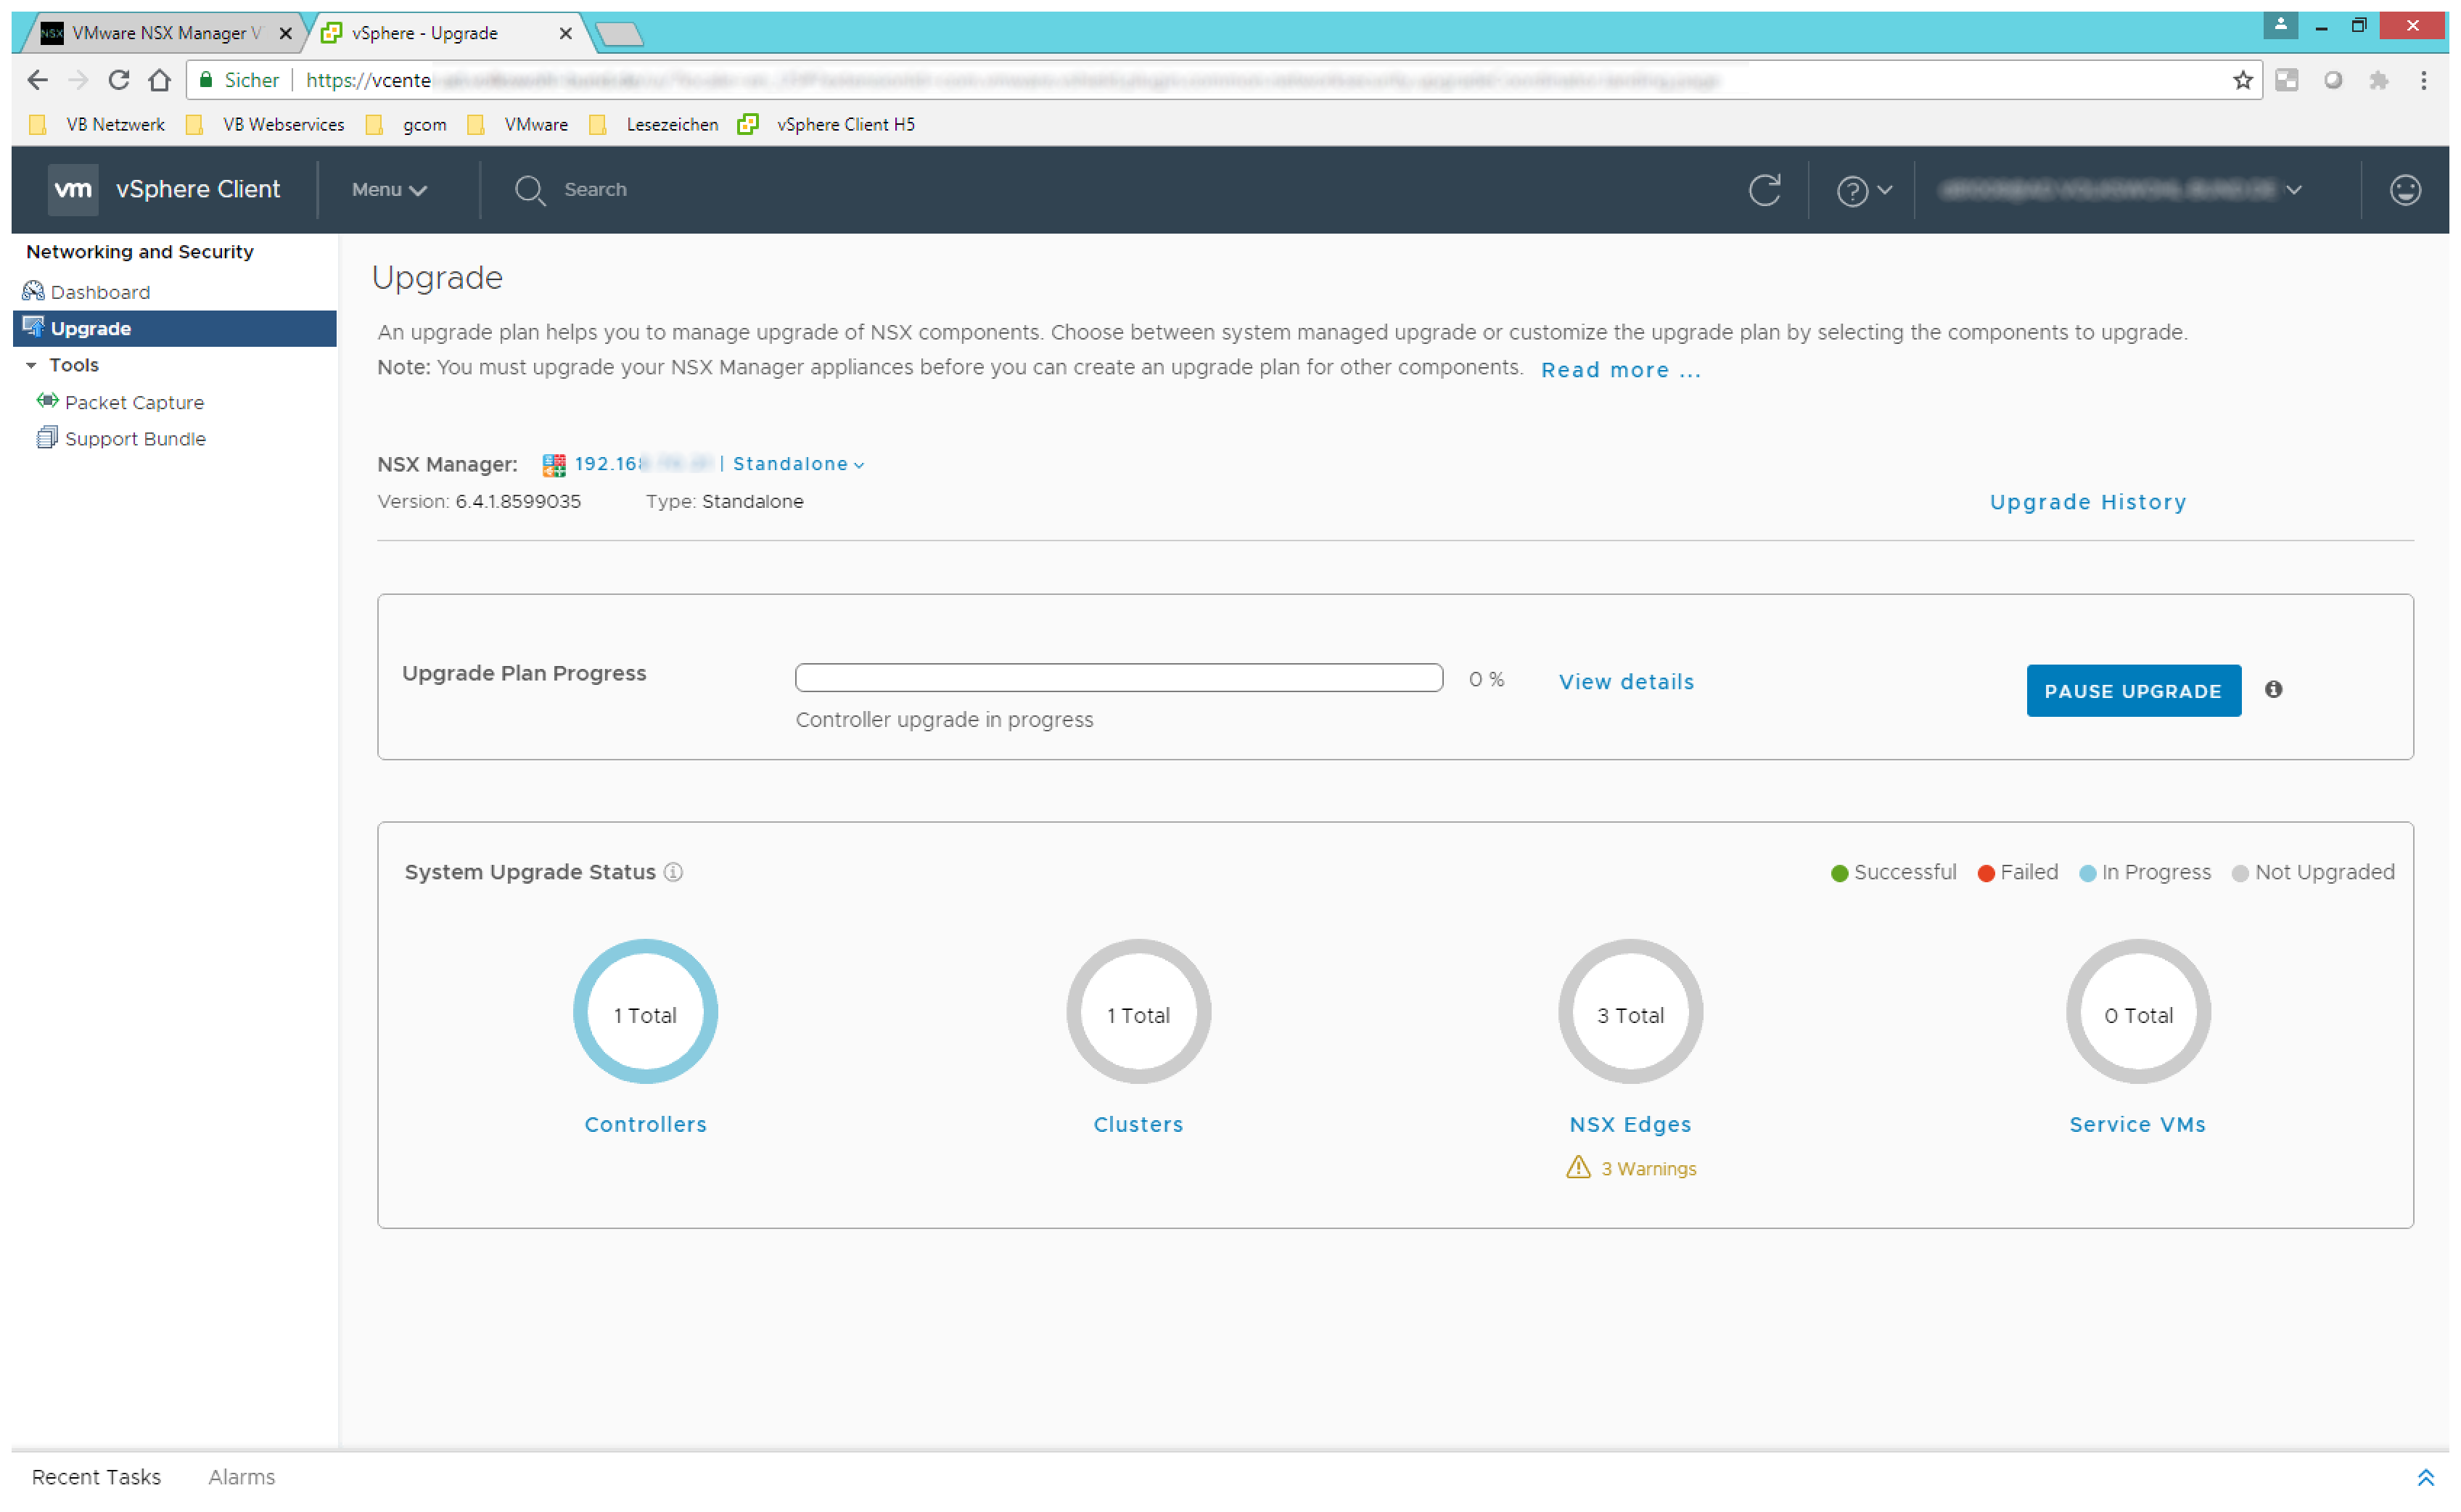
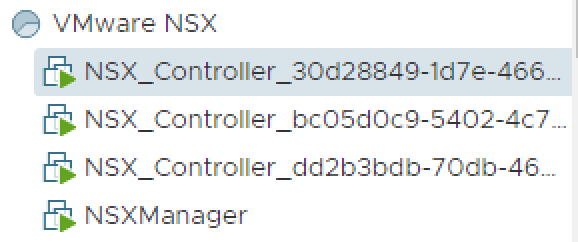
- The three NSX Controller VMs will get the upgrade installed and won’t be deployed new. Once the upgrade is installed every VM will restart. Only one controller at a time will be upgraded, resync with the other two controllers and then the next one will be upgraded.
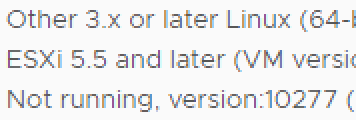
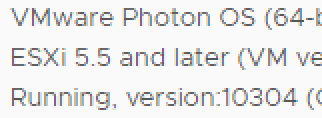
You will see that the installed OS will switch from Other 3.x or later Linux to VMware Photon OS. The Version of VMware Tools also will be updated.
- After all three controllers are up and running again the progress paused.
- The next step upgrade the cluster. In this step the NSX Agent on all ESXi host in the cluster will be upgraded.
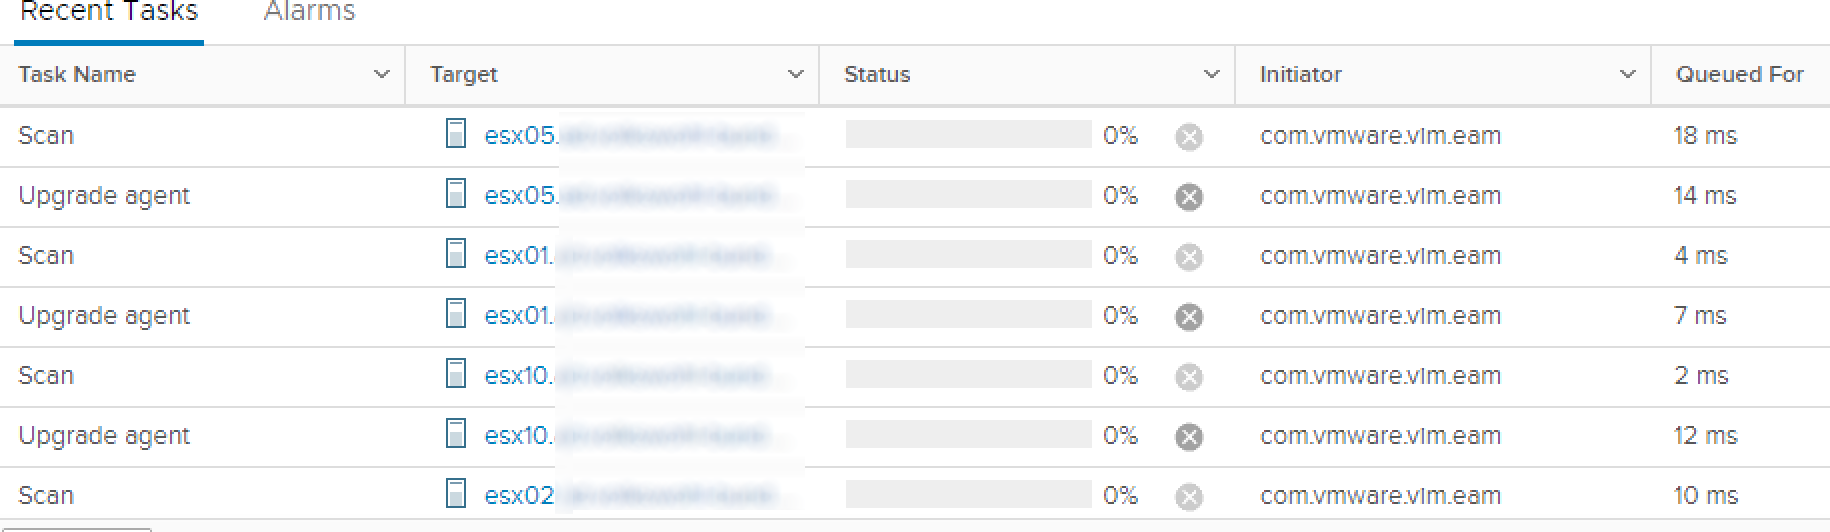
After the upgrade the components of NSX on the host must be restarted. To do this the ESXi host will be set to maintenance mode, restart the agent and leave maintenance mode. This will be done automatically. The benefit of this process is that we don’t need to restart the whole ESXi host, which will save a lot of time.

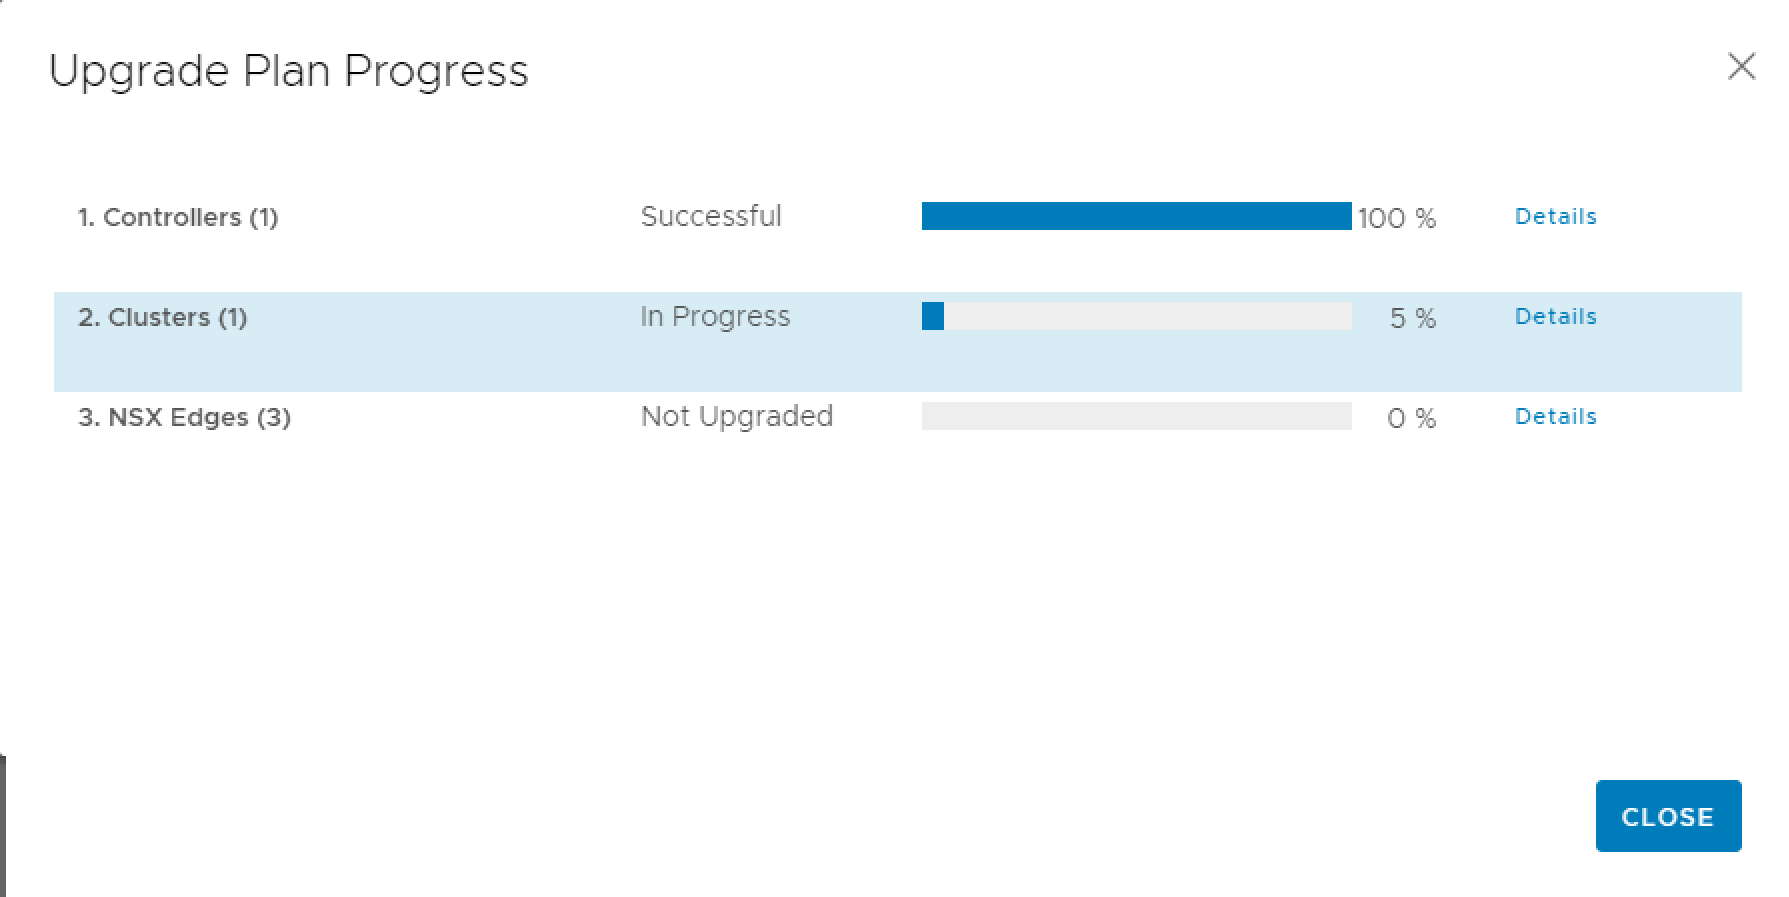
With every upgraded ESXi host the progress will be updated.

It is possible that you will see an error that the cluster upgrade failed. For me it was the last ESXi host where the entering and leaving of maintenance mode runs to long. The process on the ESXi host was not stopped. So I’ve just clicked on RESUME and the progress switched to complete immediately.

- After click on RESUME UPGRADE again the upgrade of the NSX Edges starts.
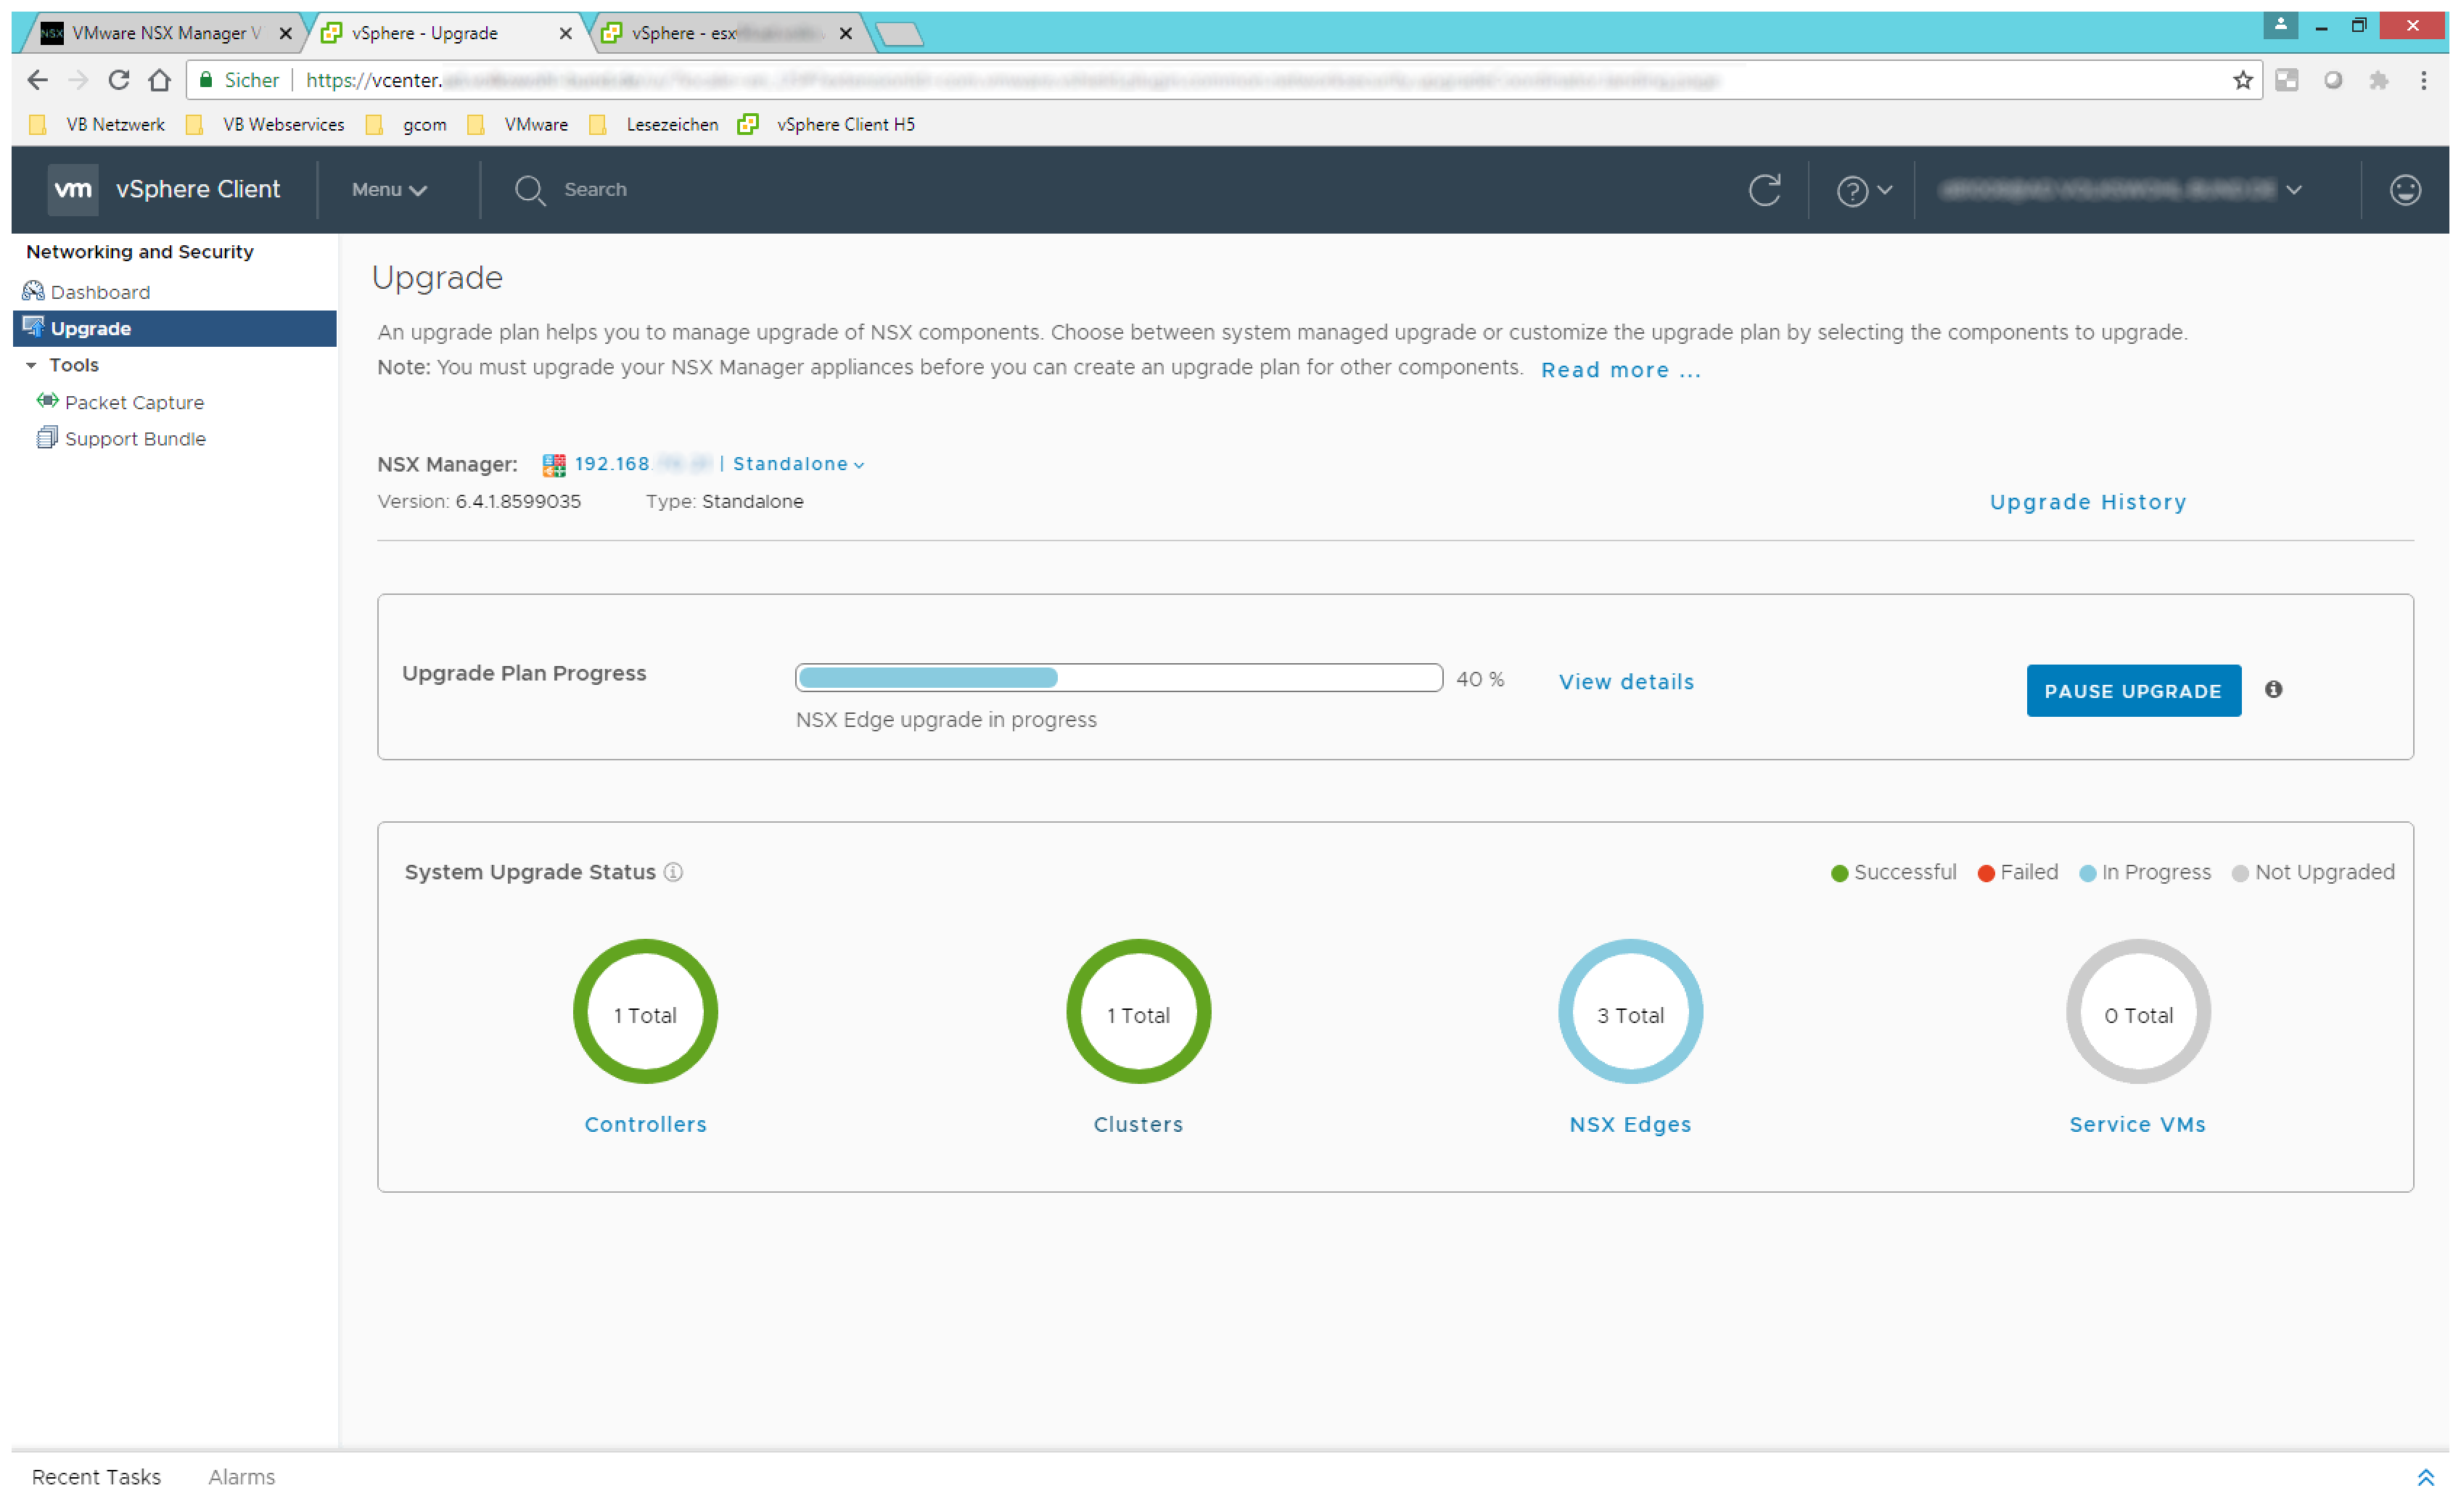
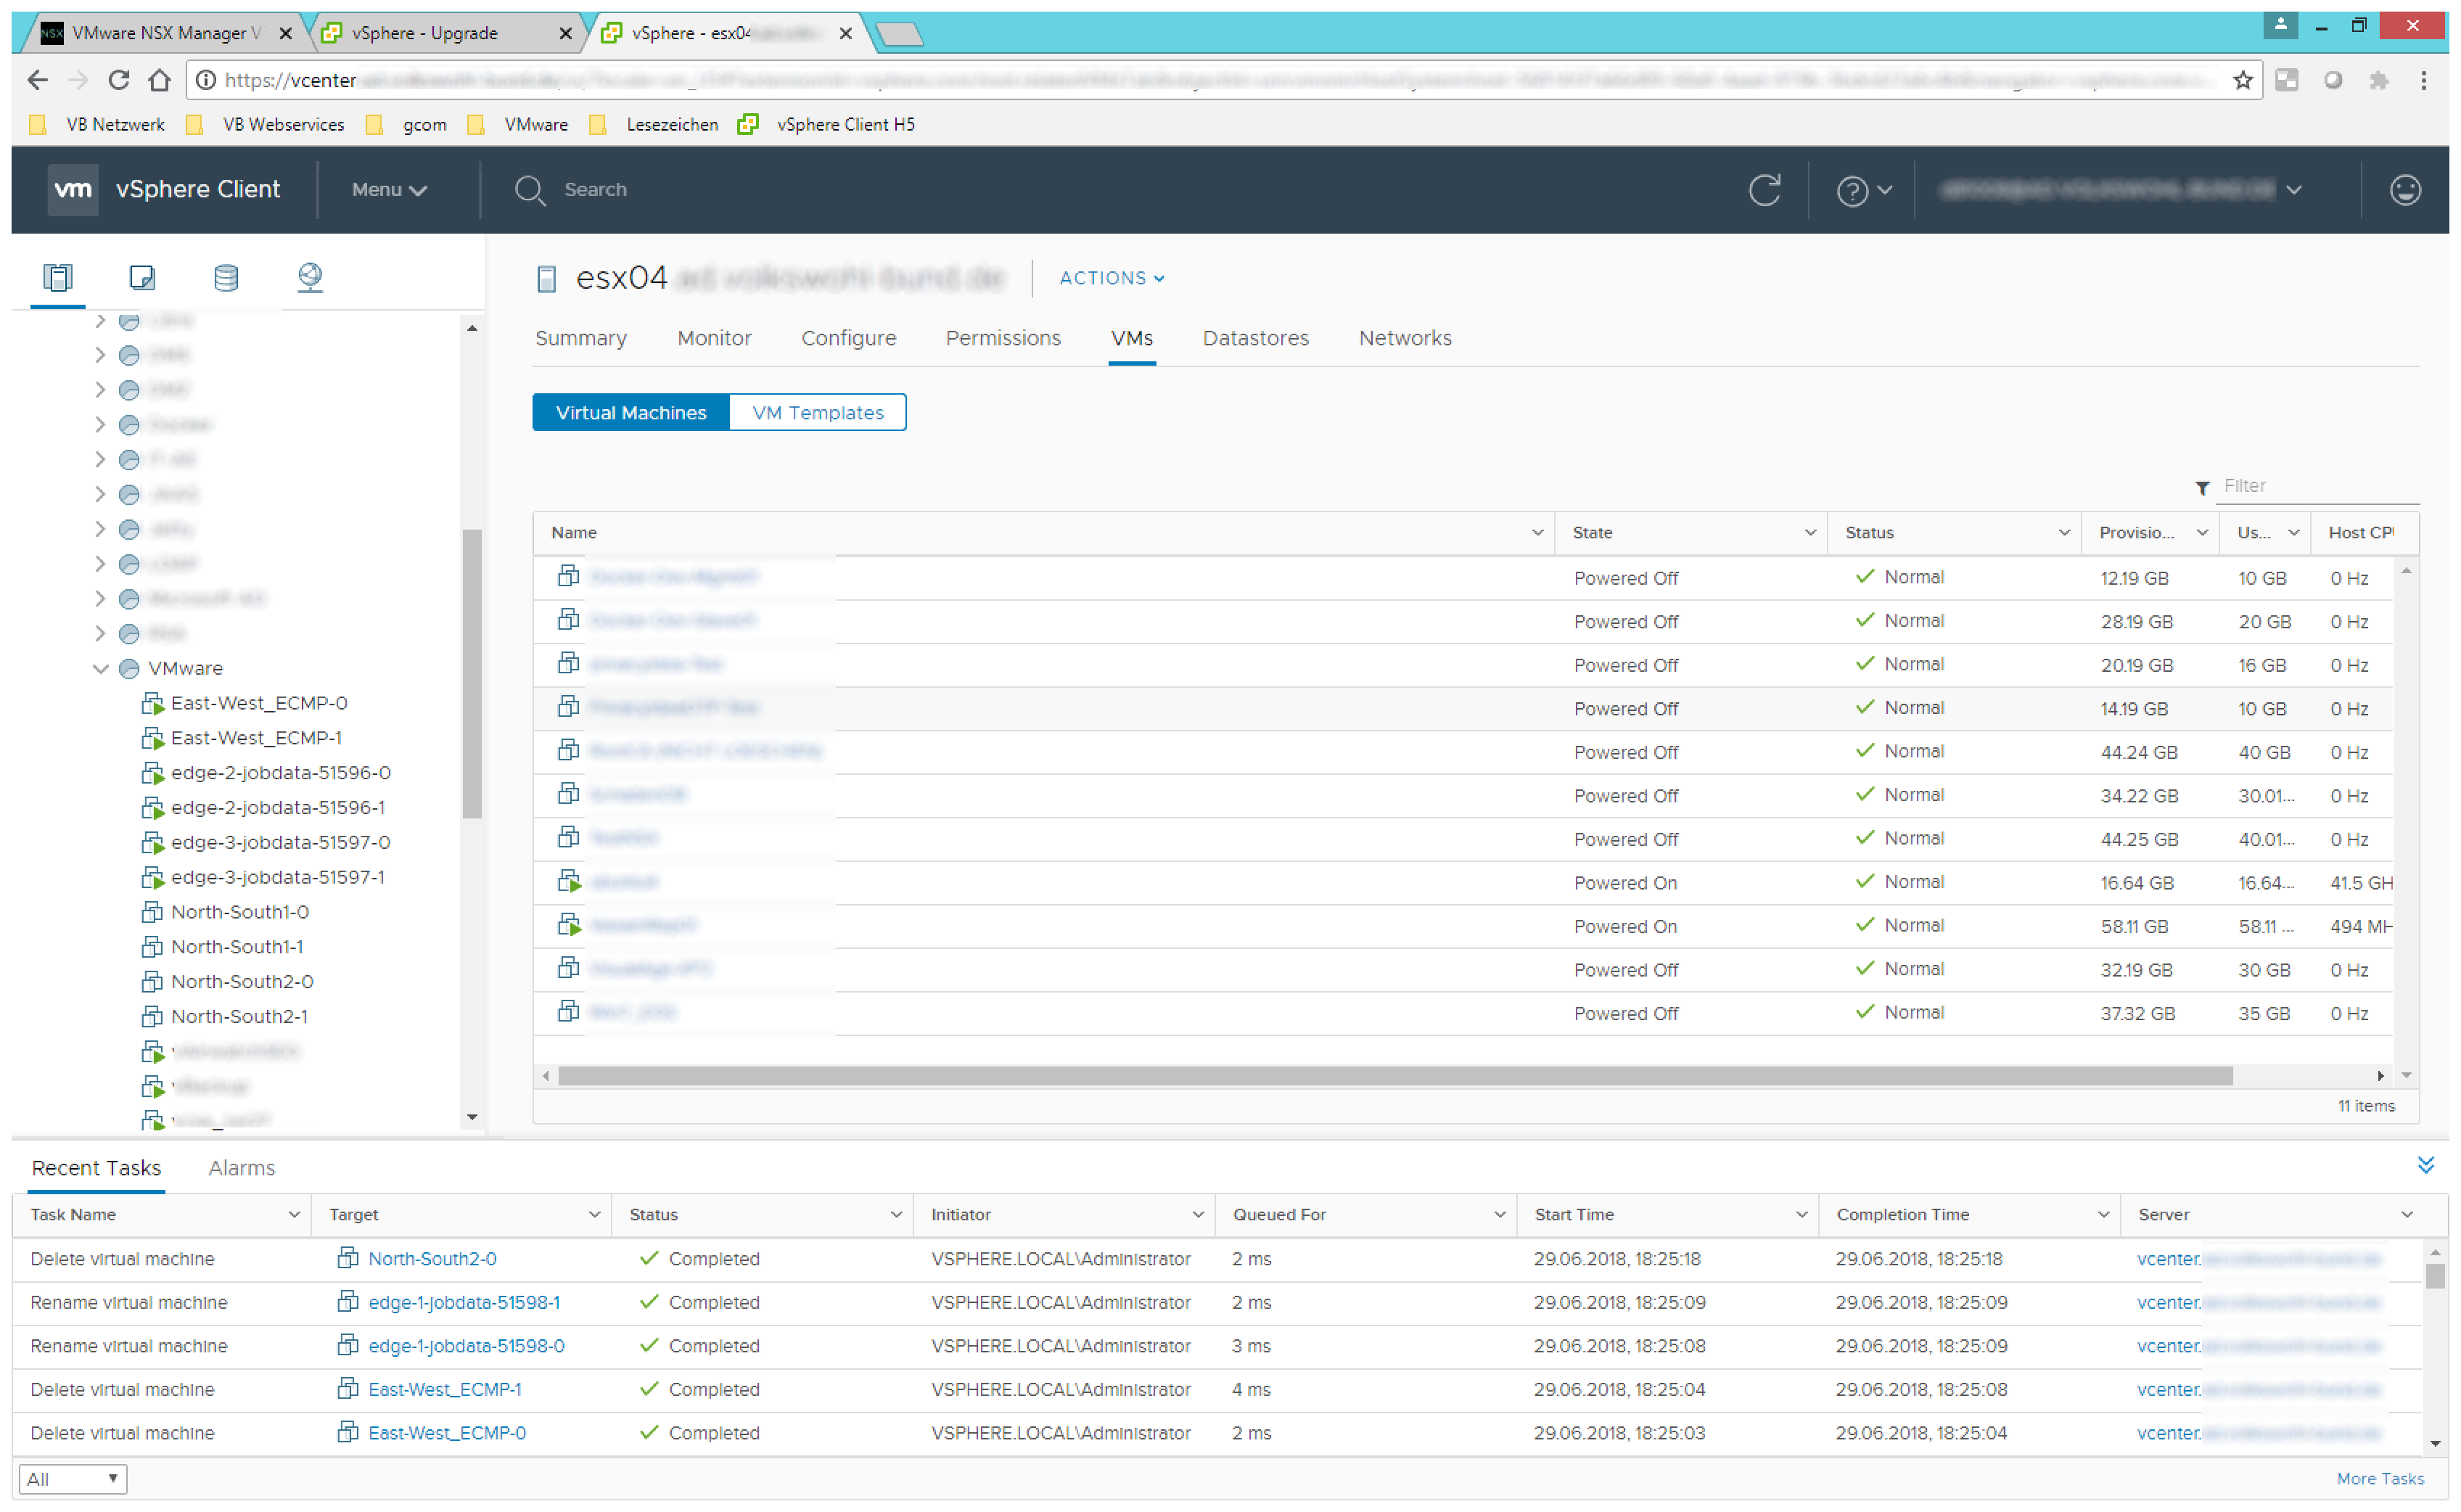
My setup has 3 NSX Edges. All edges are running in HA Mode. This means the upgrade task deploys six new machines from OVF-Template.
They will be called edge-1-jobdata-xxx-0, edge-2-jobdata-xxx-0,edge-3-jobdata-xxx-0, edge-1-jobdata-xxx-1 …
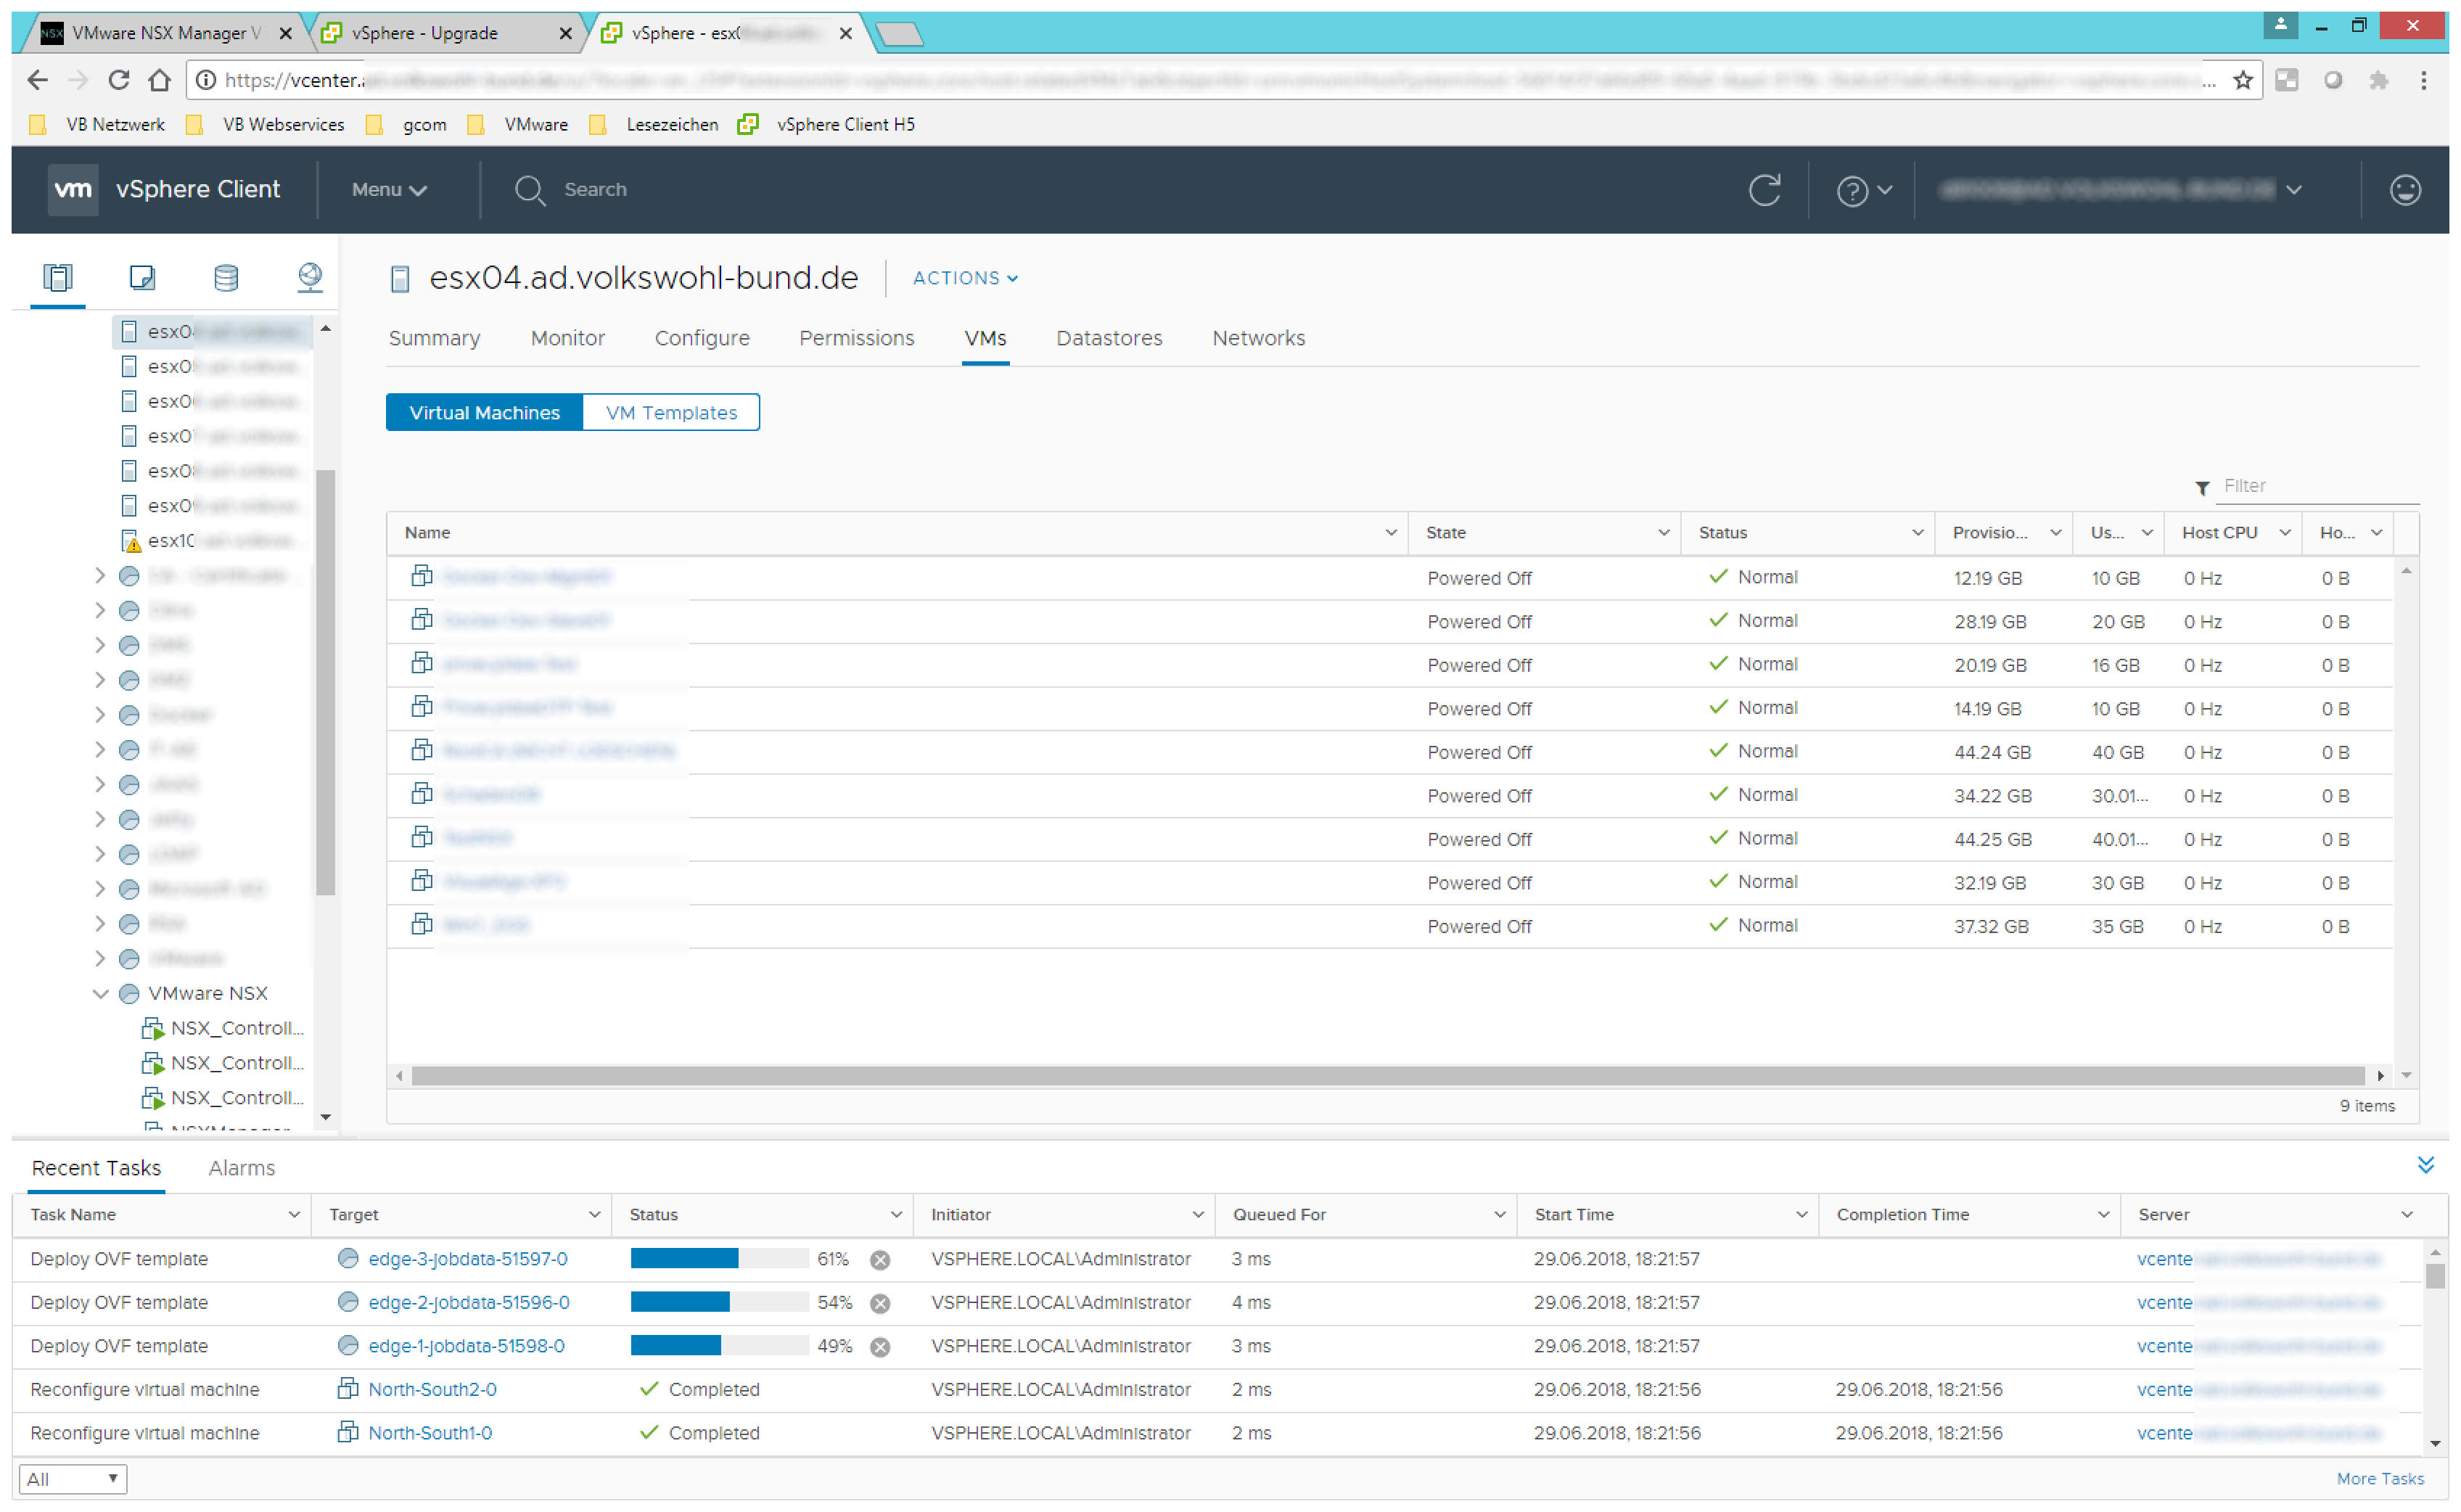

First one Edge-Node of each HA-pair will be shutdown and a fresh deployed Edge-Node will be started. The availability of each NSX-Edge will be ensured by the “old” second Node. After the new Edge-Node is up and running, the task will switch the active status to this Node and shuts down the seconde Node (old version). Now the second Edge-Nodes will be started and rejoin the NSX-Edge as passive Edge-Node. Last step is deleting the old nodes and rename the new Nodes to their correct names.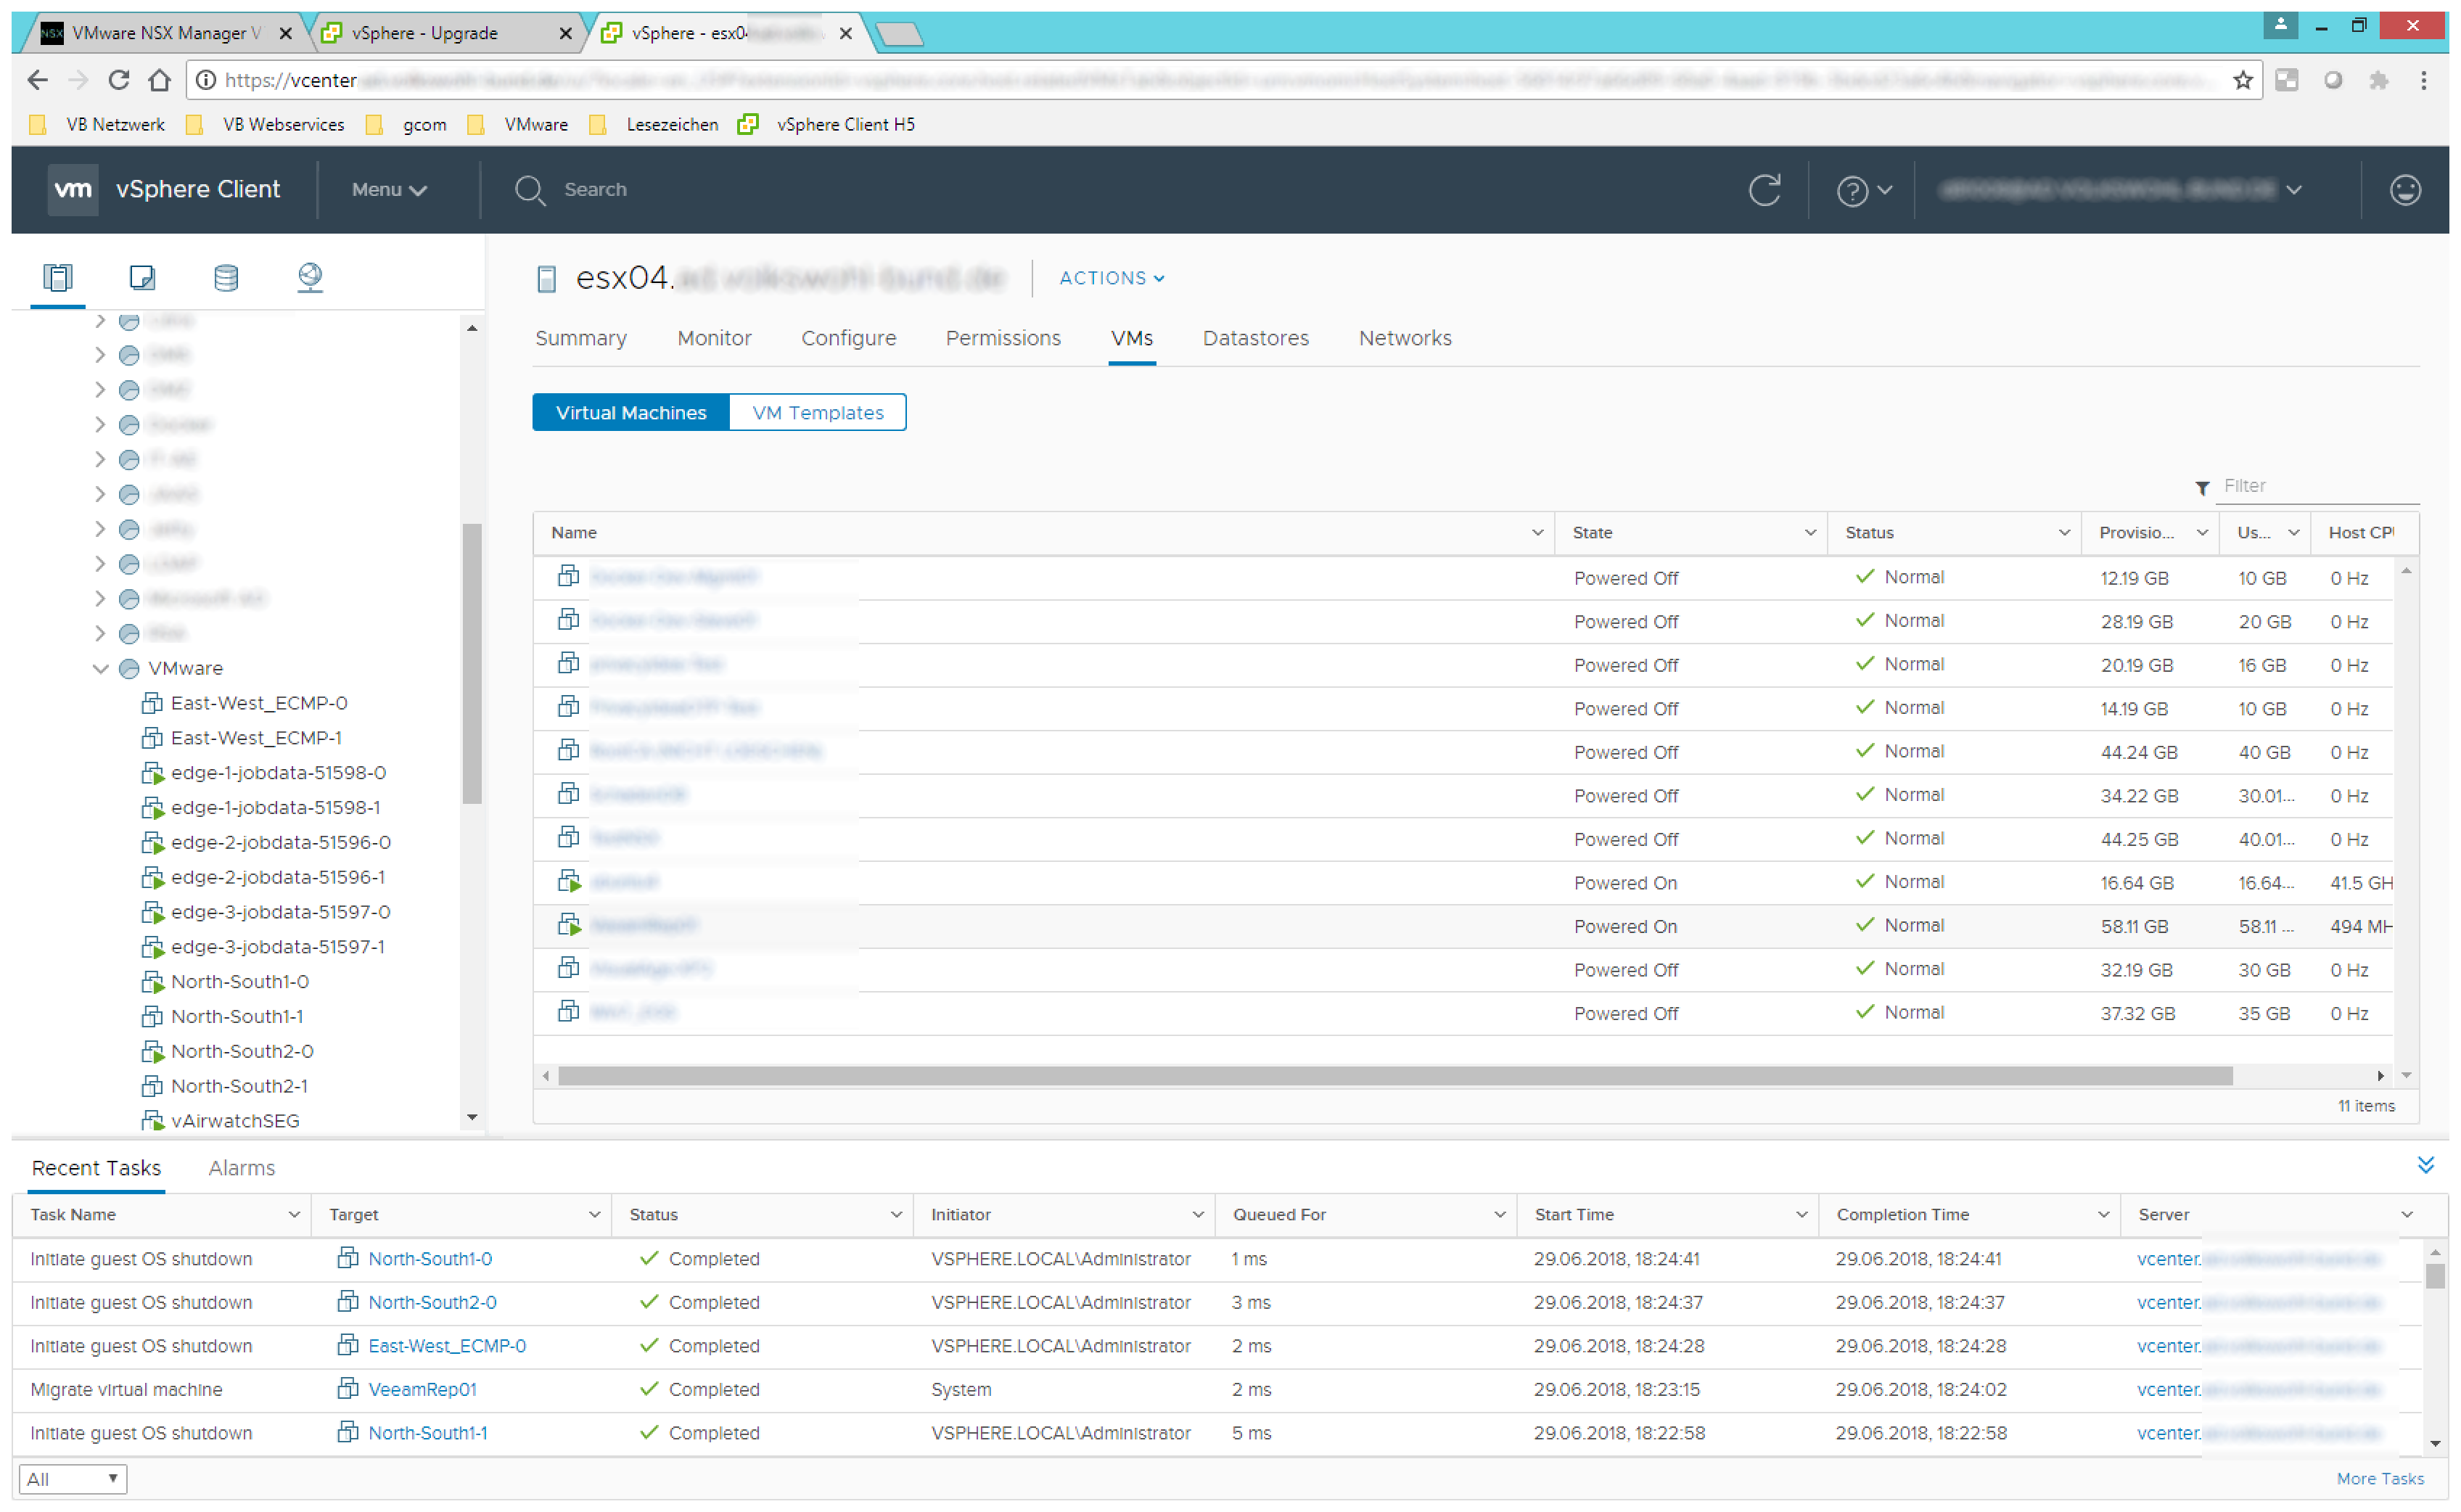
- After all NSX-Edges are upgraded the installer could resume to the Service VMs

- My setup has no Service VMs so the upgrade is complete
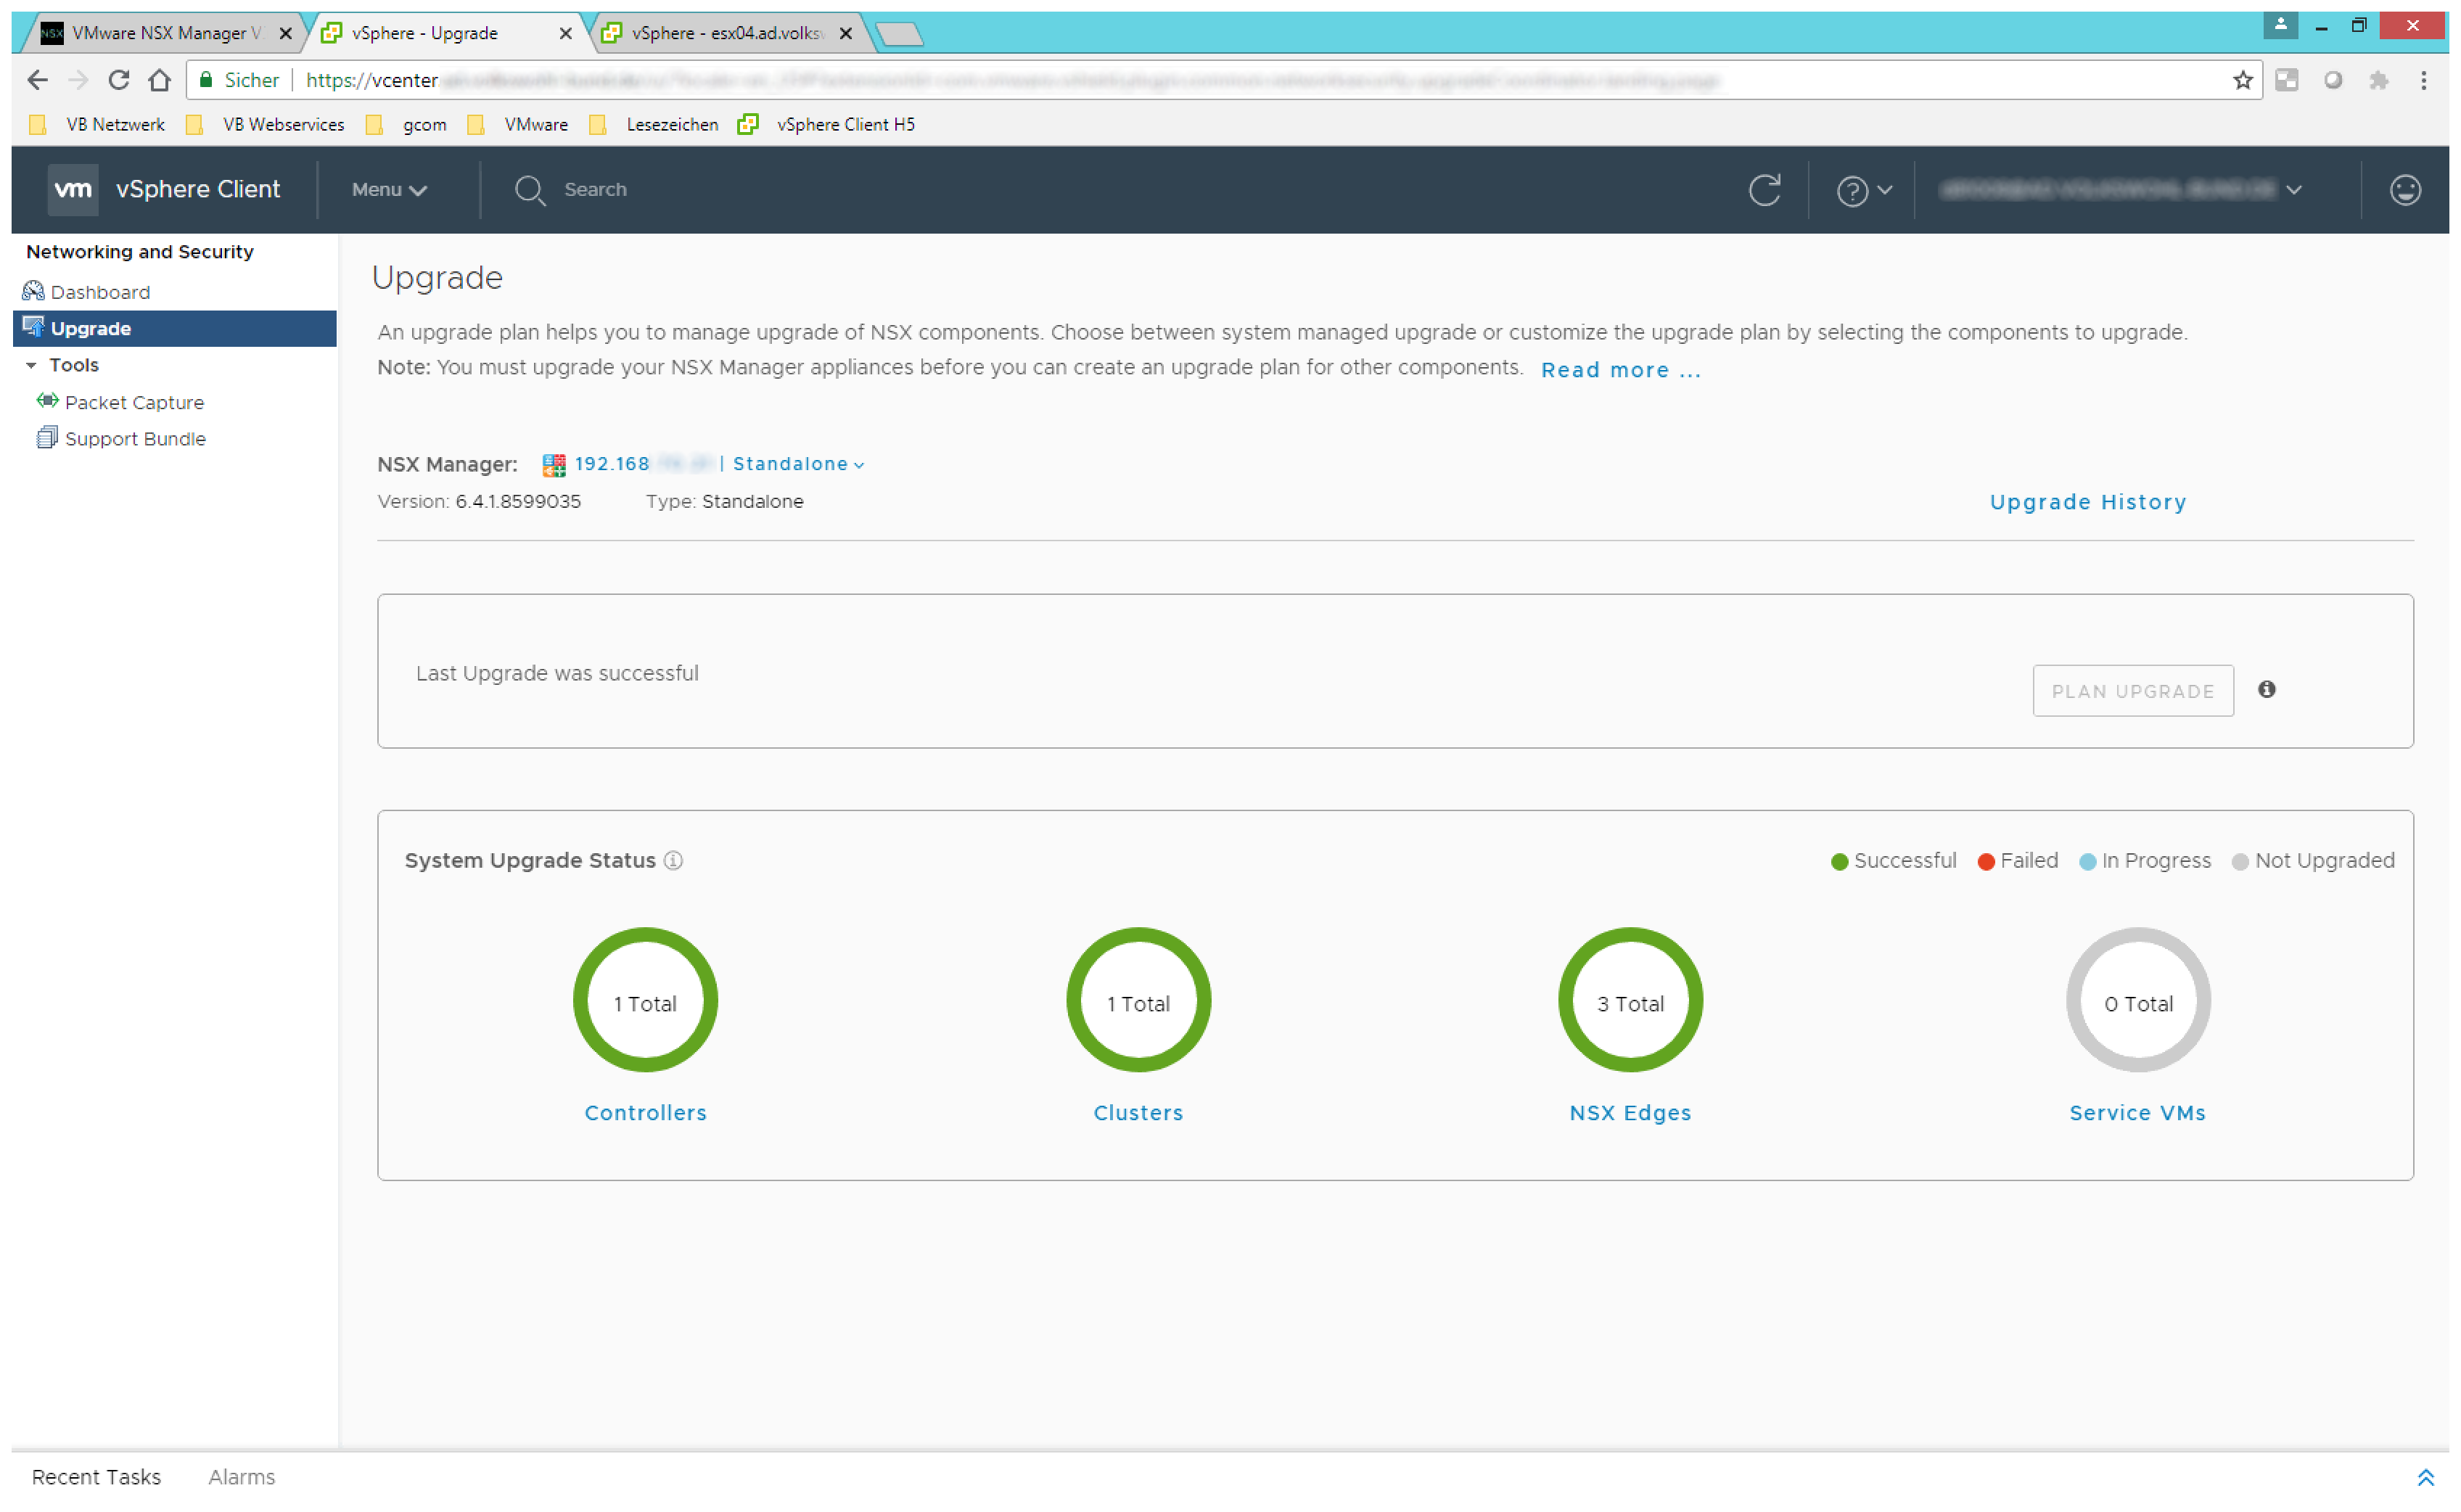
- The dashboard shows all green components and no Cluster with pending upgrade. Everything fine – Upgrade complete :)
Leave a Reply