
In Januar I’ve showed how to update your BDR Suite to version 4.0. Now it is time for a review..
Vembu BDR Suite provides agentless image level backup for the virtual machines. The VMs could run on VMware and Hyper-V.
Windows Server and Windows Workstation also can configured as image, file or application level backup.
For Linux and MAC machines it is possible to configure file and application level backup.
New Features
Hyper-V Failover Cluster Support
Support for backup and recovery of VMs running on Hyper-V Cluster setups. The scheduled backups will not be interrupted even when the VMs move from one node to another for High Availability.
Checksum Based Incremental Tracking
The modifications made on the VMs running on Hyper-V servers are by default tracked using CBT technology. When CBT fails, the checksum-based incremental tracking is leveraged ensuring seamless backups.
Shared VHDX Support
Support for backing up shared VHDX of Hyper-V
New Credentials Manager
Credentials of the VM hosts, guest VMs and physical computers can now be managed using the Credentials Manager, avoiding the need to enter the credentials every time.
Enhancements
- Any newly added disk to a VM on VMware/Hyper-V was backed up only on the next full backup. From v4.0, the new disk additions are designed to be detected and considered for back up on the next incremental schedule.
- If a VMware or Hyper-V VM backup job gets interrupted due to network failure, reconnection attempts will be made to continue the data transfer.
- Abort active replication jobs from within the Vembu OffsiteDR server console to terminate an ongoing replication from Vembu onsite to offsite server.
- You can activate or deactivate Vembu BDR Servers from Vembu OffsiteDR if you wish to stop the backup replication to the DR site.
- Live Recovery to VMware and Hyper-V servers is now enhanced where you can configure the virtual hardware specification of the target host like socket and core counts, memory, hard disk provision type, and network adapter while performing the permanent recovery.
- By default, application-aware processing is enabled for highly transactional applications like Exchange, SQL, Active Directory and SharePoint running inside VMs on Hyper-V server. v4.0 provides log truncation and application-aware processing with inbuilt parity check, and you have the option to select VMs that need them.
- This report will give you an insight into Quick VM recovery job details like the RTO, start time & end time, the name of the VM that was triggered for recovery, the target server etc., covering the job’s status.
- With the new set of APIs, generate report on storage utilization with details like the size of VM before the backup schedule, the actual size of the backup data in the storage repository, compression , storage reduction rate, etc.
System Requirements
You can install Vembu BDR virtual or physical. The system should have minimum 8 GB of RAM, 16GB is the recommended size.
Windows and Linux installation is possible.
| Windows OS | Windows Server 2016 (Essentials, Standard, Datacenter), Windows Server 2016 Core (Standard), Windows Server 2012 R2 (Foundation, Essentials, Standard, Datacenter), Windows Server 2012 R2 Core (Standard), Windows Server 2012 R2 Hyper-V Server, Windows Server 2012 (Foundation, Essentials, Standard, Datacenter), Windows Server 2012 Core (Standard), Windows MultiPoint Server 2012, Windows Server 2008 R2 (Standard, Enterprise, Datacenter), Windows Server 2008 R2 Core (Standard), Windows 10 (Pro, Enterprise, Enterprise LTSB) |
| Linux OS | Ubuntu 16.04, Ubuntu 14.04, Ubuntu 12.04 |
Installation
The Installation is very easy. You will be asked where you want to install the product and you can customize the communication ports if needed.
First Backup
My lab is vSphere only so I only could show the connect of VMware vSphere.
- Login to the Webinterface of your Vembu BDR Suite (Default admin:admin)
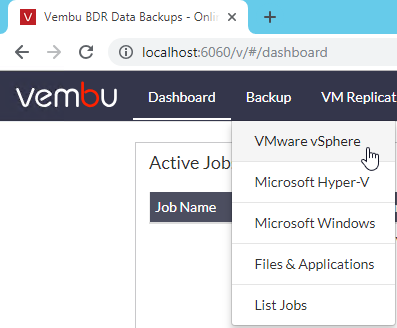
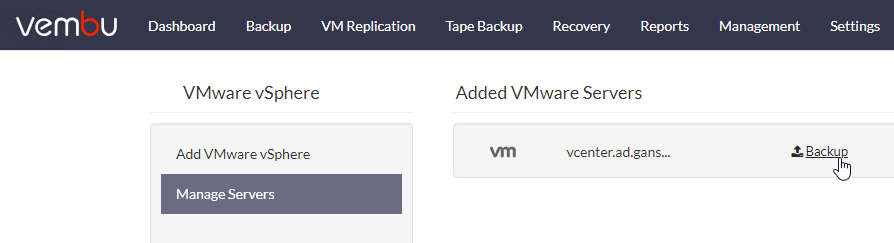
- Click on Backup and then VMware vSphere
- Type FQDN of your vCenter Server or an ESXi host
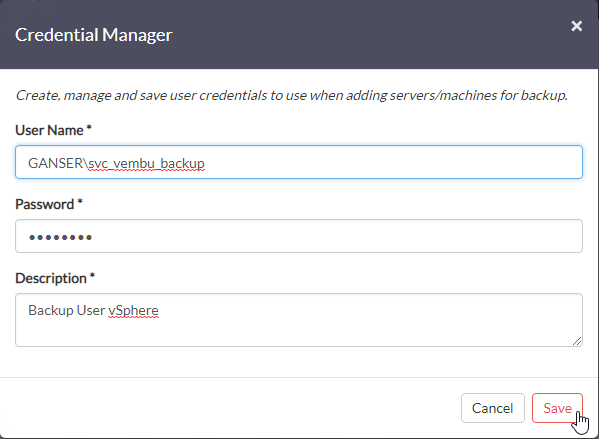
- Select Credentials or Add Credentials with Rights on vSphere
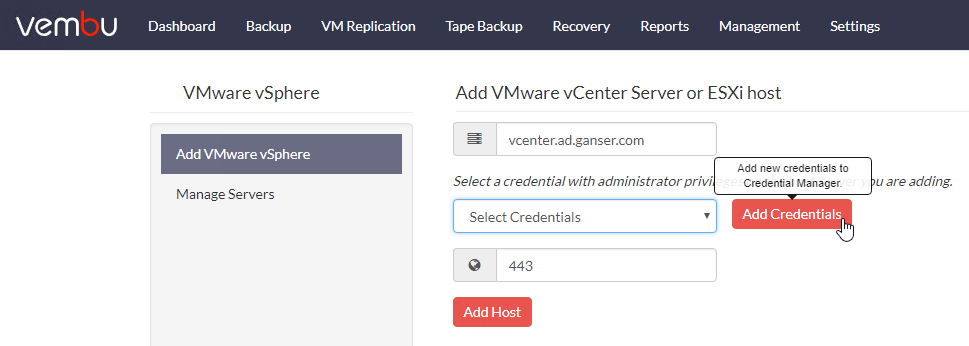
- Click on Add Host
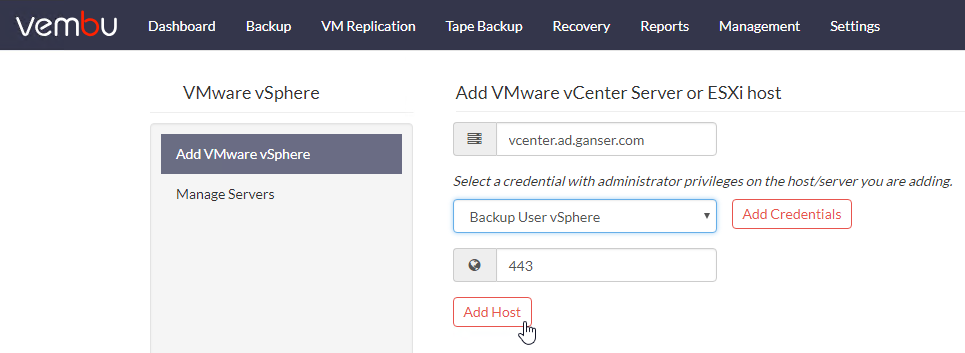
- After adding vCenter Server you can click on Backup to add VMs to backup jobs.
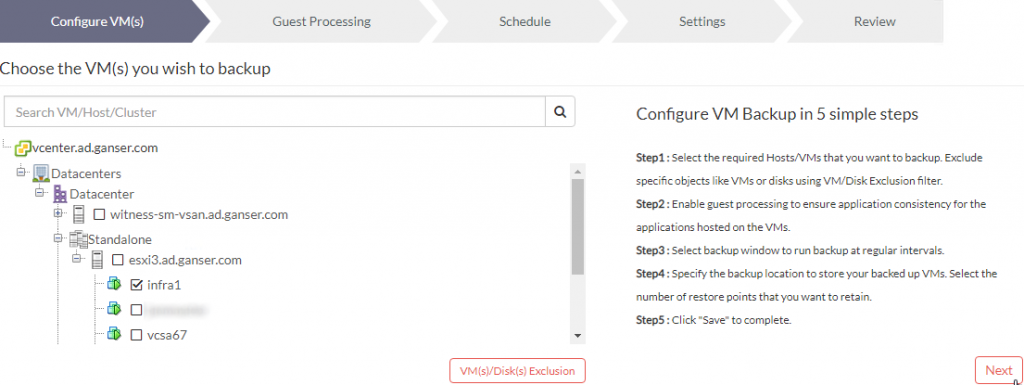
- Select VMs you want to backup
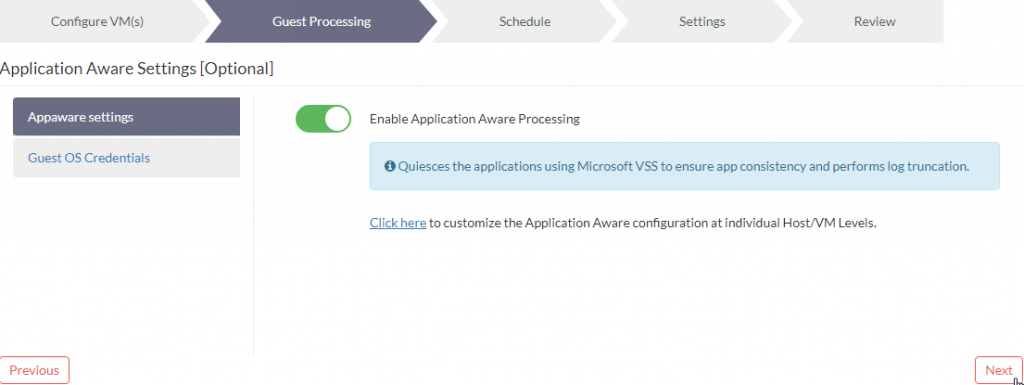
- With enabling Application Aware Processing Vembu BDR will quiescing the application with Microsoft VSS.
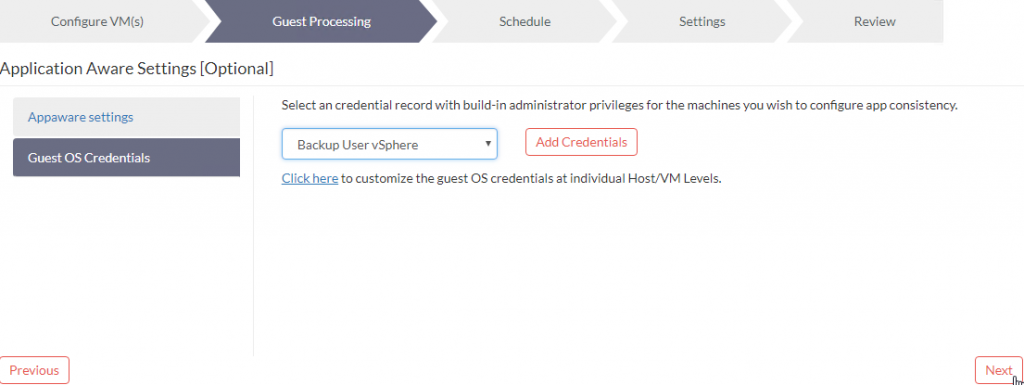
- If your Backup User doesn’t have enough rights within the VM to perform administrative tasks, you have to add another user for Application Aware Processing
- The default schedule is every hour. This will create an initial full backup and after that incremental backups every hour.

- Last step is naming the job. You can select immediately start after creation.
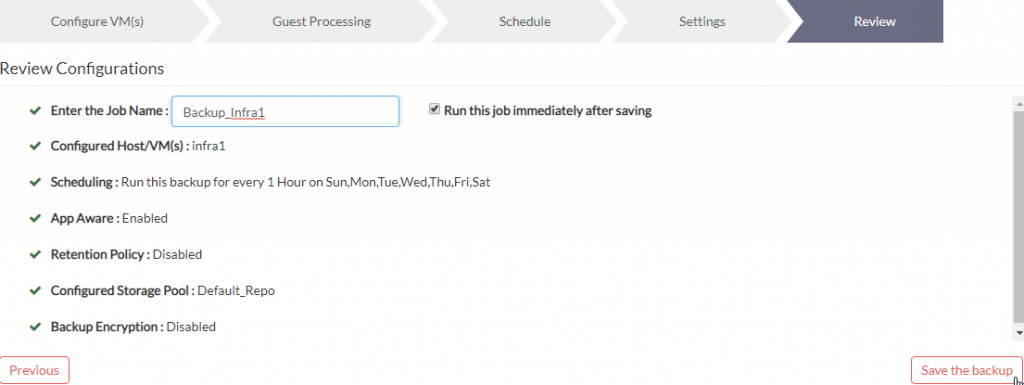
- The wizard will switch to the job list.

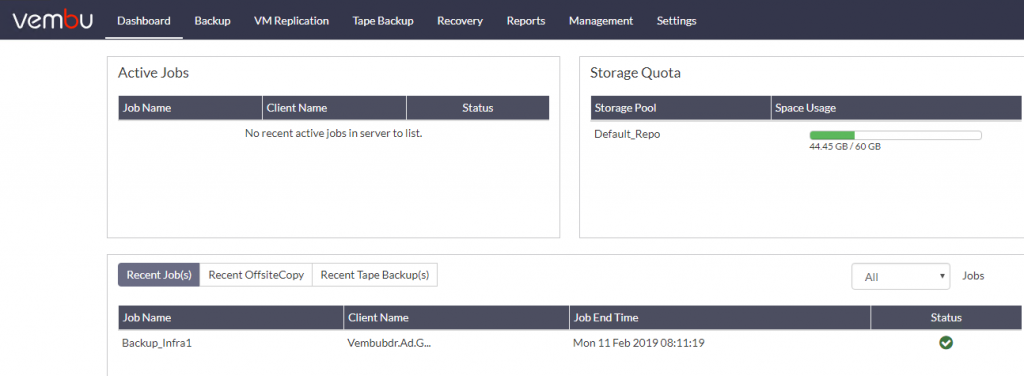
- After finishing you will see the past jobs in the dashboard.
Restore
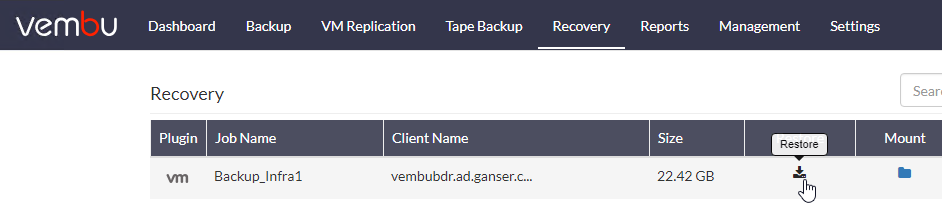
- To restore a VM go to Recovery and search for your desired backup and click on Restore.
- You can choose different types of Restore
- Quick VM Recovery
Recover backup images as ready-state VMs (i.e)instantly available and helps in maintaining business continuity with minimal downtime. - Live Recovery to ESXi Server
Restore backed-up VMs directly to target ESXi hosts, where you can also perform partial VM restores(custom disk-level). - File Level Recovery
Restore specific files and folders from backup. - Disk Management Mount
Auto attach backup to Disk Management in local machine that allows instant access to backed up data and instant file recovery possible. - Disk Level Recovery
Restore VM backups at disk level where backed up disks can be restored to target VMs in an ESXi host. - Download
Multi-format restore available for any Microsoft Windows Server backup(Physical/Virtual) and is easy to process.
The file formats available for restores are VHD, VMDK, VHDX, Flat-VMDK and RAW image file.
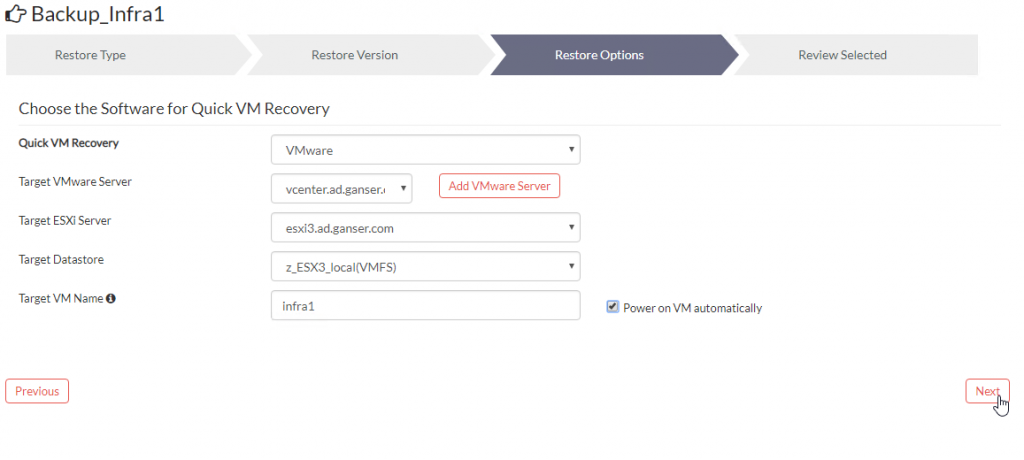
- Quick VM Recovery
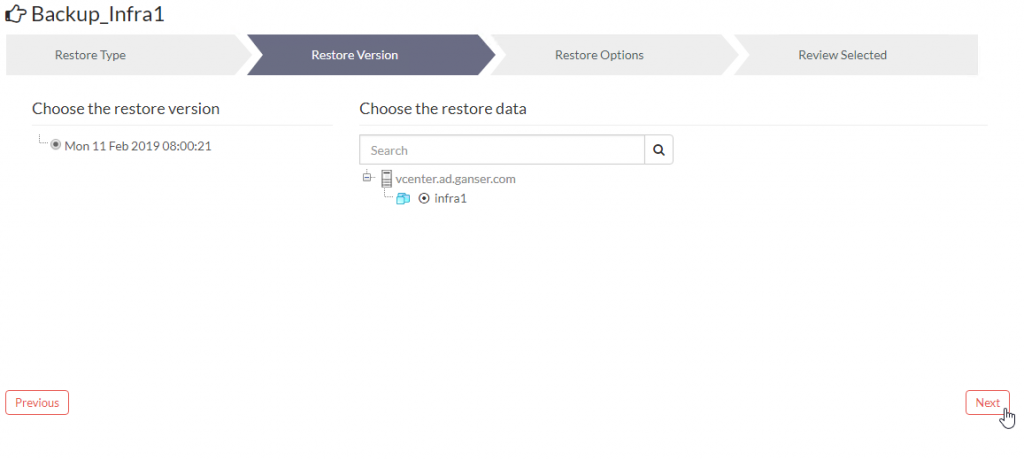
- For this example I’ve choosen Quick VM Recovery. I only want to validate backup is working.

- Select VM to recover.
- Select Hypervisor, vCenter, Target Host and Datacenter. You can choose a different name.
- Review your setting and start the restore.
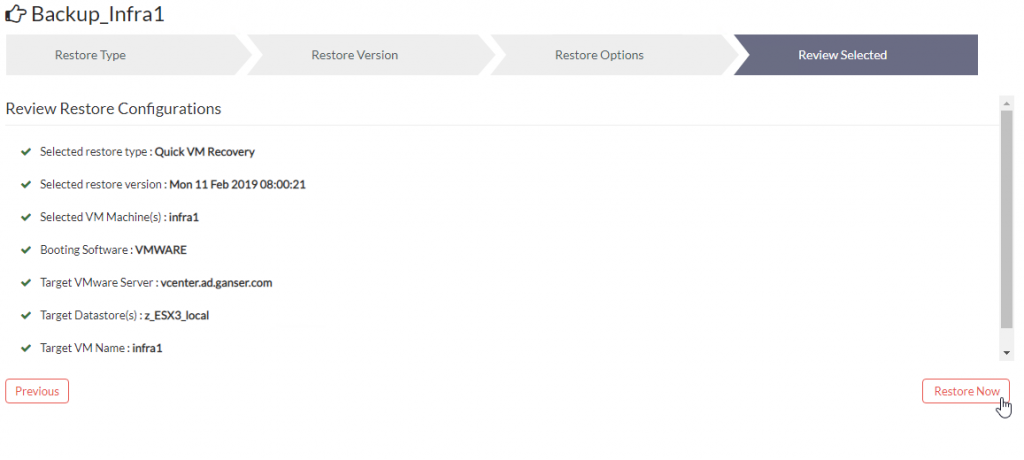
- Confirm to proceed.

- The wizard switches to the recovery list.

- After the restore has finished you can review it unter Reports > Quick Recovery

Summary
Vembu has evolved their product. The Web-based UI is very fast and very clean. A new user with no experience with Vembu BDR will find all necessary points directly. The installation and the first completed VM backup is done in less than an hour.
You can download an test Vembu BDR 4.0 directly from www.vembu.com