The NSX Controllers are the central control point in your NSX environment. They build the control plane for all logical switches in the environment.
Preparation
In our production setup we use three NSX Controller to get the needed availability. For this you will need a defined IP Pool with at least minimum 3 free IP addresses. For updates you may also need free addresses, so I’ve created a Controller IP Pool with 6 addresses.

How to create an IP Pool is explained here – Create NSX IP Pool.
Deployment
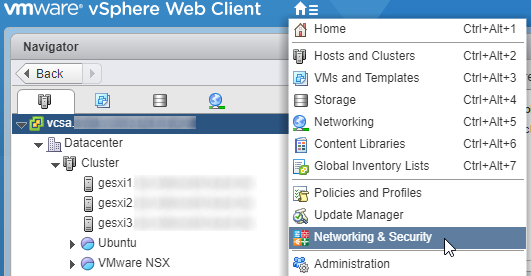
- Login to the vSphere Web Client with your administrator account and go to Networking & Security
- Select Installation and Upgrade an click on the green plus to add the first NSX Controller node

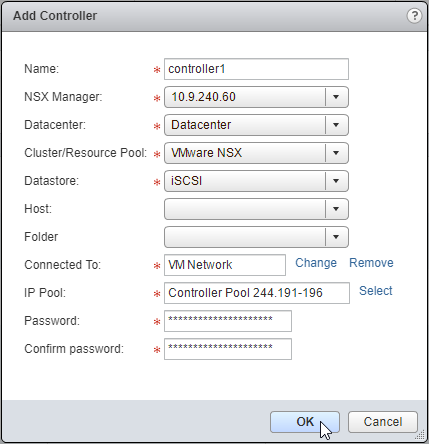
- Fill in or choose the following data
- Controller Name
- NSX Manager
- Datacenter
- Cluster/Resource Pool
- Datastore
- Connected To (VM Network or Distributed Portgroup) must correspondent to your IP Pool
- IP Pool
- Password (minimum 12 characters; include lowercase, uppercase alphabetic characters, numbers and symbols)
- Wait until the deployment finishes.

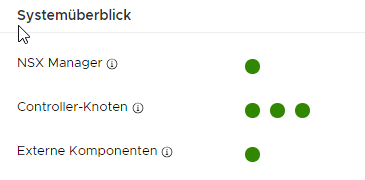
- Now repeat these steps to deploy the two other nodes. After all Nodes are ready, the dashboard should show all green status.
Leave a Reply